
TL;DR:
- Setting up mini projectors provides a quick way to display large images without mounting a TV or renting space. Proper physical alignment, surface selection, and minimal keystone correction are crucial for achieving the best picture quality. Using the right throw ratio and connection method ensures clear images in small Malaysian rooms under various lighting conditions.
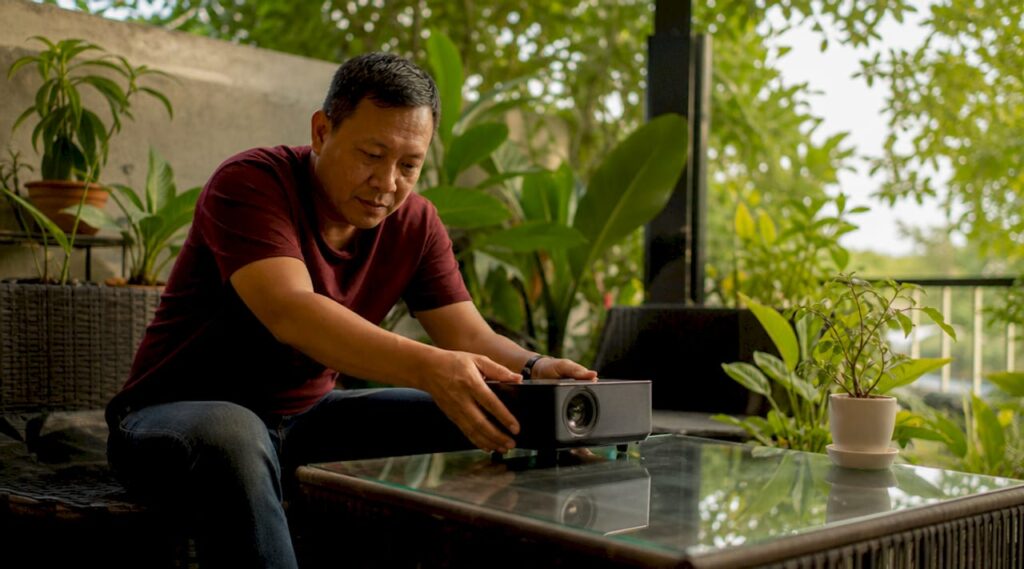
Setting up mini projectors is the fastest way to get large-screen visuals in a compact space without mounting a television or renting a venue. A mini projector, also called a portable projector, delivers a projected image from a device small enough to fit in a backpack. Whether you run a small business in Kuala Lumpur and need a reliable presentation tool, or you want a home cinema experience in your apartment, the right setup makes all the difference. This guide covers throw ratios, surface selection, device connections, and image calibration so your projector performs at its best from day one.
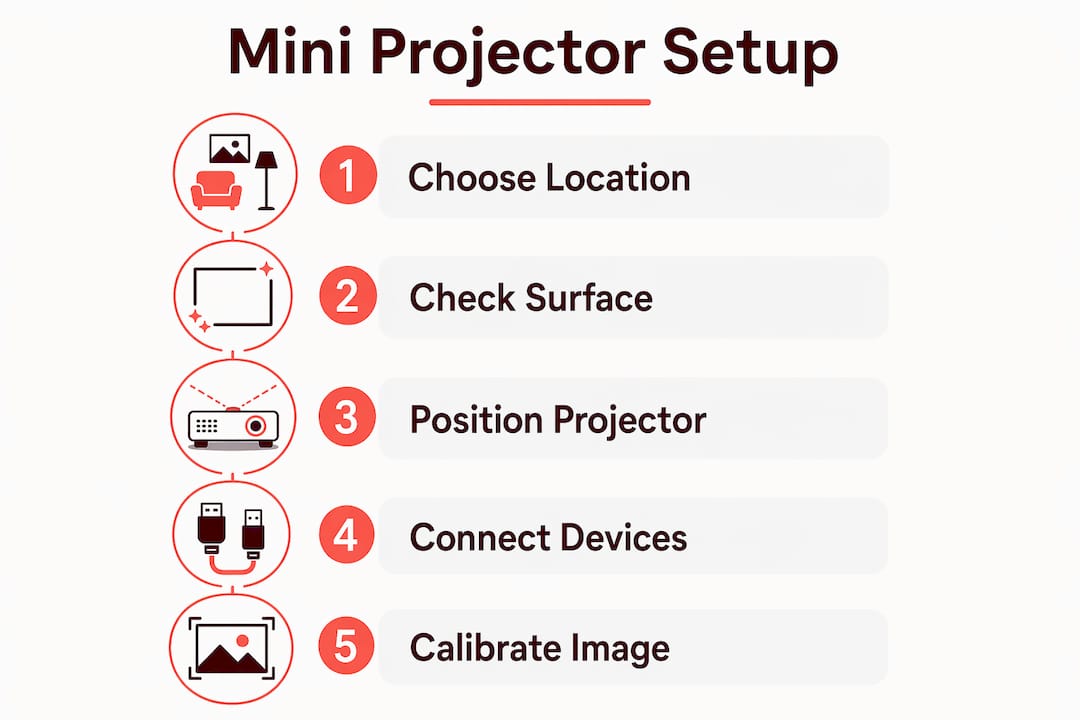
What do you need before setting up mini projectors?
Good preparation cuts your setup time in half. Before you power anything on, gather every item you need and assess your space.
Essential equipment checklist:
- Mini projector (portable, laser, short-throw, or smart type)
- Power source and power cable
- Projection surface (white wall, portable projector screen, or pull-down screen)
- HDMI cable, USB cable, or wireless adapter
- Tripod or stable flat surface for the projector
- Source device (laptop, smartphone, or streaming stick)
The projection surface matters more than most people expect. Dark walls absorb light drastically, which reduces brightness and washes out contrast. A smooth white wall or a dedicated projection screen gives you the best results. If you are shopping for a projector screen in Malaysia, Projectordisplay carries a wide range of projection screen options suited to different room sizes and budgets.
Ambient light is the other major factor. A room with strong daylight coming through uncovered windows will fight your projector's brightness. Close the blinds or set up in the evening for the clearest image, especially if your mini projector outputs fewer than 1,500 lumens.
| Item | Purpose | Notes |
|---|---|---|
| Mini projector | Projects the image | Check lumen output for your room size |
| Projection screen | Reflects light evenly | White, smooth surface preferred |
| HDMI or USB cable | Wired device connection | Confirm port compatibility first |
| Wireless adapter | Cable-free casting | Miracast or AirPlay compatible |
| Tripod or stand | Stable placement | Prevents vibration and image shake |
| Power strip | Reliable power source | Useful for multi-device setups |
Pro Tip: LED projectors warm up in 30–60 seconds, while lamp-based units take up to 2 minutes to reach full brightness. Power on your projector first, then connect your source device while it warms up.
How do you position your mini projector for the best image?
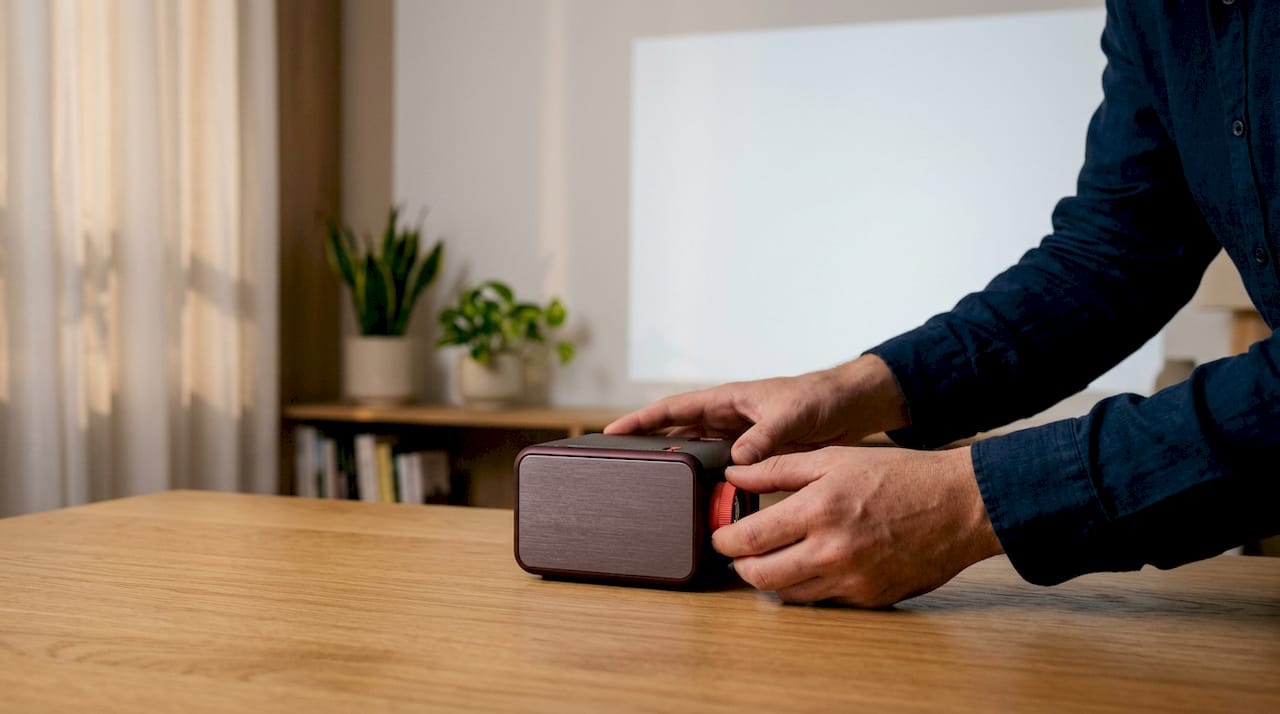
Projector placement is the single most important step in any mini projector installation guide. Get it wrong and no amount of digital correction will fix the image.
Understanding throw ratio and throw distance
Throw ratio defines how far back your projector must sit to produce a given image width. Standard-throw projectors require a throw ratio above 1.5:1. Short-throw models work between 0.4:1 and 1.0:1, and ultra short-throw units need less than 0.4:1. For a 100-inch screen in a 16:9 format, a 1.5:1 throw ratio means the projector must sit roughly 10.8 feet from the screen. That is a useful benchmark for Malaysian living rooms and small meeting rooms where space is limited.
You can learn more about calculating throw distance before you buy to avoid placing a standard-throw projector in a room that is too short for it.
| Projector Type | Throw Ratio | Ideal Room Depth |
|---|---|---|
| Standard-throw | Above 1.5:1 | Large rooms, halls |
| Short-throw | 0.4:1–1.0:1 | Medium rooms, offices |
| Ultra short-throw | Below 0.4:1 | Small rooms, tight spaces |
Steps to position your projector correctly:
- Measure the width of your intended image on the projection surface.
- Use the throw ratio guide to calculate the required distance from screen to projector lens.
- Set the projector at the correct distance and center it horizontally with the screen.
- Adjust the height so the lens aligns with the center of the screen.
- Check that the projector sits level using a spirit level or the built-in level indicator if available.
- Fine-tune the physical position before touching any digital correction settings.
Physical alignment always beats digital correction. Moving the projector to align with the screen center preserves full resolution. Digital keystone correction, by contrast, crops and stretches pixels, which softens the image. Treat physical placement as your primary tool and keystone correction as a backup only.
Pro Tip: If your room forces an off-center angle, look for a projector with lens shift rather than relying on keystone correction. Lens shift moves the optical path without degrading pixel quality.
How do you connect your mini projector to devices?
Connecting mini projectors to your source devices is straightforward once you know which ports and protocols your projector supports. Common connection types include HDMI for high-definition video and audio, USB for file sharing, and wireless casting methods like Miracast and AirPlay.
Most mini projectors sold in Malaysia today include at least one HDMI port and one USB port. Many also support wireless connectivity through Bluetooth and Wi-Fi, which makes connecting a smartphone or laptop much faster. If your projector lacks built-in wireless, a wireless HDMI dongle like the Anycast M2 Plus plugs into the HDMI port and adds Miracast and AirPlay support instantly.
Connection tips for Malaysian users:
- Use a full-size HDMI cable for laptops with HDMI output. For USB-C laptops, carry a USB-C to HDMI adapter.
- For iPhones and iPads, use AirPlay if your projector supports it, or carry a Lightning to HDMI adapter.
- Android phones work well with Miracast or a USB-C to HDMI cable.
- Streaming sticks like Android TV dongles plug directly into the HDMI port and remove the need for a separate laptop or phone.
- If you experience signal loss, swap the HDMI cable first. A faulty cable is the most common cause of a blank screen.
- For business presentations, test your connection at least 10 minutes before the meeting starts.
Pro Tip: When connecting mini projectors wirelessly, keep your phone or laptop within 5 meters of the projector for a stable signal. Walls and interference from other Wi-Fi networks in Malaysian office buildings can drop the connection.
How do you calibrate your mini projector image?
Image calibration is the step most people skip, and it shows. A sharp, correctly sized image requires focus adjustment, zoom control, and careful use of keystone correction.
Calibration steps in order:
- Project a test image or a white screen onto your surface.
- Adjust the focus ring (or use the auto-focus button) until text and edges appear sharp.
- Use the optical zoom to size the image to fit your screen without cropping.
- Check that the image is rectangular. If it appears trapezoidal, adjust the projector's physical position first.
- Apply keystone correction only if physical repositioning is not possible. Use the minimum correction needed.
- Revisit focus after keystone correction, as digital processing can slightly shift the sharpest focal point.
Keystone correction is a last resort because excessive use reduces clarity and sharpness, especially for text and fine detail. This matters most in business presentations where slide text must be legible from the back of the room. For home entertainment, moderate keystone correction is less noticeable on video content, but it still reduces overall picture quality.
Manual focus gives you the most control. Start with the focus ring at the midpoint and turn slowly in one direction until the image sharpens. Auto-focus works well on modern mini projectors but can struggle with non-white or textured surfaces.
Pro Tip: After focusing, step back to the viewing distance and check sharpness from there. What looks sharp up close can appear soft from 3 meters away, especially on larger projected images.
For a deeper look at keystone correction techniques and when to use them, Projectordisplay has a dedicated guide covering every adjustment method.
What are the most common mini projector setup mistakes?
Most setup problems come from a short list of avoidable errors. Knowing them in advance saves you frustration.
- Overusing keystone correction. Users often treat keystone correction as the primary alignment tool rather than a last resort. This degrades image quality and makes text harder to read.
- Ignoring ambient light. A bright room with uncovered windows will overpower a low-lumen projector. Control your lighting before blaming the projector.
- Wrong throw distance. Placing a standard-throw projector too close produces a small, dim image. Always check the throw ratio specifications before finalizing your room layout.
- Unstable placement. A projector on an uneven surface vibrates during use and shifts the image. Proper cable management and stable placement prevent both image drift and tripping hazards.
- Skipping surface preparation. Projecting onto a yellow or gray wall cuts brightness significantly. A white wall or a proper projection screen is always the better choice.
"The biggest mistake in projector setup is not the equipment. It's skipping the physical alignment step and trying to fix everything digitally. Keystone correction cannot restore pixels it has already discarded."
Pro Tip: Clean your projector lens with a microfiber cloth every few weeks. Dust on the lens reduces sharpness and brightness more than most people realize, especially in Malaysia's humid climate.
Key Takeaways
Proper physical placement, surface selection, and minimal keystone correction are the three factors that determine mini projector image quality above all else.
| Point | Details |
|---|---|
| Choose the right throw type | Match your projector's throw ratio to your room depth before buying. |
| Prioritize physical alignment | Position the projector level and centered before using any digital correction. |
| Use a white projection surface | Smooth white walls or dedicated screens deliver the brightest, sharpest image. |
| Connect with the right cable or adapter | Confirm port compatibility for your laptop or phone before setup day. |
| Use keystone correction sparingly | Apply only the minimum correction needed to preserve text clarity and image sharpness. |
What I've learned from real-world projector setups in Malaysia
After seeing hundreds of projector setups across Malaysian homes, offices, and classrooms, one pattern stands out. People spend money on a good projector and then undermine it with a poor surface and bad placement. A projektor murah placed correctly on a white wall will outperform an expensive model aimed at a yellow wall from the wrong distance.
Malaysia's indoor environments present specific challenges. High ambient light from large windows is common in open-plan offices and shophouses. In these spaces, a projector with at least 3,000 lumens is the practical minimum for daytime use. For home use in a darkened room, 1,500 lumens is often enough.
Small business owners often ask me whether a short-throw or standard-throw model suits their meeting room better. My answer is almost always short-throw. Malaysian office spaces tend to be compact, and a short-throw projector gives you a large image without needing a long throw distance. The best small room projectors for Malaysian offices sit in the short-throw category for exactly this reason.
The wireless projector Malaysia market has also grown fast. Built-in Wi-Fi and Bluetooth on modern mini projectors mean you can present from your phone without a single cable. That matters in client meetings where setup time is limited and professionalism counts.
— Projector
Projectors and screens available at Projectordisplay Malaysia
Projectordisplay is one of the best projector sellers in Malaysia, stocking portable projectors, laser projectors, short-throw models, and the accessories you need for a complete setup. Whether you are building a home cinema or equipping a small business meeting room, the range covers every budget and room size.
From projection screens and wireless adapters to projector stands and HDMI cables, Projectordisplay ships fast across Peninsular Malaysia with WhatsApp support available for product questions. If you are weighing your display options, the guide on why projectors beat screens for large rooms in 2026 is a practical starting point for making the right call.
FAQ
What throw ratio works best for a small Malaysian room?
A short-throw projector with a throw ratio between 0.4:1 and 1.0:1 works best for compact Malaysian rooms. It produces a large image from a short distance, which suits most apartments and small office spaces.
How do I connect my phone to a mini projector wirelessly?
Most modern mini projectors support Miracast or AirPlay for wireless casting from Android and iOS devices. If your projector lacks built-in wireless, a Miracast dongle plugged into the HDMI port adds this capability instantly.
Why does my projected image look blurry after keystone correction?
Keystone correction reduces image sharpness because it digitally crops and stretches pixels. Physically repositioning the projector to align with the screen center restores full resolution and eliminates the blur.
What is the best surface for projecting in a Malaysian home?
A smooth white wall or a dedicated projection screen gives the best brightness and contrast. Dark or textured walls absorb light and reduce image quality significantly.
How long does it take to set up a mini projector for a presentation?
A well-prepared setup takes 5–10 minutes, including positioning, connection, and focus adjustment. Testing your connection and image calibration the day before a presentation removes the risk of last-minute problems.
Recommended
- Types of Projectors: Guide for Malaysia Users 2025 – Projector Display
- Projector installation guide 2026: Home and business tips – Projector Display
- How to Connect Projector: Step-by-Step Guide for Malaysia 2025 – Projector Display
- How to Connect Projector: Step-by-Step Guide for Malaysia 2025 – Projector Display