
Finding the right lamp for your Epson projector can feel confusing, especially when you want the best picture for your home theater in Malaysia. Choosing the correct ELPLP96 lamp is vital because different projector models demand specific components for safe, reliable performance. This guide walks you through every part of the process, from precise lamp selection and safe handling to brightness testing after installation, so your next movie night is as bright and memorable as you expect.
Table of Contents
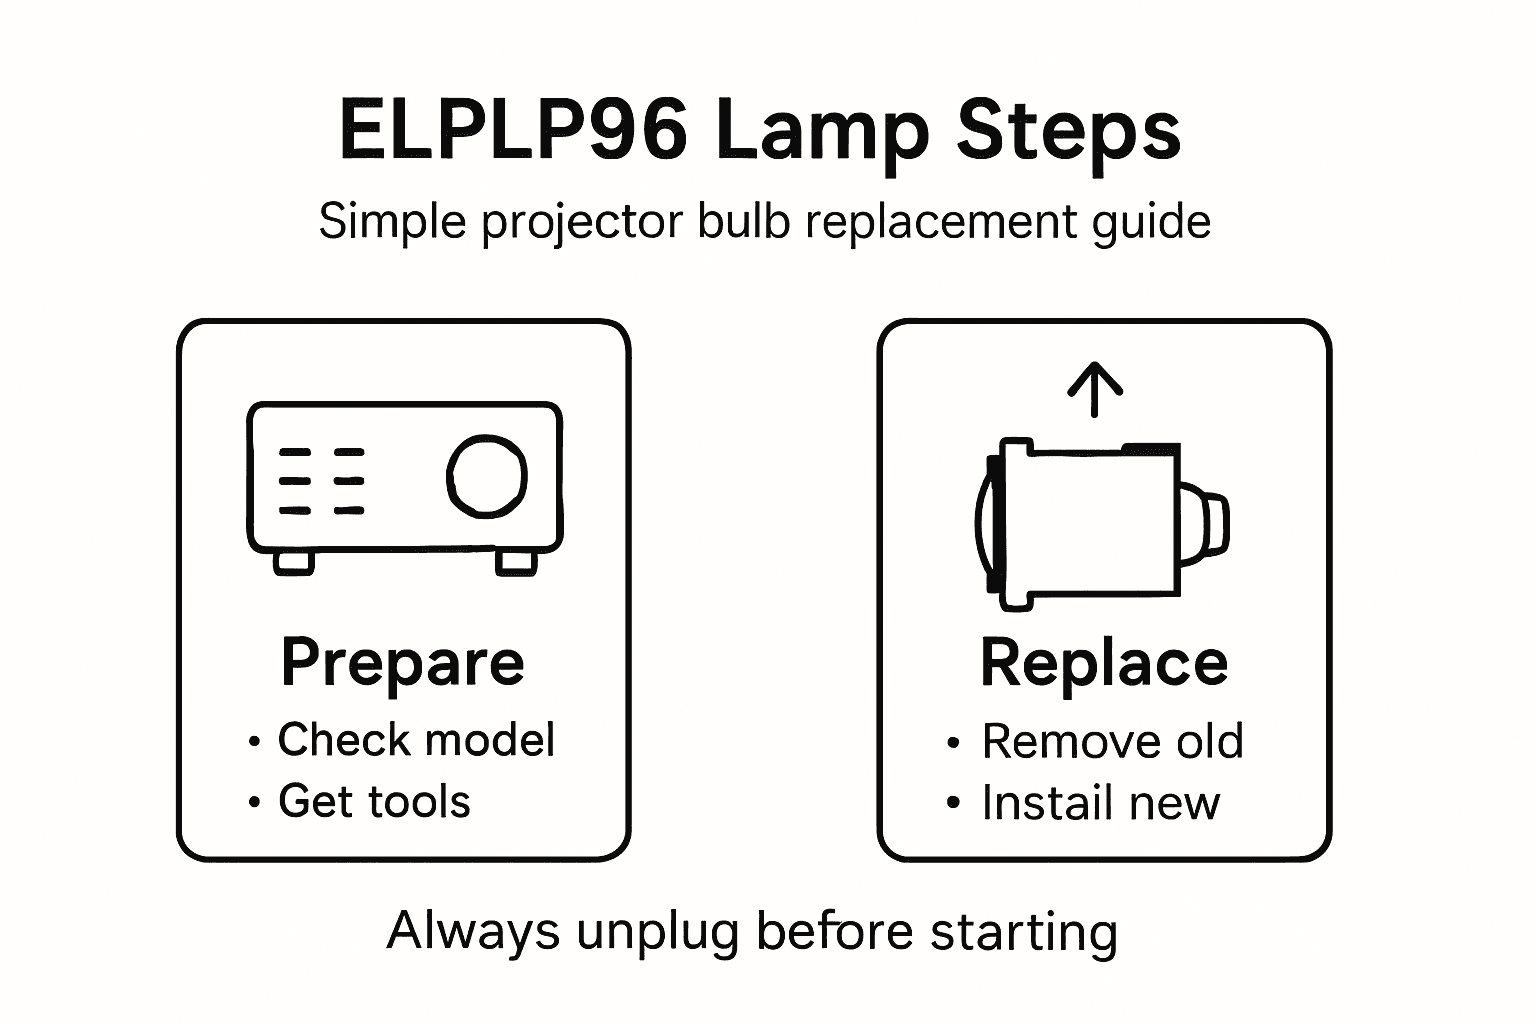
- Step 1: Gather the Correct ELPLP96 Lamp and Tools
- Step 2: Power Down and Prepare Your Projector
- Step 3: Safely Remove the Old Projector Lamp
- Step 4: Install the New ELPLP96 Lamp Properly
- Step 5: Test the Projector and Ensure Brightness
Quick Summary
| Key Point | Explanation |
|---|---|
| 1. Verify Your Projector Model | Check the model number against compatibility guides to ensure ELPLP96 lamp fits your projector. |
| 2. Use Proper Tools | Gather a Phillips head screwdriver, lint-free cloth, and gloves for safe replacement. |
| 3. Ensure Electrical Safety | Power off and unplug the projector; allow it to cool for 15-20 minutes before starting. |
| 4. Handle Old Lamp Carefully | Follow manufacturer instructions to safely remove the old lamp without damaging components. |
| 5. Test New Lamp Performance | After installation, ensure the lamp functions well by checking brightness, clarity, and look for indicators. |
Step 1: Gather the Correct ELPLP96 Lamp and Tools
Preparing to replace your projector lamp requires precise selection of components and tools. You will want to ensure you have the exact ELPLP96 replacement lamp compatible with your specific Epson projector model and the right equipment for a smooth installation process.
Start by verifying your projector model number and consulting projector lamp compatibility guides to confirm the ELPLP96 matches your device. Most home theater and office projectors require precise lamp specifications that differ between models. Check your original lamp or projector manual for the exact model number to guarantee an accurate replacement. Gather essential tools including a Phillips head screwdriver, soft lint-free cloth, and work gloves to protect both the lamp and your hands during the replacement process.
Carefully inspect the new ELPLP96 lamp before installation to confirm it is undamaged and matches your specific projector requirements. Handling replacement lamps requires gentle touch and clean workspace preparation to prevent potential damage or performance issues.
Here's a summary of essential tools, their purposes, and best practices for safe projector lamp replacement:
| Tool or Item | Purpose | Best Practice |
|---|---|---|
| Phillips head screwdriver | Remove lamp cover and housing screws | Use correct size for safety |
| Lint-free cloth | Clean lamp and compartment | Avoid dust and fingerprints |
| Work gloves | Protect lamp and hands | Wear clean, cotton material |
| Magnetic parts tray | Store screws and small components | Prevent loss during work |
Pro tip: Always ground yourself and work on a clean static-free surface when handling delicate projector components to prevent accidental electrical discharge or contamination.
Step 2: Power Down and Prepare Your Projector
Preparing your projector for lamp replacement requires careful electrical safety procedures. You will systematically power down and cool your device to prevent potential electrical hazards or accidental damage during the lamp replacement process.
Start by completely powering off your projector using the main power button and then unplug the device from electrical outlets to eliminate any potential electrical current. Allow the projector to cool down for at least 15 to 20 minutes. Projector lamps generate significant heat during operation and can remain extremely hot immediately after use. This cooling period protects you from potential burns and allows internal components to reach a safe temperature for handling.
Position your workspace with good lighting and a clean flat surface where you can safely work. Gather a soft cloth or workstation mat to protect both the projector and your working surface. Remove any nearby objects that might obstruct your workspace or accidentally interfere with the lamp replacement process.
Pro tip: Keep a small container or magnetic parts tray nearby to safely store screws and small components during your projector lamp replacement.
Step 3: Safely Remove the Old Projector Lamp
Removing the old projector lamp requires precision and careful handling to prevent damage to your expensive electronic equipment. You will methodically extract the old lamp while minimizing potential risks to both the projector and the replacement component.
Locate the lamp cover on your projector and carefully remove it according to the manufacturer's instructions. Proper electronic component removal involves using the correct screwdriver and applying gentle pressure. Most Epson projectors have a specific release mechanism that allows you to slide the old lamp out carefully. Wear clean cotton gloves to prevent oils from your skin contaminating the lamp housing or new bulb.
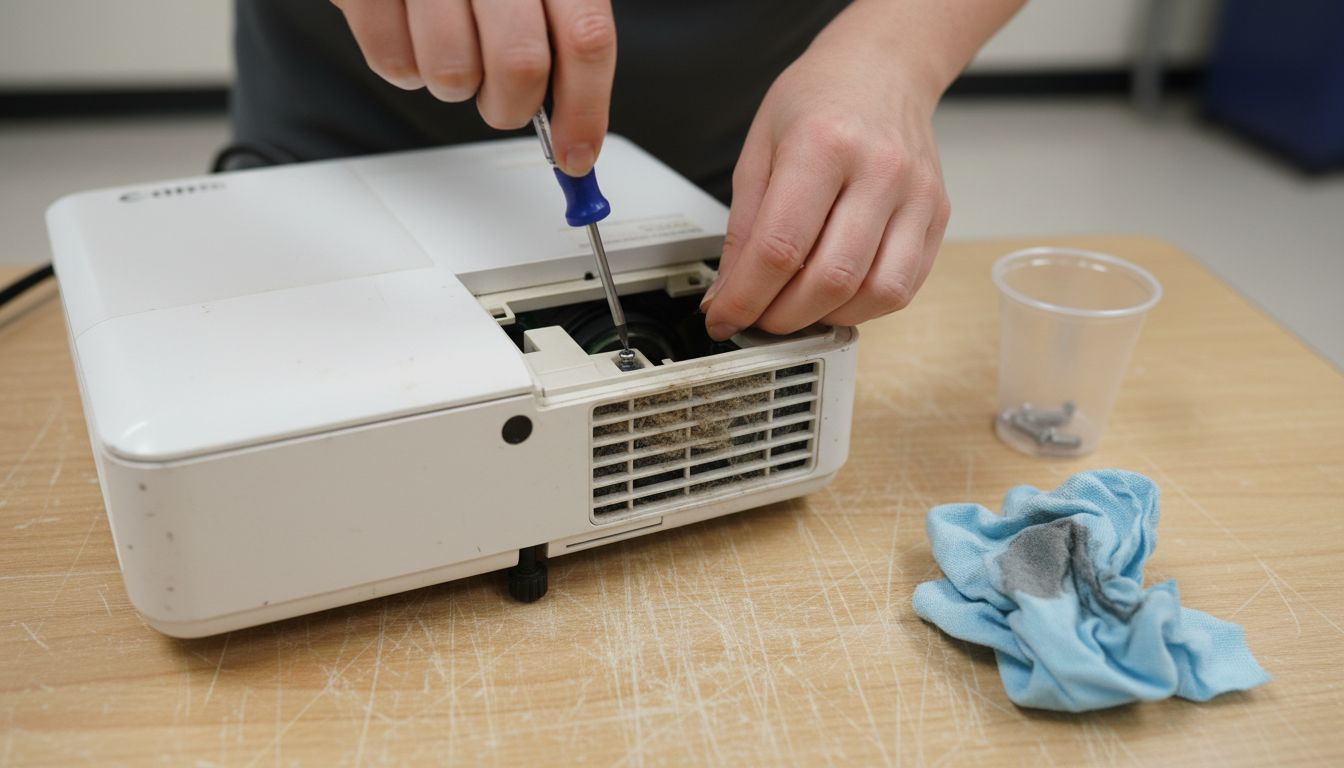
Inspect the lamp compartment for any dust or debris before removal. Gently disengage the electrical connections by following the projector's specific design typically involving a simple release clip or connector. Support the lamp from its base during removal to avoid putting stress on delicate internal components.
Pro tip: Take a quick smartphone photo of the lamp placement and connections before removal to serve as a reference when installing the new lamp.
Step 4: Install the New ELPLP96 Lamp Properly
Installing your new ELPLP96 lamp requires careful attention to detail and precision to ensure optimal projector performance. You will methodically place the replacement lamp into your projector while maintaining the integrity of both the lamp and the device.
Lamp installation techniques involve aligning the new ELPLP96 lamp module precisely within the projector housing. Hold the lamp by its base and carefully slide it into the designated slot ensuring the electrical contacts match perfectly. Apply gentle, even pressure to secure the lamp without forcing it. Verify the lamp sits flush and the connection points are clean and properly aligned.
Double check the lamp cover is securely fastened after installation. Gently wiggle the lamp to confirm it is locked into place without any excess movement. Clean any fingerprints or dust from the lamp surface using a microfiber cloth to prevent potential performance issues during initial use.
Pro tip: Wait at least 10 minutes after installation before powering on the projector to allow the new lamp to settle into its mounting position.
Step 5: Test the Projector and Ensure Brightness
After successfully installing the new ELPLP96 lamp, you will now verify the projector's performance and confirm the lamp is functioning correctly. This critical step ensures your projection system operates at optimal brightness and image quality.
Carefully power on the projector and observe the initial startup screen. Use projection brightness measurement tools to assess the lamp's performance and illuminate your workspace effectively. Check that the image appears sharp, clear, and uniformly bright across the entire projection surface. Pay close attention to any warning indicators or unusual color shifts that might suggest improper installation or potential lamp issues.
Run through several different image types and brightness settings to comprehensively test the new lamp. Project white screens, color gradients, and detailed images to confirm consistent illumination and color reproduction. Listen for any unusual sounds and monitor the projector's temperature during the initial test period to ensure smooth operation.
This table highlights common projector lamp issues after installation and how to address them:
| Issue | Possible Cause | Solution |
|---|---|---|
| Dim projection | Incorrect lamp seating | Reseat lamp and check alignment |
| Warning indicator light | Improper connections | Reattach clips/connectors firmly |
| Unusual color shifts | Dirty lamp surface | Clean with microfiber cloth |
| Loud fan noise | Poor cooling or obstruction | Check for debris, reposition fan |
Pro tip: Keep the original packaging and warranty information for the ELPLP96 lamp in case you need to verify replacement details or contact manufacturer support.
Upgrade Your Projection Experience with Quality Components and Accessories
Replacing your projector lamp with the ELPLP96 model can restore your device's brightness and performance but finding reliable, high-quality replacement parts is essential. If you have faced challenges like dim images or tricky installations, you are not alone. Proper tools, precise compatibility, and supporting accessories make all the difference in ensuring your projector shines as intended. At ProjectorDisplay.com, we understand your goal to maintain a crystal-clear picture and hassle-free setup whether for home theater or business needs.

Explore our wide selection of projector lamps, proven to meet exact model specifications and built for durability. While you perfect your lamp replacement, consider pairing your upgraded projector with premium projector screens for vibrant, true-to-life images. Protect your investment on the go with sturdy projector bags and cases designed to keep your gear safe and ready. Visit ProjectorDisplay.com now to shop smart, access expert support, and get fast delivery throughout Malaysia. The time to reclaim stunning projections is now.
Frequently Asked Questions
How do I know if the ELPLP96 lamp is compatible with my projector?
To determine compatibility, check your projector model number and refer to compatibility guides specific to projector lamps. Verify that the ELPLP96 replacement lamp matches your projector to ensure proper functionality before purchase.
What tools do I need to replace my projector lamp with the ELPLP96?
You'll require a Phillips head screwdriver, a lint-free cloth, work gloves, and possibly a magnetic parts tray. Gather these tools to facilitate a safe and organized lamp replacement process.
How do I safely remove the old projector lamp?
Begin by locating the lamp cover and remove it according to your projector's manual. Carefully disengage the electrical connections and support the lamp from its base as you remove it, minimizing the risk of damage to both the lamp and the projector.
What should I do after installing the new ELPLP96 lamp?
After installation, power on the projector and observe the startup screen for any performance issues. Test the brightness and clarity of the projection across various images to ensure optimal functionality.
How can I troubleshoot a dim projection after replacing the lamp?
If the image appears dim, reseat the lamp to ensure it is securely in place and correctly aligned. Check for any dust on the lamp surface or around the projector that could impact brightness and clean as necessary.