Your presentation is halfway through when the projector screen suddenly dims. Your ELPLP97 lamp has reached the end of its life, disrupting your workflow and leaving your audience waiting. Replacing this critical component doesn't require professional help or extended downtime. This guide walks you through every step to safely replace your ELPLP97 projector lamp, restore optimal brightness, and get back to delivering impactful presentations and engaging lessons with confidence.
Table of Contents
- What You Need Before Replacing Your ELPLP97 Projector Lamp
- Step-by-Step Guide To Replacing Your ELPLP97 Projector Lamp
- Common Mistakes And Troubleshooting During ELPLP97 Lamp Replacement
- What To Expect After Replacing Your ELPLP97 Lamp
- Explore Top Projector Lamp Options And Accessories At Projector Display Malaysia
- Frequently Asked Questions
Key takeaways
| Point | Details |
|---|---|
| Timely replacement matters | ELPLP97 projector lamps maintain image quality and prevent sudden failures during critical presentations |
| Preparation prevents errors | Gathering tools, ensuring safety, and creating a clean workspace minimizes replacement risks |
| Step-by-step process works | Following precise installation steps protects your projector and extends equipment lifespan |
| Avoid common mistakes | Proper cooling time, careful handling, and timer resets prevent performance issues |
| Post-replacement maintenance | Regular cleaning and eco-mode usage maximize your new ELPLP97 lamp's operational hours |
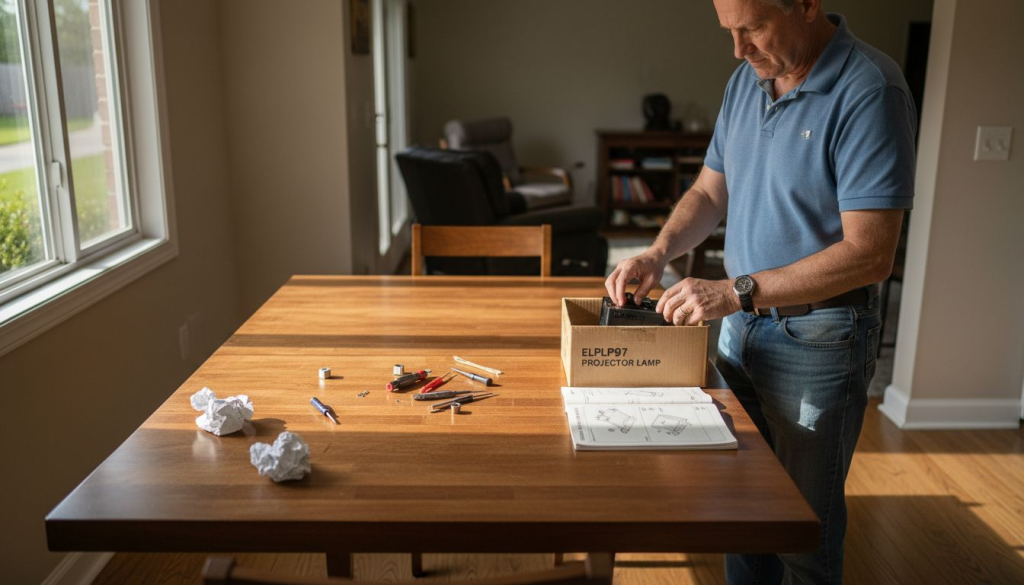
What you need before replacing your ELPLP97 projector lamp
Successful lamp replacement starts with thorough preparation. Rushing into the process without proper tools or safety measures leads to damaged equipment, personal injury, or suboptimal projector performance. Proper preparation including tools and safety gear reduces replacement errors and ensures a smooth installation experience.
Gather these essential tools before starting your replacement:
- Phillips head screwdriver (typically #1 or #2 size)
- Cotton or latex gloves to prevent oil transfer
- Microfiber cloth for cleaning optical surfaces
- Soft brush for removing dust from vents
- Flashlight or headlamp for visibility inside projector housing
Your workspace directly impacts replacement success. Choose a flat, stable surface with adequate lighting and minimal dust. Clear the area of clutter that could interfere with small screws or delicate components. Keep pets and children away during the process to prevent distractions or accidents.
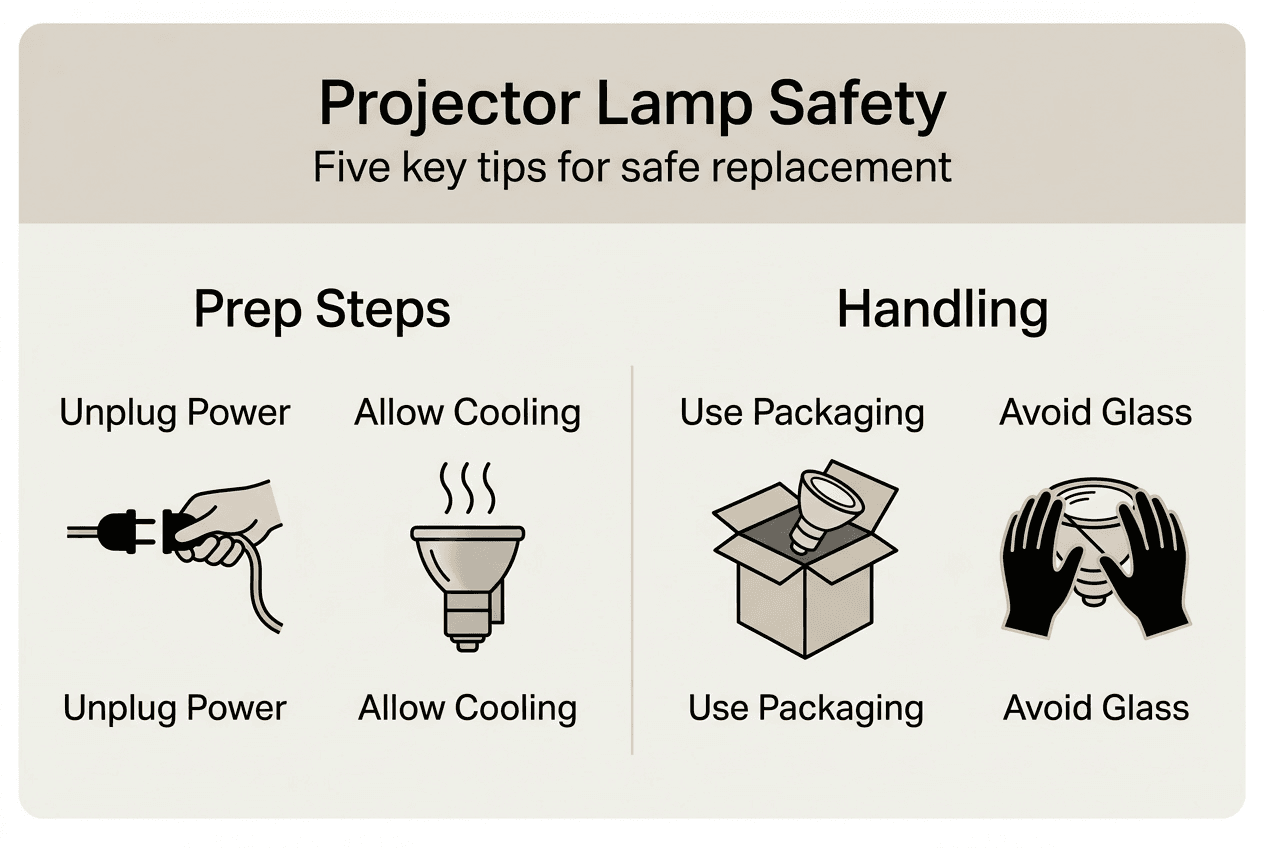
Safety precautions protect both you and your equipment. Always unplug the projector completely before beginning any maintenance work. The lamp reaches temperatures exceeding 200°C during operation, so allow at least 60 minutes of cooling time after powering down. Never attempt replacement on a warm projector, as the heat can cause severe burns or crack the new lamp upon installation.
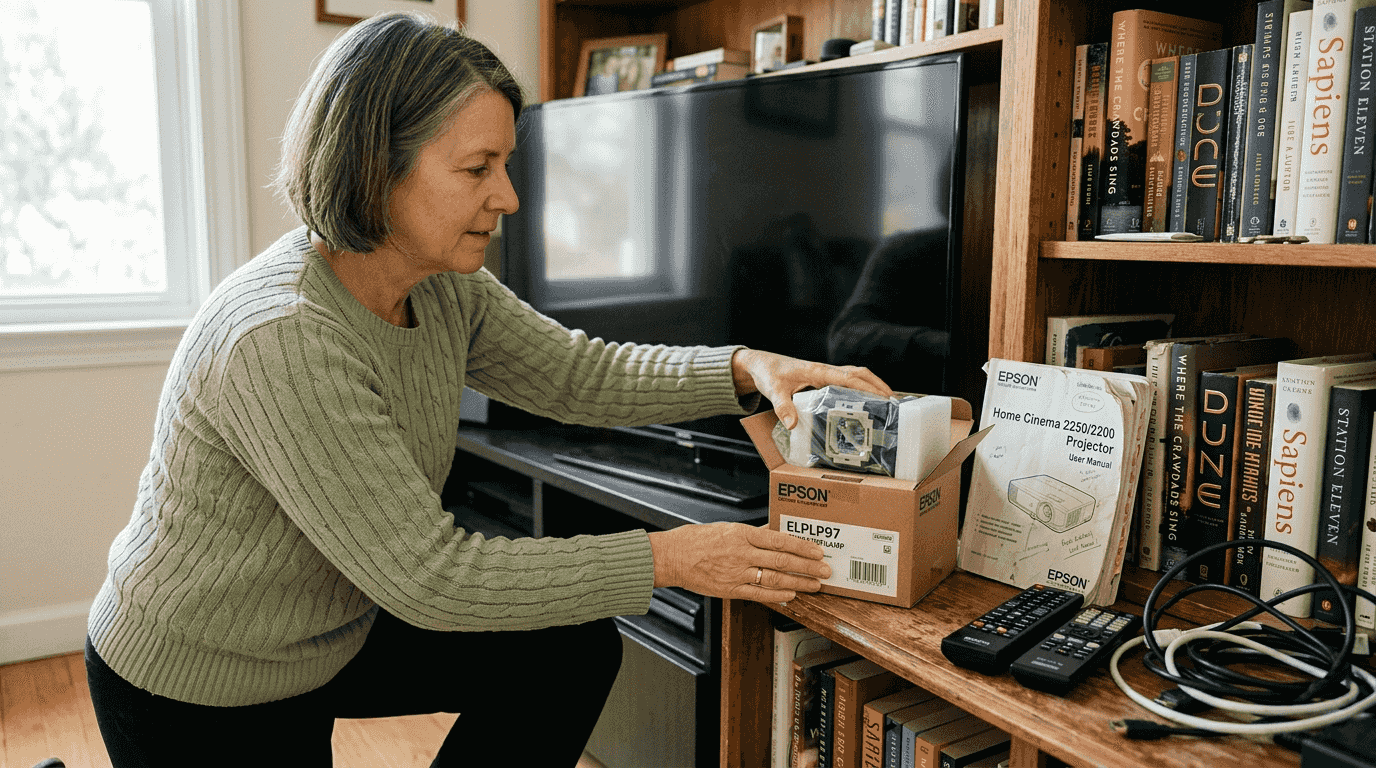
Verify you have the correct replacement lamp model. The ELPLP97 fits specific Epson projector series, and using an incompatible lamp damages your equipment or creates safety hazards. Check your projector's user manual or the label inside the lamp compartment to confirm compatibility before purchasing.
| Preparation Item | Purpose | Consequence if Skipped |
|---|---|---|
| Cooling time | Prevents burns and thermal shock | Injury risk and lamp damage |
| Correct lamp model | Ensures compatibility | Equipment malfunction |
| Clean workspace | Reduces contamination | Reduced lamp lifespan |
| Proper tools | Enables safe removal | Stripped screws or housing damage |
Pro Tip: Take photos of the lamp compartment before removal. These reference images help you remember the correct orientation and screw positions during reassembly, especially if you're replacing the lamp for the first time.
Understanding safety tips for projector lamps prevents common accidents. Handle the new ELPLP97 lamp by its plastic housing only, never touching the glass bulb. Oils from your skin create hot spots that shorten lamp life or cause premature failure. If you accidentally touch the glass, clean it gently with isopropyl alcohol and a lint-free cloth before installation.
Keep your replacement lamp in its protective packaging until you're ready to install. This prevents dust accumulation and accidental damage. Store the packaging for your old lamp, as you'll need it for proper disposal later.
Step-by-step guide to replacing your ELPLP97 projector lamp
With your workspace prepared and tools assembled, you're ready to begin the replacement process. Following precise replacement steps prolongs projector performance and avoids damage while ensuring your safety throughout the procedure. This systematic approach takes approximately 15 to 20 minutes for most users.
-
Power down your projector using the power button and wait for the cooling fan to stop completely. Unplug the power cord from both the projector and wall outlet. Verify the lamp has cooled for at least 60 minutes before proceeding.
-
Position your projector on a stable surface with the lamp compartment facing up or toward you, depending on your model. Most Epson projectors have the lamp access panel on top or side. Consult your user manual if you're unsure of the location.
-
Locate and loosen the lamp cover screws using your Phillips head screwdriver. These screws typically don't remove completely but loosen enough to release the cover. Keep track of any fully removable screws in a small container to prevent loss.
-
Remove the lamp cover carefully and set it aside. You'll see the lamp unit secured by two or three mounting screws. Take a reference photo at this stage if you didn't earlier.
-
Unscrew the lamp unit mounting screws completely and place them in your container. The lamp housing has a handle or grip designed for safe removal. Grasp this handle firmly with your gloved hand.
-
Pull the lamp unit straight out using steady, even pressure. Don't twist or angle the lamp during removal, as this can damage the connector or housing. If the lamp resists, check for any screws you may have missed.
-
Place the old ELPLP97 lamp in the protective packaging from your new lamp. This prevents mercury vapor release if the bulb breaks during disposal.
-
Remove your new ELPLP97 lamp from its packaging, handling only the plastic housing. Inspect the lamp for any shipping damage before installation. If you notice cracks or loose components, don't install the lamp and contact your supplier immediately.
-
Align the new lamp unit with the mounting slots inside the projector. The connector orientation only fits one way, preventing incorrect installation. Slide the lamp unit fully into position until it seats firmly against the back of the compartment.
-
Replace and tighten the mounting screws in a cross pattern to ensure even pressure. Don't overtighten, as this can crack the plastic housing. Firm hand-tightening is sufficient for most models.
-
Reattach the lamp cover and secure its screws. Verify the cover sits flush against the projector body with no gaps. An improperly seated cover affects cooling airflow and triggers safety interlocks.
-
Reconnect the power cord and turn on your projector. Most models display a lamp replacement reminder on first startup. Access your projector's menu system to reset the lamp timer to zero hours. This step is critical for accurate lamp life tracking.
Pro Tip: Write the installation date on a small label and attach it to the projector's base. This provides a quick reference for warranty claims and helps you track replacement intervals without accessing the menu system.
The entire replacement process requires patience and attention to detail. Rushing through steps or forcing components causes unnecessary damage. If you encounter resistance at any point, stop and reassess rather than applying more force. For additional guidance on similar lamp models, review the elplp95 replacement lamp guide or elplp96 projector lamp replacement resources.
Common mistakes and troubleshooting during ELPLP97 lamp replacement
Even with careful preparation, certain errors occur frequently during lamp replacement. Understanding these pitfalls helps you avoid costly mistakes and resolve issues quickly when they arise. Common issues include improper installation and failure to reset the lamp timer, both of which affect projector performance and longevity.
Avoid these frequent mistakes:
- Attempting replacement while the lamp remains hot causes burns and thermal shock damage
- Touching the lamp glass with bare hands leaves oils that create hot spots and premature failure
- Forgetting to reset the lamp timer prevents accurate life tracking and maintenance scheduling
- Using excessive force during installation cracks plastic housings or damages electrical connectors
- Skipping the cover screws compromises cooling airflow and triggers safety shutdowns
- Installing the lamp backward or at an angle prevents proper seating and electrical contact
If your projector displays error messages after replacement, check these common causes. A flashing lamp indicator typically means the lamp isn't fully seated or the timer wasn't reset. Power down the projector, verify the lamp is properly installed, and access the menu to reset the lamp hours counter.
Some projectors refuse to power on after lamp replacement due to safety interlocks. Verify the lamp cover is completely closed and all screws are tightened. Even a small gap triggers the interlock system, preventing operation until you secure the cover properly.
Dim or flickering images after installation suggest contamination on the lamp glass or improper electrical connection. If you touched the bulb during installation, remove the lamp and clean it with isopropyl alcohol. For connection issues, reseat the lamp unit and verify it's pushed fully into the connector.
"The most overlooked step in projector lamp replacement is resetting the hour counter. This simple menu function prevents premature replacement warnings and helps you track actual lamp life accurately."
Environmental responsibility matters when disposing of your old ELPLP97 lamp. These lamps contain small amounts of mercury and other materials requiring special handling. Never throw projector lamps in regular trash or recycling bins. Contact your local waste management authority to locate authorized e-waste collection centers. Many electronics retailers and projector suppliers offer lamp recycling programs that ensure proper disposal.
If your projector continues displaying errors after verifying installation and resetting the timer, consult Epson projector lamp replacement tips for model-specific troubleshooting. Persistent issues may indicate problems beyond the lamp itself, such as ballast failure or internal component damage requiring professional service.
Document your replacement process with photos and notes. This creates a valuable reference for future maintenance and helps you identify any steps you may have missed if problems arise. Many users find that their second lamp replacement goes much faster than the first because they've learned their specific projector's quirks.
What to expect after replacing your ELPLP97 lamp
Successful lamp replacement delivers immediate and noticeable improvements to your projector's performance. Understanding what changes to expect helps you verify the installation worked correctly and establish maintenance habits that maximize your investment. Regular maintenance and proper replacement extend ELPLP97 lamp longevity and image quality while preventing unexpected failures.
You'll notice restored brightness within the first few minutes of operation. The new ELPLP97 lamp produces significantly more lumens than your worn lamp, making images appear sharper and colors more vibrant. This difference is especially dramatic if you waited until complete lamp failure before replacing. Text becomes easier to read, and subtle color gradations that disappeared over time return to your presentations.
Typical ELPLP97 lamp lifespan ranges from 2,500 hours in normal mode to 5,000 hours in eco mode, depending on your specific projector model and usage patterns. Track these hours through your projector's menu system to plan your next replacement before sudden failure occurs. Most projectors display a warning message when the lamp reaches 80% of its rated life, giving you time to order a replacement.
Maximize your new lamp's operational life with these maintenance practices:
- Clean air intake filters monthly to prevent dust buildup and overheating
- Allow the projector's cooling cycle to complete before unplugging after each use
- Use eco mode for presentations that don't require maximum brightness
- Position the projector in well-ventilated areas away from dusty environments
- Avoid frequent power cycling, which stresses the lamp's ignition system
The ELPLP97 offers specific advantages compared to other Epson lamp models. Understanding these differences helps you appreciate your projector's capabilities and make informed decisions about future equipment purchases.
| Lamp Model | Typical Life (Normal) | Typical Life (Eco) | Brightness Output | Compatible Series |
|---|---|---|---|---|
| ELPLP97 | 2,500 hours | 5,000 hours | High | EB-9xx, EB-2xxx series |
| ELPLP96 | 3,000 hours | 6,000 hours | Very High | EB-W/X series |
| ELPLP95 | 2,500 hours | 5,000 hours | High | EB-2xxx series |
| ELPLP71 | 4,000 hours | 6,000 hours | Medium | EB-4xx series |
Pro Tip: Create a lamp replacement schedule based on your actual usage patterns rather than just hours. If you primarily use eco mode, you can safely extend replacement intervals. However, if you notice any brightness degradation or color shifting before reaching the rated hours, replace the lamp early to maintain professional presentation quality.
Recognize these warning signs that indicate your ELPLP97 lamp needs replacement again:
- Noticeable dimming compared to initial brightness after installation
- Yellow or brown color cast that color correction can't fix
- Longer warm-up times before reaching full brightness
- Flickering or unstable image that worsens over time
- Increased fan noise as the projector works harder to cool an aging lamp
For more information about optimizing projector lamp performance across different models, explore elplp71 projector lamp benefits and compare features relevant to your specific needs.
Regular performance monitoring helps you catch issues early. Test your projector monthly by displaying a white screen and checking for even brightness across the entire image. Dark spots or uneven illumination suggest lamp degradation or optical system problems requiring attention.
Explore top projector lamp options and accessories at Projector Display Malaysia
Maintaining your projector's performance requires access to genuine replacement parts and expert guidance. Projector Display serves Malaysian professionals and educators with an extensive selection of authentic ELPLP97 lamps and compatible accessories. As the top projector seller in Malaysia, we understand the critical role your projection equipment plays in daily operations.

Our current projector lamp sale products feature competitive pricing on genuine Epson lamps, including the ELPLP97 and related models. Each lamp comes with manufacturer warranties and quality guarantees, ensuring you receive authentic components that meet original specifications. We stock replacement lamps for all major projector brands, eliminating the guesswork from compatibility questions.
Beyond replacement lamps, our team provides comprehensive support for projector setup and maintenance. Whether you're installing a new classroom system or upgrading your conference room, our projector installation guide 2026 offers detailed instructions for optimal placement and configuration. Fast shipping throughout Peninsular Malaysia means your replacement lamp arrives quickly, minimizing presentation downtime.
Frequently asked questions
How do I know if the ELPLP97 lamp needs replacing?
Warning signs include noticeably dimmer images, yellow or brown color casts, flickering displays, and lamp indicator lights on your projector. Most Epson models display an on-screen message when the lamp approaches its rated life. Typical ELPLP97 lamps last 2,500 to 5,000 hours depending on usage mode, so tracking hours through your projector's menu helps you anticipate replacement needs before sudden failure disrupts your work.
Can I replace the ELPLP97 lamp myself or should I hire a professional?
DIY replacement is straightforward for most users who follow proper procedures and safety precautions. The process takes 15 to 20 minutes and requires only basic tools like a Phillips screwdriver. Professional help makes sense if you're uncomfortable working with electronics, if your projector is ceiling-mounted in a difficult location, or if you're replacing lamps on expensive equipment under warranty. Improper installation voids warranties and can damage your projector's electrical system.
How should I dispose of my old ELPLP97 projector lamp?
Old projector lamps contain mercury and other hazardous materials requiring specialized disposal. Never throw lamps in regular trash or household recycling bins. Contact your local waste management authority to find authorized e-waste collection centers. Many electronics retailers and projector suppliers offer lamp recycling programs that ensure environmentally responsible disposal. Keep the lamp in its protective packaging during transport to prevent breakage and mercury release.
What maintenance steps help extend the life of my ELPLP97 lamp?
Clean your projector's air filters monthly to prevent dust buildup that causes overheating and premature lamp failure. Use eco mode when maximum brightness isn't necessary, as this can double your lamp's operational life. Avoid frequent power cycling by leaving the projector on between presentations scheduled close together. Always allow the cooling fan to complete its cycle before unplugging the projector, as sudden power loss while the lamp is hot shortens its lifespan significantly.
Recommended
- How to replace your ELPLP96 projector lamp safely in 2026 – Projector Display
- Replace Your Projector Bulb With ELPLP96 Lamp Easily – Projector Display
- How to Install an elplp78 Replacement Projector Lamp Easily – Projector Display
- Replace Your elplp95 Replacement Projector Lamp Easily – Projector Display
- LED-Lampe Anschließen – Anleitung Für Sichere Und Normgerechte Installation