
For many busy business owners in Malaysia, a dull projector image during an important meeting can disrupt your flow and impact how your company is perceived. Keeping your presentations sharp and dependable starts with choosing the right replacement lamp and following the correct steps. This guide highlights simple, practical tips for preparing your workspace and safely replacing your elplp95 projector lamp with confidence, so you can enjoy reliable and vivid visual displays every time.
Table of Contents
- Step 1: Gather Necessary Tools And Prepare Workspace
- Step 2: Power Off And Cool Down The Projector
- Step 3: Remove The Old Elplp95 Replacement Projector Lamp
- Step 4: Install The New Elplp95 Replacement Projector Lamp
- Step 5: Test And Verify Projector Operation
Quick Summary
| Key Point | Explanation |
|---|---|
| 1. Prepare Your Workspace | Set up a clean, organized area with proper lighting and tools to ensure an efficient replacement process. |
| 2. Allow Projector to Cool Down | Wait at least 45 minutes after shutting down to prevent burns and equipment damage from hot components. |
| 3. Handle Lamp with Precision | Carefully remove and install the lamp, avoiding contact with the glass to prevent damage or reduced lifespan. |
| 4. Test the Projector Thoroughly | After installation, check lamp status and image quality to confirm proper functionality without issues. |
| 5. Organize Tools and Parts | Use containers to keep screws and small parts secure during the process to avoid misplacement or loss. |
Step 1: Gather necessary tools and prepare workspace
Before diving into replacing your elplp95 projector lamp, you'll need to set up a clean, organized workspace that ensures a smooth replacement process. Gathering the right tools and creating a suitable environment will help you complete this task efficiently and safely.
Start by collecting the following essential tools:
- Replacement lamp for your specific projector model
- Clean microfiber cloth
- Anti-static wrist strap (recommended)
- Small Phillips head screwdriver
- Compressed air duster
- Work gloves (optional)
- Soft, clean surface or workspace mat
Choose a workspace with ample lighting and a stable, flat surface. Ideally, select a clean area away from dust, pet hair, and other potential contaminants that could interfere with your projector's delicate components. A kitchen table or large desk works perfectly.
Proper preparation prevents poor performance – organize your workspace before starting any technical task.
Protect your work surface by laying down a soft cloth or anti-static mat. This prevents scratches and provides a cushioned area for handling delicate electronic components. Ensure you have enough room to spread out your tools and the projector.
Here's a quick reference comparing workspace preparation tips for safe projector lamp replacement:
| Workspace Aspect | Why It Matters | Best Practice |
|---|---|---|
| Lighting | Prevents mistakes and fatigue | Use bright, ample lighting |
| Surface Type | Protects projector components | Use a smooth, flat area |
| Cleanliness | Minimizes dust and debris | Keep area thoroughly clean |
| Organization | Reduces lost parts risk | Arrange tools before start |
Pro tip: Keep a small container nearby to store screws and small parts during the replacement process to prevent accidentally losing them.
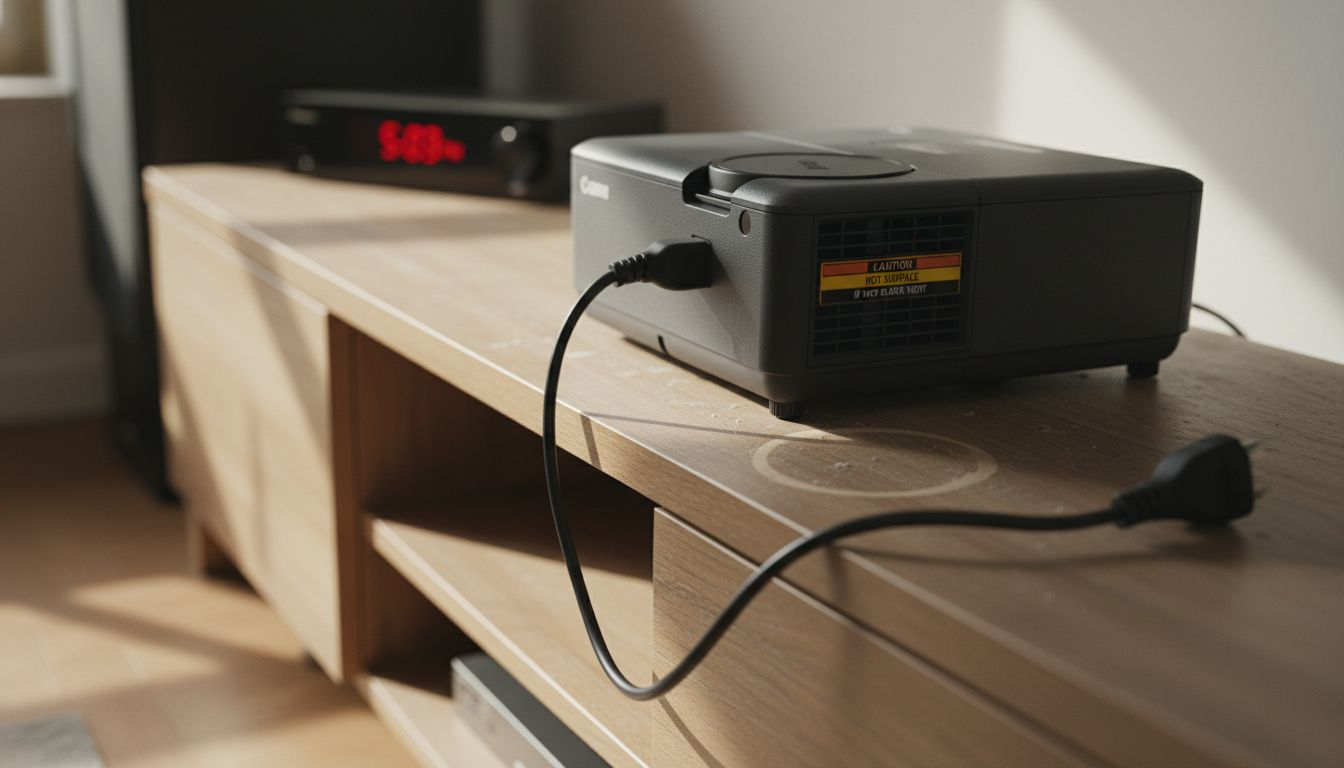
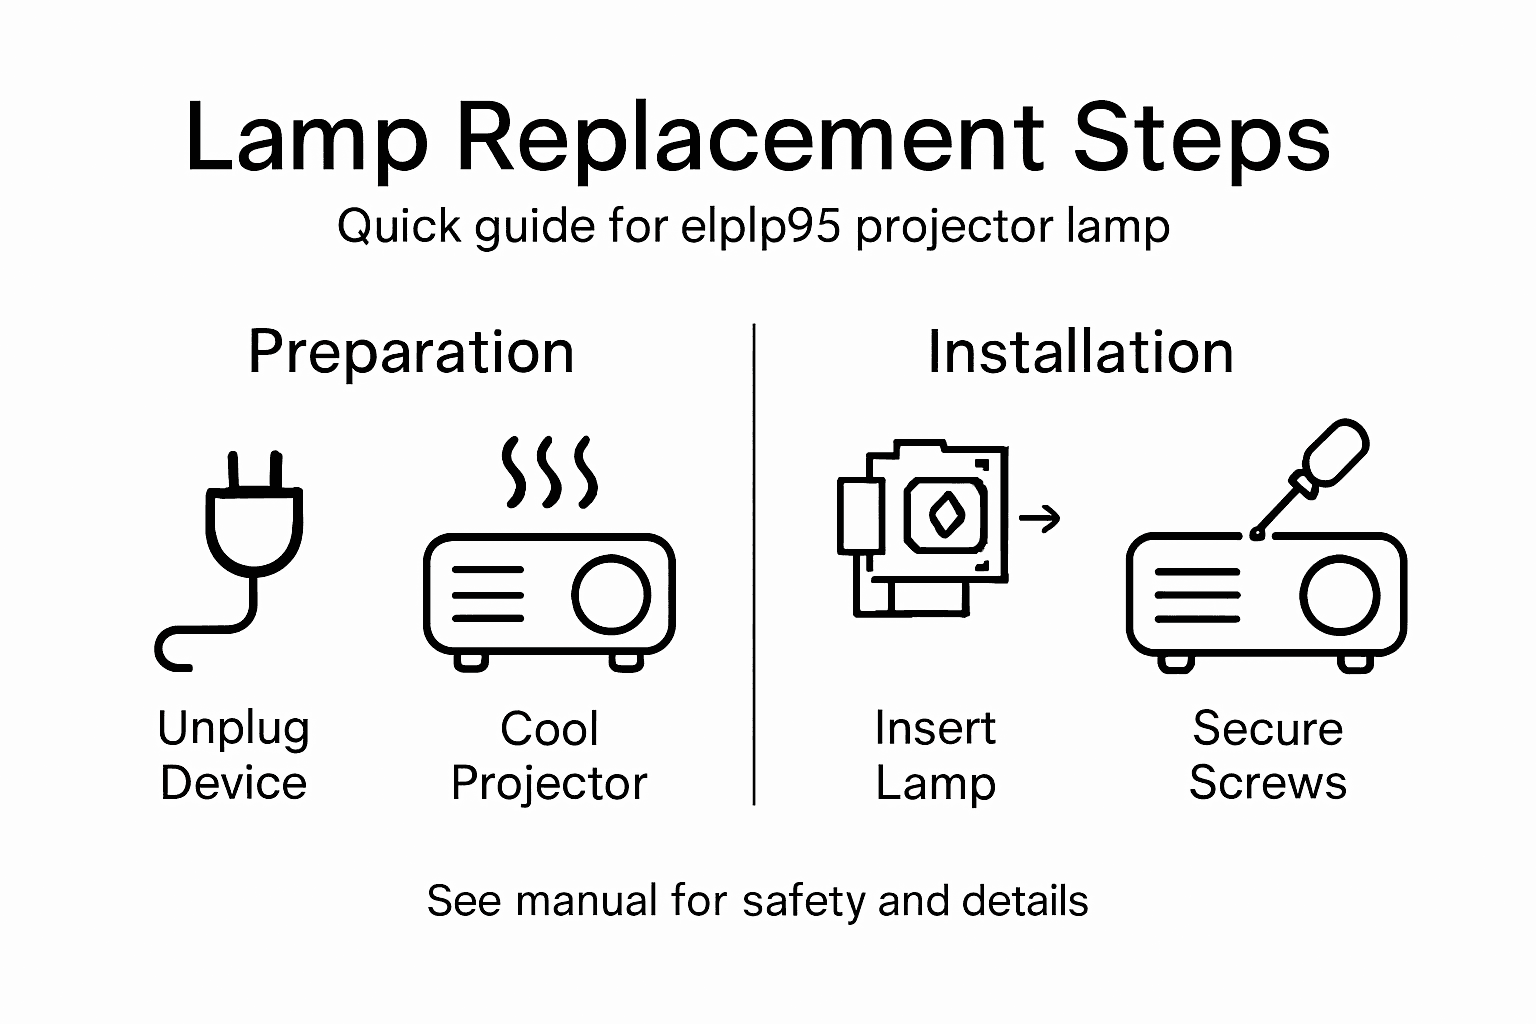
Step 2: Power off and cool down the projector
Before attempting to replace your elplp95 projector lamp, you must safely power down and allow the projector to cool completely. Proper cooling prevents potential burns and equipment damage.
Follow these critical steps to ensure safe lamp replacement:
- Shut down the projector using the designated power button
- Unplug the power cord from the electrical outlet
- Wait at least 45 minutes for the lamp and internal components to cool completely
The cooling period is essential because projector lamps generate intense heat during operation. Touching a recently used lamp or internal components can cause serious burns and potentially damage sensitive electronics.
Safety first: Always allow sufficient time for your projector to cool before attempting any maintenance.
Position the projector in a well-ventilated area during the cooling process. Avoid placing it near heat sources or in direct sunlight, which could interfere with the natural cooling process.
Pro tip: Use this cooling time to organize your replacement lamp and tools, ensuring everything is ready for a smooth installation process.
Step 3: Remove the old elplp95 replacement projector lamp
Now that your projector is safely powered down and cooled, you'll carefully remove the existing lamp. Proper lamp removal requires precision and careful handling.
To successfully remove the old lamp, you'll need to follow these specific steps:
- Locate the lamp compartment on your projector
- Identify the specific screws securing the lamp cover
- Carefully remove the cover using a Phillips head screwdriver
- Release the lamp assembly using the manufacturer's recommended method
Be extremely careful during this process. Most projector lamps have delicate components that can be easily damaged. Look for a release mechanism like a latch or clip that secures the lamp in place. Some models require you to press a specific button or slide a release mechanism before pulling the lamp out.
Precision matters: Handle the lamp assembly with extreme care to prevent potential damage to your projector.
When removing the lamp, avoid touching the glass surface directly. Oils from your skin can create hotspots that might cause premature lamp failure. If you accidentally touch the glass, use a clean microfiber cloth to gently remove any fingerprints.
Pro tip: Photograph the current lamp's position before removal to ensure you install the new lamp exactly the same way.
Step 4: Install the new elplp95 replacement projector lamp
With the old lamp carefully removed, you're now ready to install the new elplp95 replacement lamp. Precise installation ensures optimal projector performance.
Follow these critical steps for a successful lamp installation:
- Inspect the new lamp for any shipping damage
- Align the lamp precisely with the projector's lamp holder
- Insert the lamp smoothly without forcing
- Secure the mounting screws carefully
- Reattach the lamp compartment cover
Pay close attention to the lamp's orientation. Most projector lamps have specific alignment markers or keying mechanisms that prevent incorrect installation. Look for small arrows or notches that indicate the correct positioning.
Precision is key: Gentle, deliberate movements prevent potential damage to your expensive projector components.
When tightening the mounting screws, apply steady and even pressure. Avoid overtightening, which can crack the lamp housing or damage the mounting brackets. Tighten until the screws are secure but not strained.
Compare common projector lamp installation mistakes and their possible consequences:
| Mistake | Potential Impact | Prevention Tip |
|---|---|---|
| Touching lamp glass | Shortens lamp lifespan | Wear gloves or use cloth |
| Overtightening screws | Cracks lamp housing | Tighten gently and evenly |
| Incorrect lamp alignment | Poor image quality | Double-check orientation |
| Skipping cooling period | Risk of burns and damage | Wait at least 45 minutes |
Pro tip: Wear clean, lint-free gloves during installation to prevent oils and debris from contaminating the new lamp's surface.
Step 5: Test and verify projector operation
After successfully installing the new elplp95 replacement lamp, it's crucial to power on and verify your projector's performance. Comprehensive testing ensures your lamp functions correctly.
Follow these systematic verification steps:
- Reconnect the power cord
- Power on the projector using the main control button
- Check initial lamp status through on-screen indicators
- Project a test image to evaluate picture quality
- Listen for unusual sounds during startup
During the first few minutes of operation, pay close attention to image clarity, color consistency, and overall brightness. Watch for any flickering or abnormal light patterns that might indicate an improper installation.
A successful lamp replacement should result in clear, stable projection without any performance anomalies.
If you notice any issues like uneven illumination, strange noises, or error messages, double-check the lamp installation. Ensure all connections are secure and the lamp is seated correctly in its housing.
Pro tip: Keep your projector's user manual nearby during testing in case you need to reference specific troubleshooting steps.
Enhance Your Viewing Experience with Reliable Projector Solutions
Replacing your elplp95 replacement projector lamp can be challenging if you lack the right tools or quality parts. The article highlights common pain points such as ensuring proper lamp alignment, avoiding damage from touching the glass, and allowing sufficient cooling time to protect your projector. These steps show how critical precise handling and premium components are to prevent flickering, uneven brightness, or shortened lamp lifespan.
At ProjectorDisplay.com, we understand the importance of dependable projector performance for home theaters, business presentations, and educational use. That is why we offer a wide selection of high-quality projector lamps compatible with your model alongside a variety of projector screens and sound systems to complete your audiovisual setup.

Ready to upgrade your projector setup for flawless visuals and sound? Visit ProjectorDisplay.com now to explore our expertly curated selection. Don't risk poor image quality or downtime with substandard parts. Choose trusted replacement lamps and find everything you need to bring your visual display technology to life today.
Frequently Asked Questions
How do I prepare my workspace for replacing the elplp95 projector lamp?
To prepare your workspace, select a clean, well-lit area with a stable surface. Organize essential tools like the replacement lamp, screwdriver, and microfiber cloth to ensure efficiency and safety during the replacement process.
What safety precautions should I take before replacing the elplp95 projector lamp?
Always power off your projector and unplug it from the electrical socket before starting. Wait at least 45 minutes for the lamp and internal components to cool down to avoid burns and damage.
How can I properly remove the old elplp95 projector lamp?
To remove the old lamp, locate the lamp compartment, remove the screws securing the cover, and carefully release the lamp assembly. Avoid touching the glass part of the old lamp to prevent damage and ensure a safe removal.
What steps should I follow to install a new elplp95 replacement projector lamp?
To install the new lamp, inspect it for damage, align it with the projector's lamp holder, and secure it with the mounting screws. Ensure that you double-check the lamp's orientation to guarantee proper functionality.
How can I verify that my projector is working correctly after replacing the lamp?
To verify the projector's operation, reconnect the power cord, turn it on, and check the initial lamp status on the screen. Project a test image and listen for any unusual sounds to ensure everything is functioning properly.
What should I do if the projector shows issues after replacing the elplp95 lamp?
If you notice any flickering or odd noises, double-check the lamp installation to ensure it's seated properly. Correct any misalignment or loose connections to restore optimal performance.