
Finding the right projector mount can be a challenge when every ceiling and projector model demands unique solutions. For enthusiasts striving to create the perfect home theater in Malaysia, choosing the ideal mounting location and mount type is essential for image clarity and safety. This guide walks you through each critical step, highlighting expert strategies for compatibility, secure installation, and room optimization to help you achieve a truly premium projection experience.
Table of Contents
- Step 1: Assess Mounting Location And Ceiling Structure
- Step 2: Choose The Right Projector Mount For Your Model
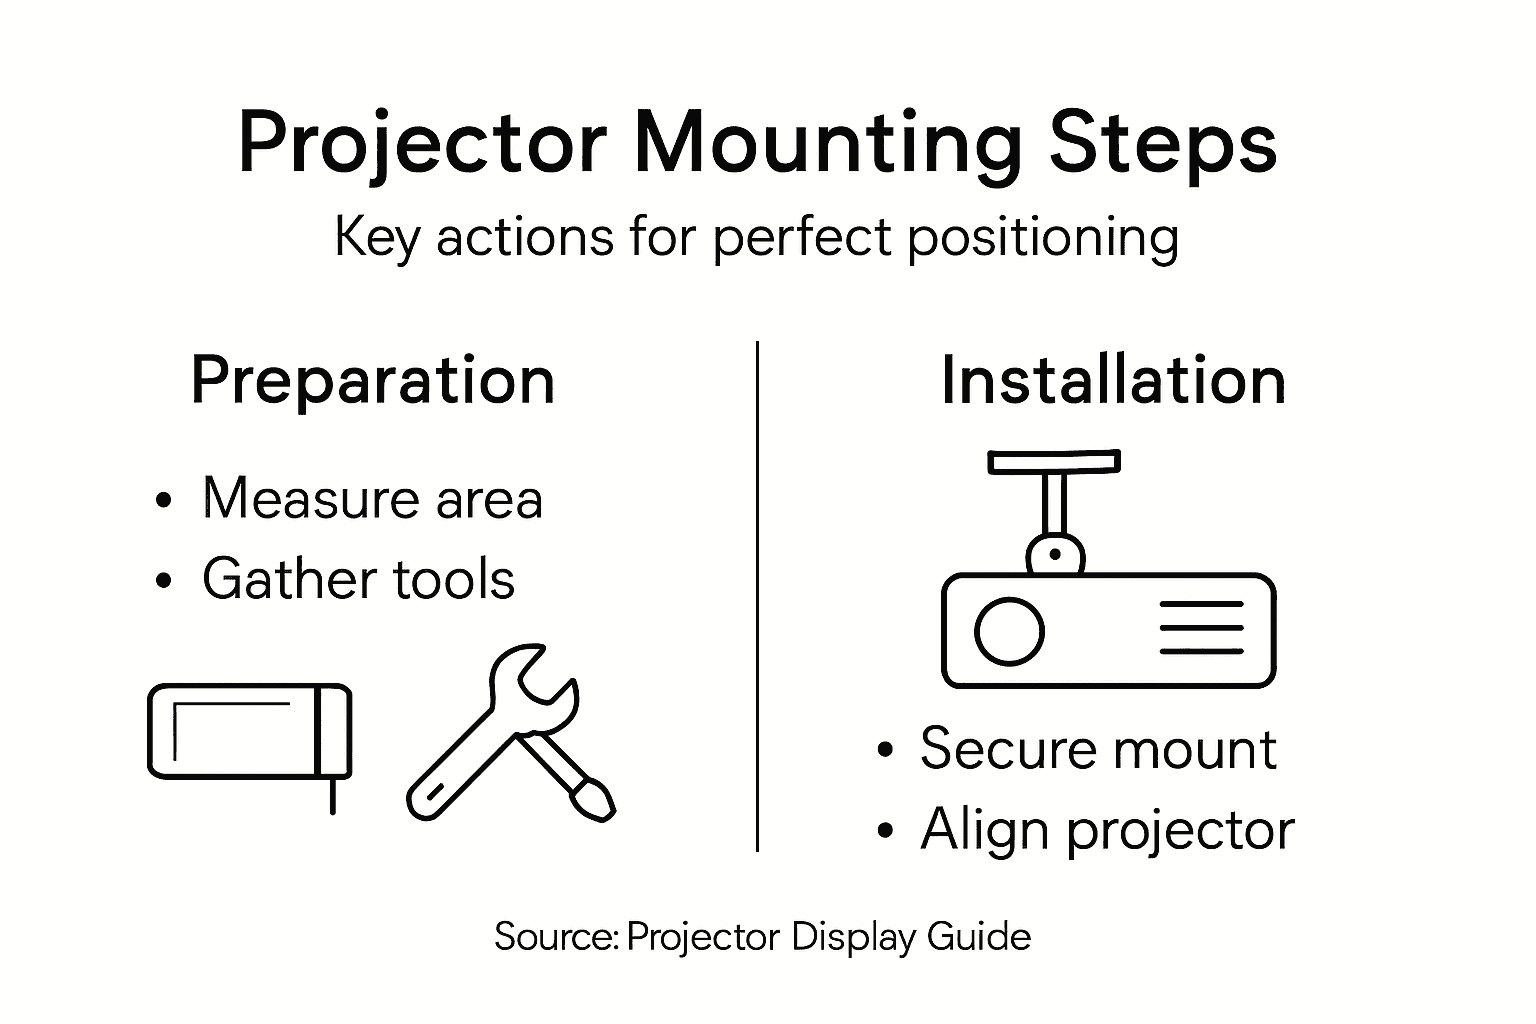
- Step 3: Gather The Necessary Tools And Materials
- Step 4: Install The Projector Mount Securely
- Step 5: Attach And Align Your Projector
- Step 6: Test Projector Image And Make Adjustments
Quick Summary
| Key Point | Explanation |
|---|---|
| 1. Assess ceiling structure first | Evaluate the ceiling's integrity and material to determine the correct mounting strategy for your projector. |
| 2. Choose the right projector mount | Select a mount based on your projector's weight, mounting hole pattern, and movement needs to ensure optimal performance. |
| 3. Gather essential tools and materials | Assemble tools like a power drill, stud finder, and level to facilitate a smooth installation process with minimal interruptions. |
| 4. Securely install the projector mount | Follow systematic steps to attach the mount safely, checking for stability and alignment before proceeding to mount the projector. |
| 5. Test and adjust image quality | Conduct thorough image quality checks and adjustments to maximize brightness, focus, and overall resolution for an exceptional viewing experience. |
Step 1: Assess Mounting Location and Ceiling Structure
Assessing the right mounting location for your projector is crucial for creating the ultimate home theater experience. In this step, you'll determine the optimal placement that ensures perfect viewing angles, image clarity, and structural safety.
Start by evaluating your ceiling's structural integrity. Professional educational resources recommend carefully examining the ceiling type and load-bearing capacity before installation. Different ceiling materials require specific mounting approaches:
- Drywall ceilings: Require finding sturdy ceiling joists
- Concrete ceilings: Need specialized anchoring hardware
- Suspended ceilings: Demand additional support brackets
Measuring and marking your intended mounting area helps visualize the final setup. Mounting guidelines suggest positioning the projector with specific considerations:
Here is a quick comparison of mounting strategies for different ceiling types:
| Ceiling Type | Best Mounting Strategy | Potential Challenges |
|---|---|---|
| Drywall | Attach to ceiling joists | Hidden joist locations |
| Concrete | Use specialized anchors | Requires masonry drill bits |
| Suspended | Add extra support brackets | Lower weight limits, stability |
- Maintain a 15-20 degree viewing angle
- Position screen bottom 24-36 inches above floor level
- Avoid direct lighting that could interfere with image quality
Before drilling any holes, use painter's tape to outline your mounting location. This allows you to test the positioning and ensure it meets your room's viewing requirements without permanent markings.
Proper planning prevents poor performance: Take time to assess your mounting location meticulously.
Pro tip: Use a digital laser level to guarantee precise horizontal alignment and prevent future viewing frustrations.
Step 2: Choose the Right Projector Mount for Your Model
Selecting the perfect projector mount is more than just picking a random bracket. You'll need to make a strategic choice that ensures your projector's safety, optimal positioning, and long-term performance.
Different projector mount types require careful consideration of several critical factors. These include:
- Ceiling mount for overhead projection
- Wall mount for shorter throw distances
- Adjustable mounts with tilt and swivel capabilities
- Universal compatibility with your specific projector model
Your mount selection depends on multiple technical specifications. Projector specifications like throw distance significantly impact mount requirements. Key considerations include:
- Verify your projector's exact weight
- Check mounting hole pattern
- Confirm maximum load capacity
- Assess required movement range
Choosing the wrong mount can damage your expensive equipment and compromise your viewing experience.
Pro tip: Always measure your projector's exact dimensions and weight before purchasing a mount to guarantee perfect compatibility.
Step 3: Gather the Necessary Tools and Materials
Preparing for your projector mount installation requires assembling the right tools and materials to ensure a smooth and professional setup. A well-organized approach will save you time and prevent frustrating interruptions during the installation process.
Safety guidelines recommend carefully selecting appropriate tools for secure mounting. Essential tools for your projector installation include:
- Power drill with variable speed settings
- Stud finder for locating ceiling support points
- Tape measure for precise measurements
- Level to ensure straight mounting
- Screwdriver set with multiple bit types
- Allen wrenches for specific mounting hardware
Projector mount installation guides suggest gathering these additional materials before starting:
Below is a summary of essential tools and materials needed for a trouble-free projector installation:
| Tool/Material | Purpose | Pro Installer Tip |
|---|---|---|
| Power drill | Create accurate holes | Use variable speed for control |
| Stud finder | Locate support points | Scan in multiple directions |
| Level | Ensure straight alignment | Double-check after adjustments |
| Safety glasses | Protect eyes from debris | Wear for every drilling task |
- Mounting brackets specific to your projector model
- Appropriate wall anchors
- Mounting screws
- Protective safety glasses
- Pencil for marking
Proper tool preparation is 90% of a successful installation – don't rush this critical step.
Pro tip: Always test your tools and verify their condition before beginning the installation to prevent unexpected complications.

Step 4: Install the Projector Mount Securely
Securing your projector mount correctly is the most critical step in ensuring a safe and stable projection setup. This stage demands precision, patience, and careful attention to detail to prevent potential equipment damage or safety risks.
Mounting guidelines emphasize locating structural support points before drilling any holes. Follow these systematic installation steps:
- Confirm stud or joist location using stud finder
- Mark precise mounting points using level and pencil
- Drill pilot holes to prevent material cracking
- Install appropriate wall anchors
- Attach mounting bracket using recommended screws
Key installation considerations include:
- Use correct drill bit size
- Tighten fasteners evenly
- Check mount stability before attaching projector
- Verify horizontal alignment
- Test weight distribution
Small installation mistakes can lead to significant projection problems – measure twice, install once.
Pro tip: Keep your mounting hardware organized and have a helper available to ensure precise alignment and safety during installation.
Step 5: Attach and Align Your Projector
The moment of truth arrives as you carefully connect your projector to the securely installed mount. This critical step requires precision and patience to ensure optimal image quality and long-term stability.
Projector mounting techniques emphasize careful attachment with several key considerations:
- Loosen mounting plate adjustment screws
- Position projector base precisely
- Tighten screws evenly and securely
- Check mount stability
- Fine-tune projector angle
Alignment strategies involve multiple adjustments:
- Center projector beam on screen
- Adjust zoom and focus
- Use keystone correction strategically
- Check image corners for distortion
- Verify horizontal and vertical alignment
Precision in attachment determines the difference between a good and great projection experience.
Pro tip: Make incremental adjustments and step back frequently to assess image quality from your primary viewing position.
Step 6: Test Projector Image and Make Adjustments
With your projector mounted, it's time to fine-tune the visual performance and ensure an impeccable viewing experience. This final calibration stage transforms your technical setup into a stunning visual display.
Image quality testing involves systematic evaluation of several critical parameters:
- Display full screen test pattern
- Check image uniformity
- Verify color accuracy
- Assess overall resolution
- Confirm aspect ratio
Key adjustment strategies include:
- Adjust focus for maximum sharpness
- Fine-tune keystone correction
- Modify brightness and contrast
- Test from multiple viewing angles
- Optimize ambient lighting
Precision matters: Even minor adjustments can dramatically improve your projection quality.
Pro tip: Use a white wall or professional test screen to get the most accurate image assessment during your initial calibration.
Achieve Flawless Projection With Expert Equipment and Accessories
Installing the perfect projector mount is essential but the key to stunning visuals also depends on the right screen and reliable accessories. If you want to avoid common installation frustrations like misalignment or poor image quality mentioned in the article, choosing premium products designed for ease of setup and precise performance is critical. Our selection at ProjectorDisplay.com helps you secure your projector confidently and maximize viewing angles for an immersive experience.

Explore our range including high-quality projector screens available at Projector Screen Archives – Projector Display for clear and vibrant displays. Complement your setup with protective cases from Projector Bag / Case Archives – Projector Display to keep your device safe and portable. Ready to elevate your home theater or presentation space? Visit our homepage at ProjectorDisplay.com today and take the first step towards flawless installation and perfect viewing.
Frequently Asked Questions
What is the best way to assess the mounting location for my projector?
To properly assess your projector mounting location, evaluate your ceiling's structural integrity and determine optimal viewing angles. Check for sturdy support points like ceiling joists and ensure your mount is positioned 15-20 degrees from eye level for the best image quality.
How do I choose the right projector mount for my specific model?
Select a projector mount that fits the weight and mounting hole pattern of your projector. Verify your projector's specifications and consider options like ceiling mounts or adjustable mounts to ensure compatibility and optimal positioning.
What tools do I need to install a projector mount securely?
Essential tools for installing a projector mount include a power drill, stud finder, tape measure, level, and a screwdriver set. Gather these tools before starting to streamline the installation process and avoid common delays.
What steps should I follow to install the projector mount?
Start by locating structural support points with a stud finder, then mark precise mounting points. Drill pilot holes, install wall anchors, and attach the mounting bracket, making sure all fasteners are tightened evenly for stability.
How can I ensure my projector is perfectly aligned after mounting it?
To align your projector properly, center the projector beam on the screen and adjust the zoom and focus. Use keystone correction and check the image corners for distortion to achieve a clear, quality display.
What adjustments are necessary after the projector is mounted?
After mounting your projector, test the image quality by displaying a full-screen test pattern. Adjust focus, brightness, contrast, and keystone settings to optimize the viewing experience from different angles.
Recommended
- Optimize Your Home Theater with Projector Mounting Options – Projector Display
- How to Mount Projector for Optimal Home Viewing Experience – Projector Display
- How to Mount a Projector: Step-by-Step Guide for Malaysia 2025 – Projector Display
- Master Projector Keystone Correction for Perfect Images – Projector Display