
TL;DR:
- Projector installation zoning involves planning projection, interaction, and safety areas before mounting projectors to ensure optimal image quality and audience safety. Proper zoning prevents errors, improves accuracy, protects viewers from laser exposure, and reduces installation rework. Skipping this step leads to reduced image consistency, sensor inaccuracies, and safety violations, making initial planning crucial.
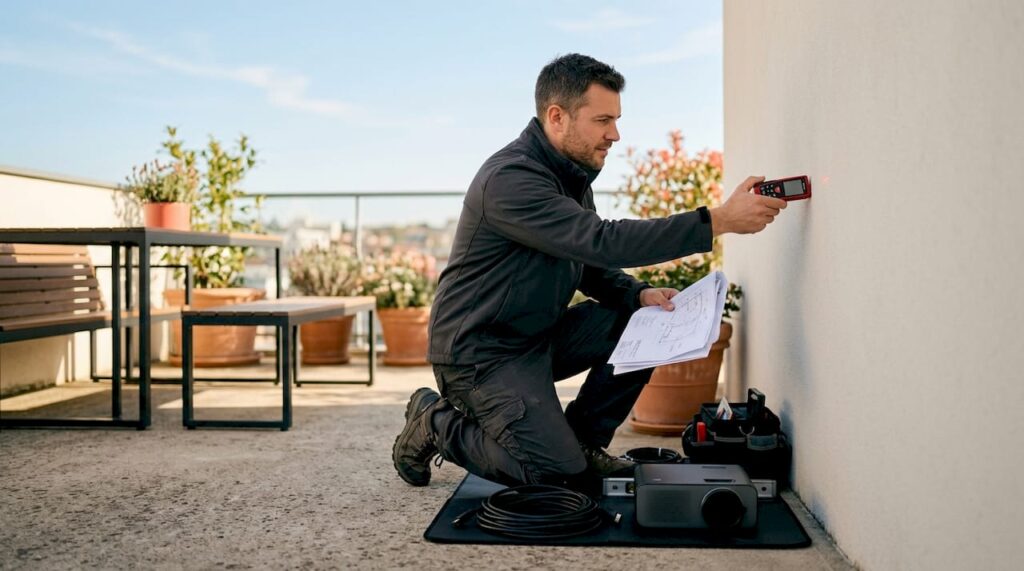
Projector installation zoning is the practice of defining distinct projection, interactive, and safety zones before mounting any projector in a room. It applies equally to a home theater in Kuala Lumpur, a classroom using an Epson projector Malaysia setup, or a corporate boardroom running a Viewsonic projector Malaysia display. Done right, zoning prevents image overlap errors, protects audiences from laser exposure, and makes multi-projector blending look seamless. Skip it, and you spend hours correcting problems that proper planning would have avoided entirely.
What is projector installation zoning and why does it matter?
Projector installation zoning is the process of mapping out specific areas in a room that define where projection falls, where users interact, and where safety restrictions apply. The industry term for this practice is "projection zone planning," and it covers three core zone types: overlap zones for multi-projector blending, interactive zones for sensor-tracked user areas, and safety zones for high-intensity laser beams.
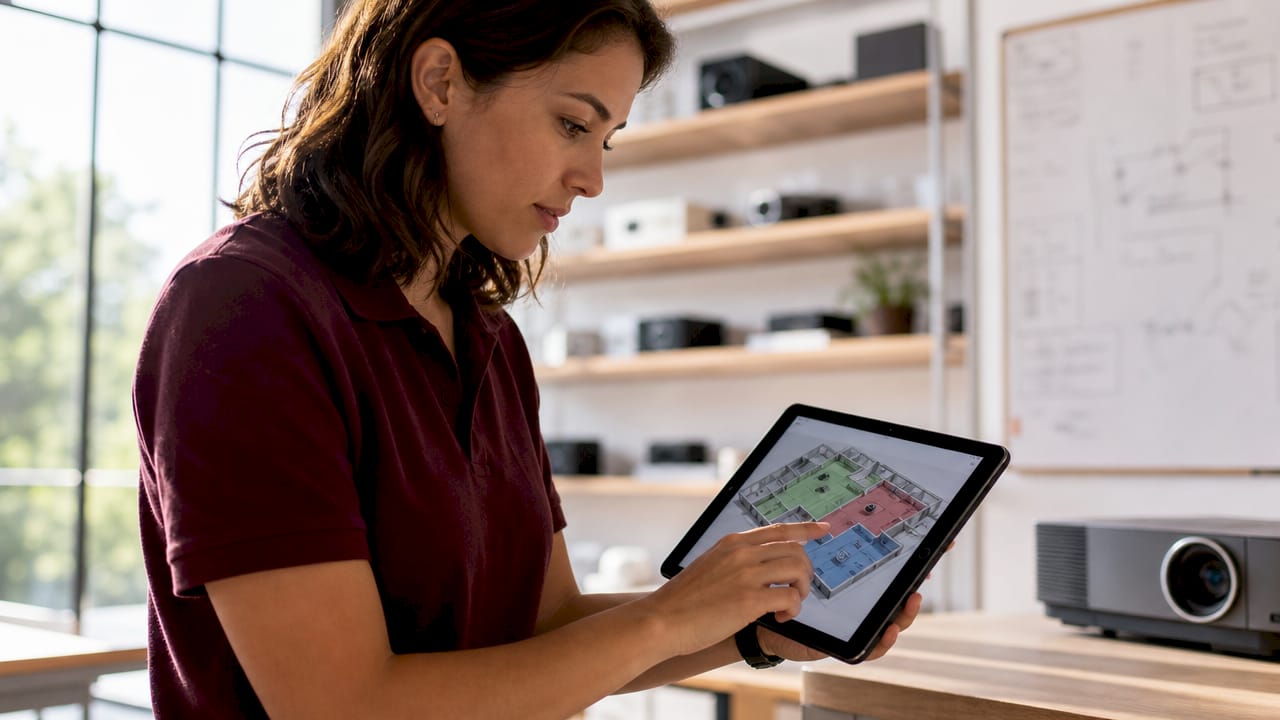
The reason zoning matters is simple. A projector placed without zone planning creates geometry problems, washed-out edges, and sensor errors that are expensive to fix after installation. Whether you are buying a BenQ projector Malaysia unit for a classroom or a Barco projector Malaysia system for a large venue, the physical and software zone layout determines the final image quality more than the projector's specs alone.
Zoning also protects your investment. A projector installation guide that skips zone planning forces you to adjust throw distances, keystone correction, and screen alignment after the fact. That costs time and often requires remounting the unit entirely. Getting the zone layout right before installation is the single most effective projector setup tip professionals follow.
What are the main types of projector installation zones?
Three distinct zone categories define every professional projector layout. Each serves a different purpose, and each requires its own planning approach.
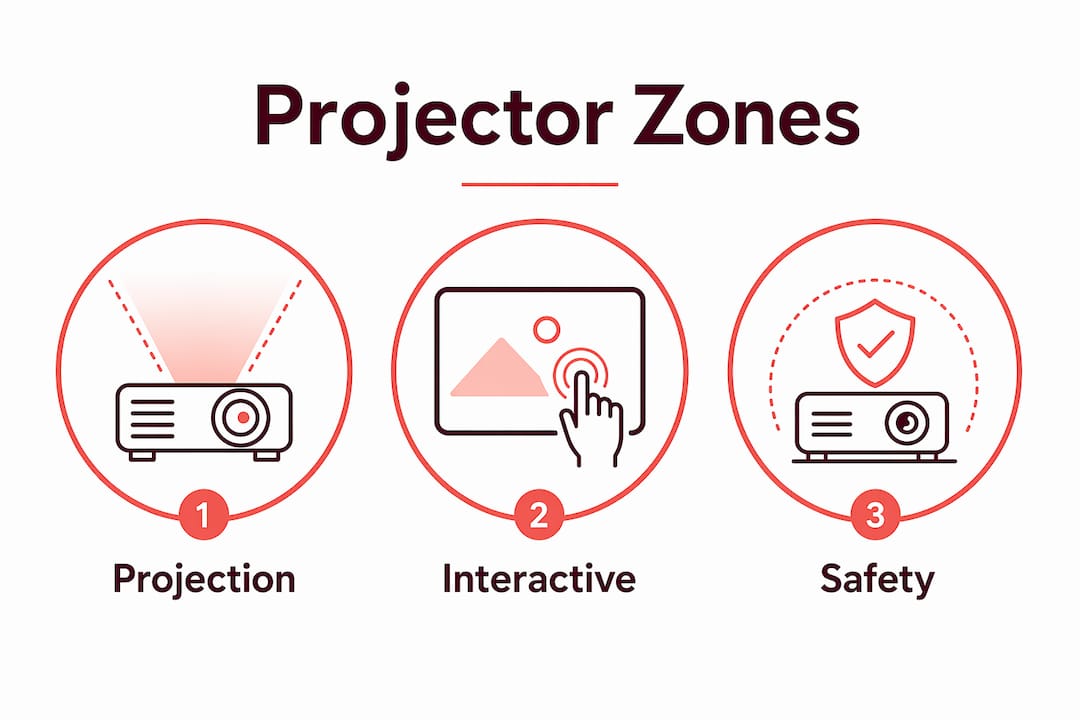
Overlap zones apply when two or more projectors share a screen or surface. Multi-projector overlap of 10–25% of the image width produces uniform edge blending without visible seams. That range is not arbitrary. Too little overlap creates a dark gap between images. Too much wastes projector output and reduces effective resolution. Epson projector Malaysia and Optoma projector Malaysia units both support edge blending through their built-in software, but the physical overlap zone must be defined first.
Interactive zones define the floor or wall area where sensors track user movement. These zones vary widely by application:
- Small play pods in schools or retail spaces require 3–5 m² of interactive footprint
- Immersive museum scenes and large exhibition floors need 15+ m² for user tracking
- Business display walls typically fall between these two extremes depending on audience size
Safety zones are mandatory for laser projectors. A Hisense projector Malaysia laser unit or a JVC projector Malaysia laser system emits beams that can cause eye injury if the audience enters a restricted area. Safety zones mathematically define where those beams are blocked or redirected. Panasonic projector Malaysia and NEC projector Malaysia professional laser models ship with documentation specifying minimum safety zone dimensions based on output power.
Understanding all three zone types before you buy projector Malaysia equipment saves significant rework during installation.
How does zoning improve image quality and interactive accuracy?
Zoning directly controls two outcomes that matter most in any projection setup: image uniformity and interaction reliability.
On the image side, planning overlaps during installation maintains consistent pixel density across the full display surface. When you define the overlap zone in the design phase, the projectors align to a shared geometry grid. Adjusting overlap after mounting forces you to recalibrate throw distance, keystone correction, and screen alignment simultaneously. Projector mapping professionals recommend finalizing overlap zones before a single bracket goes into the ceiling.
Software tools extend this precision further. Pangolin BEYOND, for example, supports multiple named projection zones that control beam types, graphic content, and effects across complex multi-projector shows. This means a single operator can assign different content to different zones from one interface, which is critical for large venue installations using Infocus projector Malaysia or Ricoh projector Malaysia systems.
On the interactive side, sensor zoning reduces false triggers by focusing detection on precise trigger areas rather than the entire room. A ceiling fan, an open window, or a person walking outside the intended zone can all generate false motion signals. Defining a tight trigger zone filters out that ambient movement and lowers response latency.
Pro Tip: Define your interactive trigger zone at least 30 cm inside the physical boundary of the interactive surface. This buffer prevents edge-case sensor errors when users approach the zone from outside.
Crowd zoning reinforces sensor accuracy further. Physical barriers and clear signage prevent users from crowding the sensor field, which overloads tracking systems and produces erratic responses. Managing crowd density as rigorously as the projection zone itself is what separates a reliable interactive installation from one that fails under real-world use.
What are the safety standards for laser projector zoning?
Laser projector safety zoning is not optional. It is a legal and technical requirement governed by IEC/EN 60825-1, the international standard that sets laser output and exposure limits for audience environments. Any professional installation using a laser projector in Malaysia must comply with this standard.
The core safety zoning concept is the 3D scan zone. Unlike a flat floor plan, a 3D scan zone accounts for the vertical and horizontal reach of the laser beam across the entire venue space. Laser industry experts emphasize that 3D spatial thinking is the only reliable way to define where audience-safe areas end and restricted zones begin. A flat 2D diagram misses beam angles that could expose seated or elevated audience members.
Key safety zoning requirements for laser installations include:
- Mathematically defined restricted zones that block high-intensity beams before they reach audience areas
- Emergency stop strategies that cut beam output instantly if a person enters a restricted zone
- Minimum separation distances between the projector aperture and the nearest audience member
- Documentation of zone boundaries submitted to venue management and, where required, regulatory authorities
Samsung projector Malaysia and JMGO projector Malaysia laser models include safety zone configuration tools in their setup software. ViviFocus projector Malaysia and Duvix projector Malaysia units also publish safety zone specifications in their installation manuals. Always verify that your specific projector model's safety zone requirements match the physical dimensions of your venue before installation.
How to plan effective projector zoning for any environment
Effective zone planning follows a consistent process regardless of whether you are setting up a best home projector Malaysia system or a best classroom projector for a school in Penang.
Step-by-step planning process:
- Survey the site. Measure the usable floor area, ceiling height, and any obstructions like columns or light fixtures. Record ambient light levels at different times of day.
- Define the screen zone. Determine screen size, aspect ratio, and position. This anchors all other zone calculations.
- Calculate throw distance. Use the projector's throw ratio to find the required mounting position. Short-throw projectors like many Epson LCD projector Malaysia models work well in tight classrooms. Long-throw units suit large auditoriums.
- Map overlap zones. For multi-projector setups, calculate the 10–25% overlap width for each projector pair and mark those boundaries on your floor plan.
- Define interactive zones. Mark trigger areas on the floor plan with exact dimensions. Confirm sensor coverage matches the zone boundaries.
- Apply safety zones. For laser projectors, calculate 3D restricted zones and mark physical barriers or signage positions.
Choosing the right projector type for each zone
| Environment | Recommended type | Key zoning consideration |
|---|---|---|
| Home theater | Short-throw or standard LCD | Single projection zone, keystone correction |
| Classroom | Short-throw LCD or laser | Interactive zone for whiteboard area |
| Large venue | Long-throw laser | Multi-projector overlap and safety zones |
| Museum or exhibition | Ultra-short-throw or floor | Large interactive footprint, crowd zoning |
Pro Tip: Route all cables before finalizing mount positions. Cable paths affect where you can physically place the projector, which in turn shifts your zone boundaries. Fixing cable routing after mounting is one of the most common projector installation mistakes.
For home theater setups, mounting position and zone alignment determine whether you get a flat, undistorted image or spend hours fighting keystone correction. For classrooms using a best classroom projector in Malaysia, the interactive zone boundary should align with the front edge of the student seating area, not the wall. That distinction alone prevents most sensor tracking errors in school installations.
Maintenance access is a zone consideration that most projector installation guides ignore. Every projector needs lamp or filter access. Build a maintenance corridor into your zone plan so technicians can service the unit without dismantling the entire mount. This applies to projector lamp Malaysia and projector bulb Malaysia replacements, which are routine for high-use classroom and office projectors.
Key takeaways
Projector installation zoning requires defining overlap, interactive, and safety zones before installation to achieve consistent image quality, accurate sensor tracking, and full laser safety compliance.
| Point | Details |
|---|---|
| Define zones before mounting | Plan all zone boundaries on paper or software before any bracket goes into the ceiling. |
| Use 10–25% overlap for blending | Multi-projector setups need this overlap range to maintain uniform pixel density across the full image. |
| Size interactive zones correctly | Small pods need 3–5 m²; large immersive scenes require 15+ m² for reliable sensor tracking. |
| Apply IEC/EN 60825-1 for laser safety | Laser projector installations must define 3D restricted zones and emergency stop strategies per this standard. |
| Treat crowd zoning as a technical requirement | Physical barriers and signage are part of the zone plan, not an afterthought. |
Why I think most installers underestimate zoning until it's too late
The most common mistake I see in projector installations across home theaters, classrooms, and business venues is treating zoning as a finishing step rather than a starting point. Installers mount the projector, connect the cables, and then try to define zones around a fixed hardware position. That sequence produces compromises at every stage.
The best results come from the opposite approach. Define your zones on paper first, then select your projector based on what those zones require. A classroom with a 4 m² interactive zone needs a different throw ratio and sensor type than a museum with a 20 m² immersive floor. Choosing the projector before defining the zone is like buying furniture before measuring the room.
Safety zoning for laser projectors is the area where I see the most serious errors. Installers who treat laser safety zones as a 2D floor plan problem consistently underestimate beam reach at elevated angles. The IEC/EN 60825-1 standard exists precisely because flat diagrams miss the three-dimensional reality of laser beam propagation. Any installation using a wireless projector Malaysia laser unit in a public space needs a full 3D zone analysis, not a rough sketch.
Software tools like Pangolin BEYOND have made advanced zone management accessible to smaller installations. But the software only works as well as the physical zone plan behind it. Get the physical layout right first, and the software becomes a precision tool. Skip the physical planning, and no software fixes the result.
— Projector
Projector Display Malaysia: your zoning and installation resource
Projectordisplay is Malaysia's dedicated projector retailer, stocking everything from portable projectors to professional laser units suited for complex zoning installations. Whether you need a best office projector for a corporate boardroom or a best classroom projector for a school in Selangor, Projectordisplay carries projector brands including Epson, BenQ, Viewsonic, Optoma, and more, all with fast shipping across Peninsular Malaysia.
Projectordisplay also provides installation guides, product comparisons, and expert support via WhatsApp to help you plan your zones correctly before you buy. If you are setting up a large venue or multi-projector environment, the projectors for large venues guide covers top picks optimized for overlap and safety zone requirements. For screen selection to match your zone layout, the projection screen Malaysia catalog includes motorized, portable, and fixed-frame options for every environment.
FAQ
What is projector installation zoning in simple terms?
Projector installation zoning is the process of defining specific areas for projection, user interaction, and laser safety before mounting a projector. It prevents image alignment errors and audience exposure risks.
How much overlap do multi-projector setups need?
Multi-projector setups require a 10–25% overlap between adjacent images for seamless edge blending. This range maintains consistent pixel density across the full display surface.
Do I need safety zones for all projectors or just laser models?
Safety zones are mandatory for laser projectors under IEC/EN 60825-1. Standard LCD projectors do not require formal safety zones, though keeping the beam path clear of direct eye exposure is always good practice.
How large should an interactive projection zone be?
Small interactive pods need 3–5 m² of floor space. Large immersive installations, such as museum scenes or exhibition floors, require 15 m² or more for reliable sensor tracking.
What is the most common projector installation zoning mistake?
The most common mistake is defining zones after the projector is already mounted. Zone planning must happen before hardware installation to avoid geometry errors, sensor misalignment, and costly remounting.
Recommended
- Projector installation guide 2026: Home and business tips – Projector Display
- How to Choose Projector: A Complete Guide for 2025 Success – Projector Display
- Ceiling mounted TV projector guide 2026: Choose & install – Projector Display
- Projector installation tips for perfect images in any room – Projector Display