
Nearly every American household relies on home WiFi, yet over 30 percent run into trouble during setup because of missing or mismatched equipment. With the growing number of connected devices in American homes, making sure your network starts off strong matters more than ever. This quick guide shows you how to gather the right gear, position your router, secure your connection, and set up your devices for a seamless and secure online experience.
Table of Contents
- Step 1: Gather Required WiFi Equipment
- Step 2: Position and Power Up the Router
- Step 3: Configure Router Settings and Network Name
- Step 4: Connect Devices to Your WiFi Network
- Step 5: Verify Network Performance and Security
Quick Summary
| Key Insight | Explanation |
|---|---|
| 1. Gather Essential Equipment | Ensure you have a wireless router, modem, and cables before setup. Check for ISP compatibility. |
| 2. Position Router Strategically | Place the router centrally and elevated to maximize coverage and minimize signal interference. |
| 3. Configure Network Settings | Create a unique network name and a complex password to secure your WiFi. Avoid using personal information. |
| 4. Connect Devices Effortlessly | Follow simple steps on each device to connect to your new WiFi network using the password you created. |
| 5. Verify Performance and Security | Check for router security settings and perform speed tests to ensure optimal network performance. |
Step 1: Gather Required WiFi Equipment
Setting up your home WiFi network starts with collecting the right hardware and understanding the essential components. You'll want to assemble everything before diving into the configuration process to ensure a smooth setup experience.
To get started, you'll need a few key pieces of equipment according to network setup guidelines. This includes a wireless router, an internet modem typically provided by your Internet Service Provider (ISP), and the necessary network cables. Most routers come with an Ethernet cable, which will help you establish the initial connection between your modem and router.
Before purchasing equipment, check with your ISP about compatibility requirements. Some providers have specific recommendations or even provide router equipment as part of your service package. If you're buying your own router, look for modern standards like WiFi 5 (802.11ac) or WiFi 6 (802.11ax) to ensure good performance and compatibility with current devices. Pro tip: measure the area you want to cover to select a router with appropriate range and signal strength for your home or office space.
In the next step, you'll learn how to physically connect these components and start the initial network configuration process.
Step 2: Position and Power Up the Router
Now that you have gathered your WiFi equipment, it is time to strategically position your router and get it powered up for optimal network performance. This critical step determines the strength and reach of your wireless signal throughout your home or office space.
Choosing the right location for your router is crucial for maximum coverage. You want to place the router in a central spot that allows the signal to spread evenly across your living or working area. Aim for an elevated position like a shelf or high table that minimizes obstructions from walls, metal objects, and electronic devices that could interfere with the signal transmission.
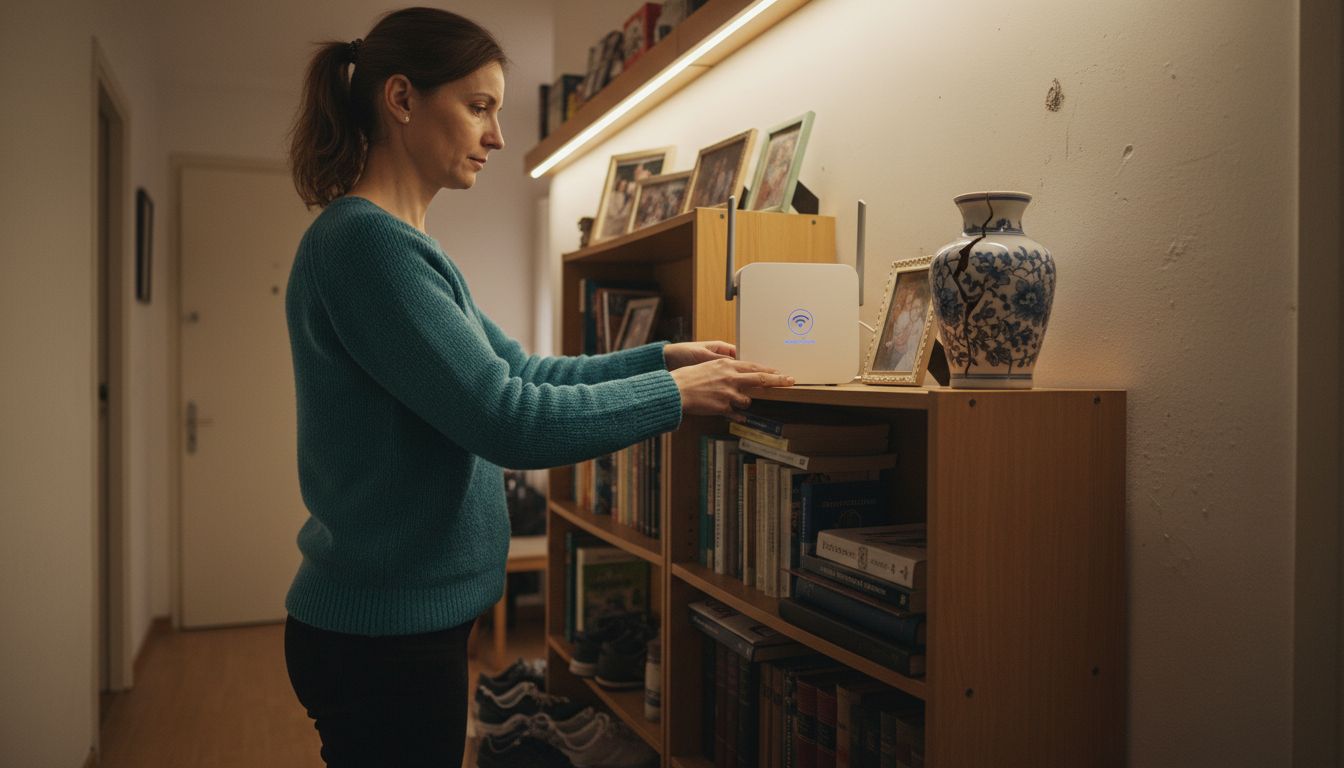
Once you have selected the perfect spot, connect the power cord to your router and plug it into a wall outlet. According to standard setup guidelines, wait approximately 4 minutes for the router's indicator lights to stabilize and turn a solid green color. This signals that your router is fully powered and ready to configure. Pro tip: avoid placing the router near microwaves, cordless phones, or other electronic devices that might cause signal interference.
With the router powered up and positioned correctly, you are now ready to move on to the next step of connecting your modem and establishing your initial network configuration.
Step 3: Configure Router Settings and Network Name
With your router physically set up, it is time to dive into the digital configuration that will secure and personalize your home network. This critical step involves accessing your router's administrative interface and making important security and naming choices.
Selecting a unique network name and password is your first priority. Open a web browser and enter your router's default IP address typically printed on the device or in its manual often something like 192.168.0.1 or 192.168.1.1. You will need the default admin credentials which are usually found in the router's documentation. Once logged in, navigate to the wireless settings section where you can modify your network name or Service Set Identifier (SSID).
When creating your network name, avoid using personal information like your name or address. Instead, choose something memorable but not identifying something playful like "SpeedDemon" or "NetworkRanger" works well. For your password, create a complex passphrase that combines uppercase and lowercase letters, numbers, and symbols. Aim for at least 12 characters to ensure robust protection. Pro tip: consider using a password manager to generate and store complex passwords securely.
With your network now named and secured, you are ready to connect your devices and start enjoying your new WiFi setup.
Step 4: Connect Devices to Your WiFi Network
With your network configured and secured, it is time to connect your various devices and start enjoying wireless internet access. This process involves navigating your device settings and selecting the newly created network.
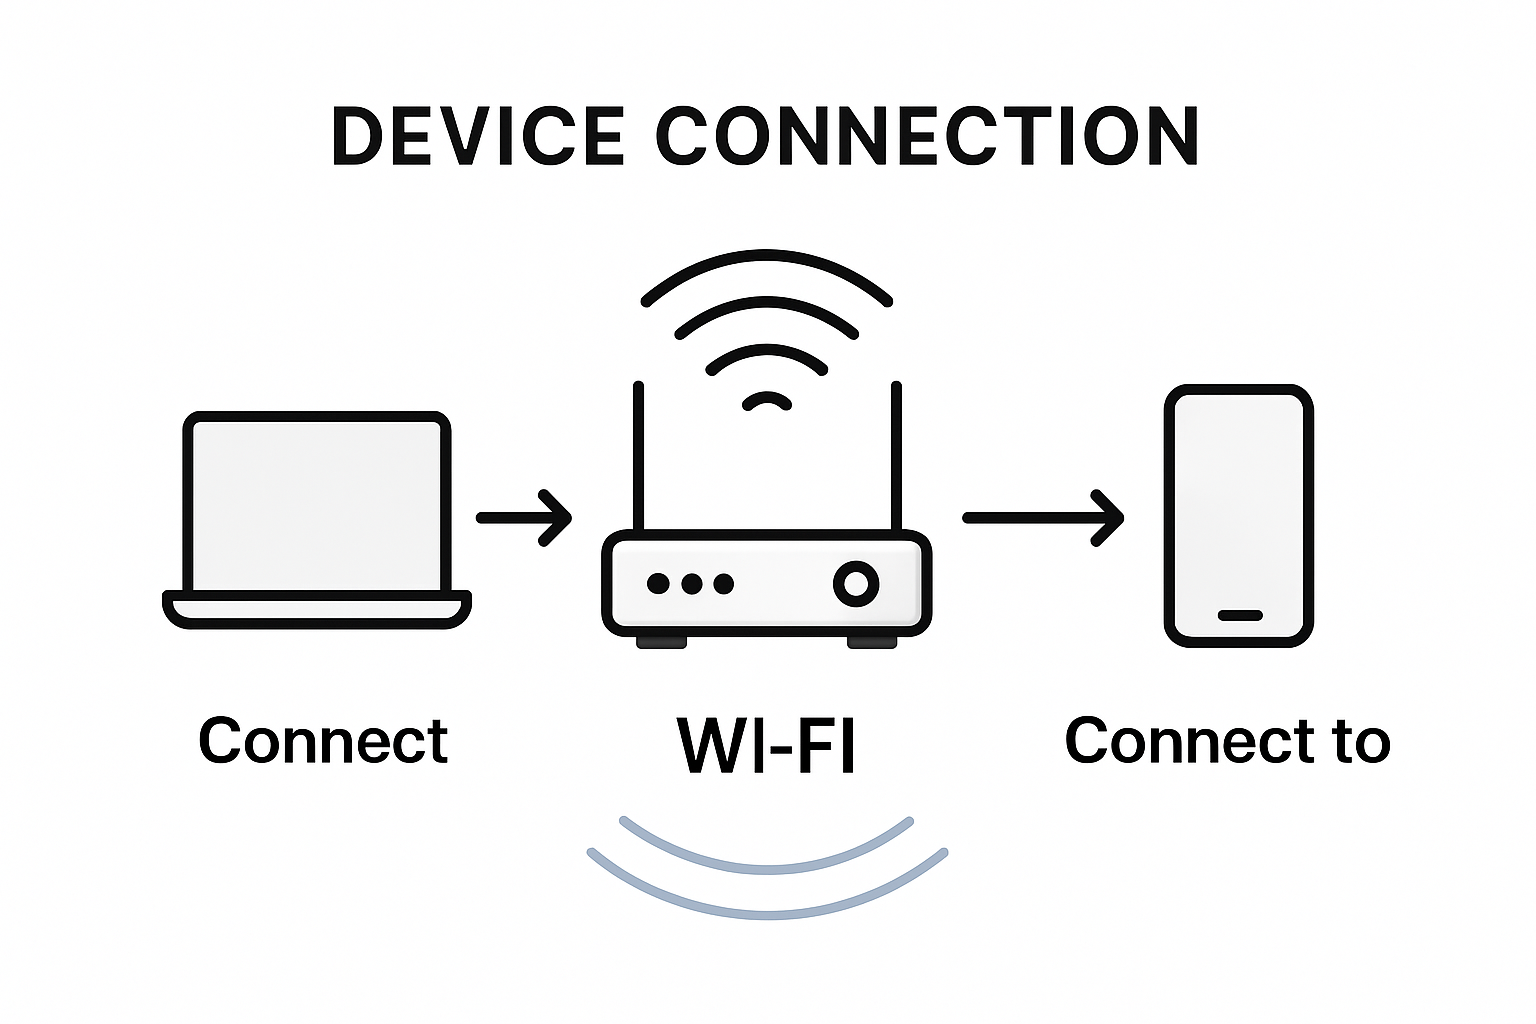
Connecting to your new WiFi network is straightforward across most devices. On smartphones and tablets, open the Settings app and tap the WiFi section. You will see a list of available networks where your newly named network should appear. Tap on your network name and enter the complex password you created earlier. For computers, click the WiFi icon in the taskbar or menu bar and select your network from the dropdown list.
Each device type has slightly different steps but follows a similar pattern. On laptops, look for the wireless icon near the bottom right of the screen on Windows or top right on Mac. On smart home devices like TVs or gaming consoles, navigate to network settings in their system menus. Pro tip: keep your password written down in a secure location in case family members or guests need to connect. Some modern routers also offer a guest network feature which allows visitors internet access without sharing your primary network password.
Once all your devices are connected, you are ready to enjoy fast and secure home internet access.
Step 5: Verify Network Performance and Security
With your WiFi network up and running, it is crucial to confirm both its performance and security settings. This final step ensures that your network operates smoothly and remains protected from potential vulnerabilities.
Securing your home network starts with verifying your router's security settings. Double check that your network authentication is set to WPA2 Personal or WPA3 if available. Navigate back to your router's administrative interface and confirm that your unique password is complex and that the default admin credentials have been changed. Most modern routers provide security settings that can help protect against unauthorized access and potential cyber threats.
To verify network performance, open a web browser on a connected device and run an online speed test. These tests will measure your download and upload speeds, helping you understand the actual performance of your new network. Pro tip: run speed tests at different times of day and from various devices to get a comprehensive view of your network's capabilities. If you notice significant variations or slower than expected speeds, you might need to adjust your router's position, update its firmware, or contact your internet service provider for further assistance.
Congratulations on successfully setting up a secure and efficient home WiFi network.
Enhance Your Home WiFi Setup with Cutting-Edge Visual Display Solutions
Setting up a reliable WiFi network is essential for creating a smooth and secure digital environment at home. With challenges like finding the right router placement and securing your network with strong passwords, ensuring consistent wireless connectivity can feel overwhelming. Once your network is optimized following the practical steps in "Setting Up Home WiFi Network: Step-by-Step Made Easy," it is time to elevate your home entertainment or work-from-home experience by integrating high-quality projection technology that utilizes your wireless network seamlessly.

Discover a wide selection of smart projectors and interactive displays at ProjectorDisplay.com designed for wireless connectivity and easy integration with your home WiFi. Whether you want to create an immersive home theater or enhance virtual meetings, their range includes portable, laser, and short-throw projectors equipped for full HD resolution and high lumens. Don't let technical hurdles slow you down. Take this opportunity to transform your space with reliable, state-of-the-art display solutions that work perfectly over your secure network. Explore their offerings now at ProjectorDisplay.com and enjoy quick shipping within Peninsular Malaysia along with expert customer support.
Ready to connect your WiFi and projection system for an unbeatable home experience Choose the best equipment and accessories to complement your network setup today by visiting ProjectorDisplay.com. Secure your setup and step into a world of clear visuals and uninterrupted streaming.
Frequently Asked Questions
What equipment do I need to set up my home WiFi network?
You will need a wireless router, an internet modem from your Internet Service Provider, and the appropriate network cables. Start by gathering these items to ensure a smooth setup process.
How do I position my router for the best WiFi coverage?
Place your router in a central location, ideally on a high shelf, to maximize signal distribution. Avoid areas with heavy obstructions or interference from other electronic devices to improve performance.
How can I configure my router's settings and secure my network?
Access your router's administrative interface by entering its IP address in a web browser. From there, select a unique network name and create a strong password to enhance security and prevent unauthorized access.
What steps do I follow to connect devices to my new WiFi network?
On each device, navigate to the WiFi settings, find your network name, and enter the password you created. Ensure all your devices are correctly connected to start enjoying your wireless internet access.
How can I verify the performance and security of my home network?
Run an online speed test to check your network's download and upload speeds, and ensure your router's security settings are set to WPA2 Personal or WPA3. Repeat tests at different times of day for comprehensive results and adjust settings as needed.
What should I do if my WiFi performance is slower than expected?
If you experience slow speeds, try repositioning your router for better signal strength or check for firmware updates. Contact your Internet Service Provider if issues persist, as they may help you troubleshoot connectivity problems.
Recommended
- Mirror Phone to Projector: Easy Ways for Malaysians 2025 – Projector Display
- Improving Home WiFi Signal for Reliable Streaming and Work – Projector Display
- Wireless Screen Mirroring in Malaysia: 2025 Guide for Entertainment, Education, and Business – Projector Display
- Cara Sambung Projektor ke WiFi untuk Semua Jenis Model – Projector Display