
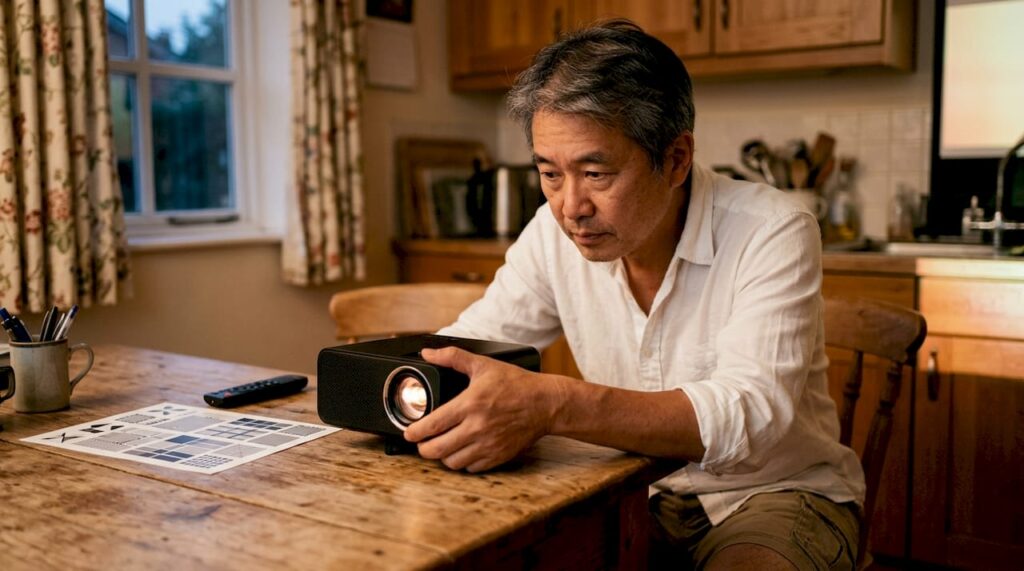
TL;DR:
- Projection image sharpness depends on resolution, lens quality, focus calibration, contrast, throw distance, keystone correction, and ambient lighting. Proper setup and quality optics maximize sharpness, while digital corrections and poor focus reduce image clarity. Maintaining optimal physical alignment and settings produces the clearest images in any environment.
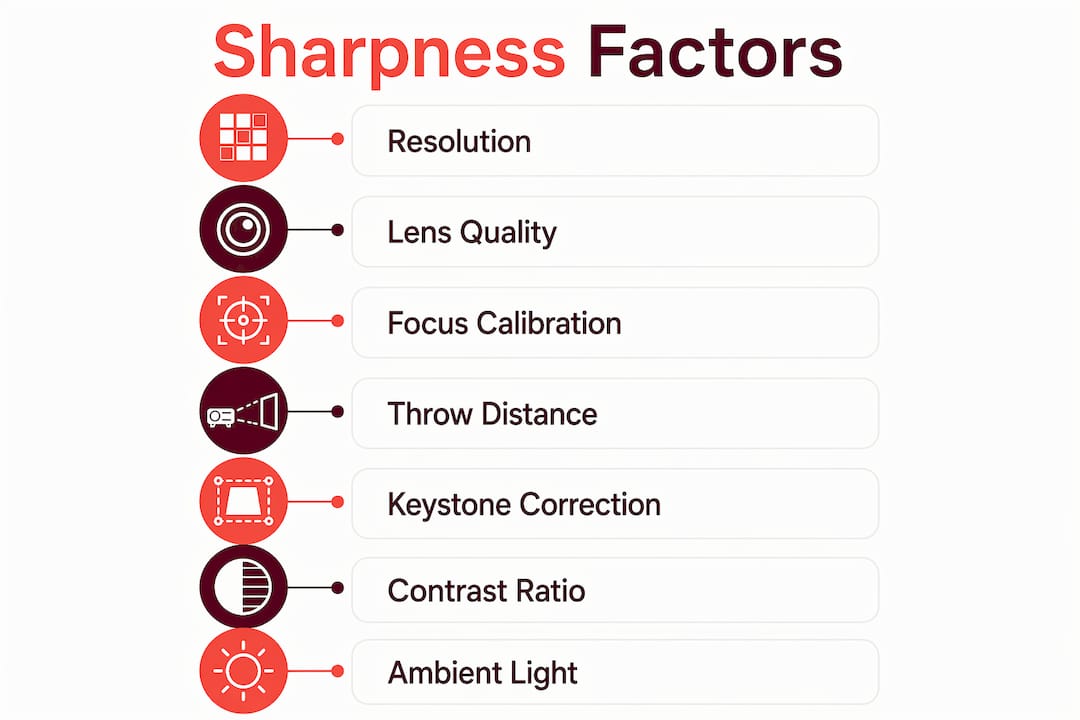
Projector image sharpness is defined as the ability of a projected image to render fine detail, crisp text, and clear edges across the full screen area. The core projector image sharpness factors are resolution, lens quality, focus calibration, contrast ratio, throw distance, keystone correction, and ambient lighting. Each factor works independently and together to determine what you actually see on screen. Getting any one of them wrong degrades the entire image, even if the hardware is top tier. Whether you are setting up a best home projector Malaysia system or a boardroom display, understanding these variables is the fastest path to genuinely sharp visuals.
What are the main projector image sharpness factors?
Resolution and lens quality set the ceiling for how sharp a projected image can ever be. Every other factor either helps you reach that ceiling or pulls you further away from it.
Resolution is the total pixel count your projector can display. A Full HD projector renders 1,920 × 1,080 pixels. A 4K projector renders 3,840 × 2,160 pixels. More pixels mean finer detail, sharper text, and cleaner edges on large screens. The projector resolution impact is most visible when you sit close to the screen or project onto a large surface above 100 inches.
Higher resolution alone does not guarantee a sharp image. Lens quality determines whether those pixels actually land where they should. Poor optics introduce field curvature, chromatic aberration, and distortion that blur the edges even when the center looks perfect. Lens field curvature is a common optical trait in consumer projectors that causes a curved focal plane, making center sharpness look great while edges appear soft. This is a design limitation, not a defect.
Key differences between low-grade and high-grade optics:
- Low-grade lenses show visible edge softness at 4K, color fringing on high-contrast edges, and uneven brightness across the image.
- High-grade lenses maintain consistent sharpness from center to corner, reduce chromatic aberration, and hold focus uniformly at larger throw distances.
- Lens coatings reduce internal reflections that lower contrast and wash out fine detail.
- Zoom lenses can introduce additional aberrations at extreme zoom settings; fixed focal length lenses typically deliver better edge sharpness.
Pro Tip: Set your projector to its native resolution in the source device settings. Scaling a 1080p signal to a 4K projector, or vice versa, introduces interpolation artifacts that soften the image before it even reaches the lens.
How does focus calibration affect image clarity?
Proper focus calibration is the single most controllable projector image sharpness factor on any setup. A projector with average optics and perfect focus will outperform a premium unit that is even slightly out of focus.
The standard approach is to focus on the center of the image first, then check the corners. Most projectors use a focus ring on the lens barrel. Turn it slowly and stop when center text or fine detail looks sharpest. Do not chase the edges at this stage.
Modern autofocus systems can lock on incorrect focal points when the scene contains complex content like fine text, busy patterns, or low-contrast images. Manual focus consistently delivers better results in these situations. If your image stays soft after autofocus runs, disable it and focus manually by eye.
Steps to achieve uniform focus across the screen:
- Project a focus test pattern or a grid image from your source device.
- Adjust the focus ring until the center grid lines are sharp and distinct.
- Check all four corners. If they are softer than the center, the issue is lens field curvature, not a focus error.
- Find the focus position where the center and corners reach the best average sharpness across the full screen.
- Lock the focus ring if your projector has a locking mechanism to prevent vibration drift.
Avoid over-adjusting the focus ring. Turning it back and forth repeatedly makes it harder to identify the true sharpest point. Make one slow pass, stop at the best position, and leave it.
Pro Tip: Use a projector calibration guide that includes a focus test pattern. A sharp grid is far easier to judge than a movie still or a presentation slide.
How do throw distance and keystone correction affect sharpness?
Throw distance is the measurement from the projector lens to the screen surface. Every projector has a recommended throw distance range published by the manufacturer. Operating outside that range forces the lens to work beyond its designed focus envelope, which causes uneven sharpness. Throw distance outside recommendations leads to edges blurring more than the center, a problem no amount of focus adjustment can fully correct.
Physical alignment matters more than most buyers realize. A projector mounted perpendicular to the screen, with the lens centered on the screen's horizontal axis, produces the most uniform image. The moment you tilt or angle the projector to compensate for a non-ideal mounting position, you introduce geometric distortion that requires correction.
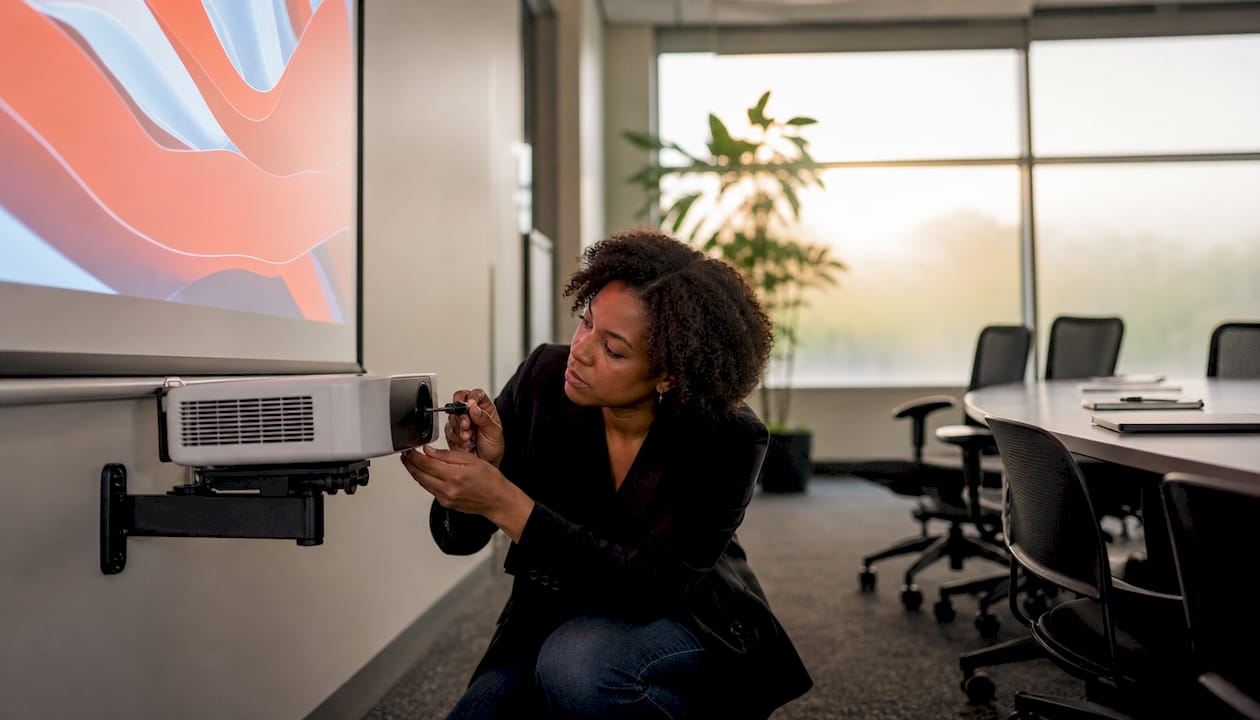
Digital keystone correction remaps pixels to compensate for that distortion. The problem is that remapping crops and stretches the image, which reduces effective resolution and creates softness, especially at the edges. Professionals avoid heavy digital correction for the sharpest results.
| Alignment method | Effect on sharpness | Recommended use |
|---|---|---|
| Physical perpendicular mounting | Full resolution preserved, uniform sharpness | Always preferred |
| Keystone correction under 10° | Minimal resolution loss, acceptable sharpness | Acceptable for minor adjustments |
| Keystone correction over 15° | Visible softness and pixel artifacts | Avoid for critical viewing |
| Lens shift (optical) | No resolution loss, maintains full sharpness | Best alternative to physical repositioning |
Key setup rules for maintaining sharpness:
- Keep keystone correction angles below 10–15 degrees to preserve 4K detail.
- Use optical lens shift instead of digital keystone whenever your projector supports it.
- Measure and confirm throw distance against the manufacturer's specification before mounting.
- Level the projector physically rather than correcting tilt digitally.
How do contrast ratio and ambient lighting affect perceived sharpness?
Contrast ratio directly controls how sharp an image looks to the human eye. A 10,000:1 contrast ratio means the brightest white is 10,000 times brighter than the darkest black. That gap is what makes fine text pop, gives depth to complex scenes, and separates detail in shadows. A projector with high resolution but low contrast produces images that look flat and soft even when technically in focus.
Brightness alone does not guarantee clear text. High lumens with low contrast produce washed-out, tiring images. The best settings for clear images balance brightness to the room's ambient light level, then prioritize contrast ratio for detail rendering.
Ambient lighting is the factor most buyers underestimate. Room light washes out the projected image, reducing perceived sharpness even when the projector and lens are performing perfectly. Darker rooms with controlled lighting produce noticeably crisper images.
Practical steps to manage ambient light and screen choice:
- Use blackout curtains or blinds for daytime viewing in home theater setups.
- Choose a high-gain screen material for rooms that cannot be fully darkened. High-gain screens reflect more light back toward the viewer, improving perceived brightness and sharpness.
- A gray screen surface improves black levels and contrast in rooms with residual ambient light, making fine detail more visible.
- Avoid projecting onto white walls. Dedicated projection screen material provides a uniform, calibrated surface that a painted wall cannot match.
One more setting worth addressing: the in-menu sharpness control. Setting the sharpness control to zero often looks more natural than any positive value. The sharpness slider does not add real detail. It applies edge enhancement that creates artificial halos around objects, which worsens image quality on fine textures and human faces.
Key Takeaways
Projector image sharpness depends on resolution, lens quality, focus calibration, contrast ratio, throw distance, keystone correction, and ambient lighting working together as a system.
| Point | Details |
|---|---|
| Resolution sets the ceiling | Higher native resolution delivers finer detail, but only quality optics can fully realize it. |
| Lens field curvature is normal | Edge softness in consumer projectors is an optical design trait, not a hardware defect. |
| Manual focus beats autofocus | Disable autofocus for complex scenes and adjust manually for the sharpest result. |
| Minimize digital keystone | Keep correction below 10–15 degrees or use physical repositioning to preserve full resolution. |
| Contrast ratio drives perceived sharpness | A high contrast ratio makes text and fine detail visually crisp, even at moderate brightness. |
What the sharpness setting actually does (and why less is more)
After years of working with projectors across home theater, classroom, and corporate setups, the pattern I see most often is buyers chasing sharpness in the wrong places. They push the in-menu sharpness slider up, crank the brightness, and wonder why the image still looks harsh or artificial.
The sharpness slider is edge enhancement, not actual detail recovery. Turning it up past zero creates halos around text and objects that look unnatural on human faces and fine textures. Setting it to zero and letting the lens do its job produces a cleaner, more natural image every time.
The second misconception I encounter constantly is treating brightness as the primary clarity factor. Brightness matters for fighting ambient light. But the crispness of text and the depth of a complex scene come from contrast ratio and lens quality, not lumen count. A projektor murah with a high contrast ratio and quality glass will outperform a high-lumen unit with poor optics in a controlled room.
Physical setup is where most sharpness gains are left on the table. Repositioning the projector to eliminate the need for heavy keystone correction takes ten minutes and delivers a sharper image than any software setting. The best projector brand in Malaysia, whether you are looking at an Epson projector, a Viewsonic projector Malaysia model, a Benq projector Malaysia unit, or an Optoma projector Malaysia option, will all perform better with proper physical alignment than with digital corrections compensating for a poor mount.
Invest in quality optics, set up the throw distance correctly, keep keystone correction minimal, and leave the sharpness slider at zero. That combination produces professional results regardless of budget.
— Projector
Sharp visuals start with the right equipment from Projectordisplay
Getting every projector image sharpness factor right is easier when the hardware is built for it from the start. Projectordisplay carries a full range of projectors, projection screens, and accessories suited for home theater, office, and classroom use across Malaysia.

Whether you are looking for a wireless projector Malaysia setup, a laser projector with high contrast for a dark room, or a dedicated projection screen that maximizes clarity, Projectordisplay has options across every price range. The team provides expert advice via WhatsApp and supports fast shipping within Peninsular Malaysia. Buyers looking for the best projector seller in Malaysia with genuine product support and a wide catalog will find Projectordisplay a reliable starting point. For large-room applications, the guide on why projectors beat screens for large venues in 2026 is worth reading before you buy.
FAQ
What is the most important projector image sharpness factor?
Lens quality and native resolution set the absolute ceiling for sharpness. Proper focus calibration and physical alignment determine how close you get to that ceiling in practice.
Why is my projector sharp in the center but blurry at the edges?
Lens field curvature causes a non-flat focal plane, making the center sharp while edges appear softer. This is a common optical limitation in consumer projectors, not a defect, and is reduced in higher-grade optics.
Does digital keystone correction reduce sharpness?
Yes. Digital keystone correction remaps pixels, which crops and stretches the image and reduces effective resolution. Keeping correction angles below 10–15 degrees minimizes the impact, and physical repositioning is always the better option.
Should I increase the sharpness setting on my projector?
No. The in-menu sharpness control applies edge enhancement, not real detail. Setting it to zero produces a more natural image. Overuse creates artificial halos and degrades fine textures.
How does ambient lighting affect projector clarity?
Room light washes out the projected image and reduces perceived sharpness. Darker environments with controlled lighting, combined with a high-gain or gray projection screen, deliver the clearest and most detailed images.
Recommended
- Optimizing Projector Brightness: A Practical 2026 Guide – Projector Display
- Projector installation tips for perfect images in any room – Projector Display
- How to Adjust Focus on Your Projector for Clear Images – Projector Display
- Master Projector Keystone Correction for Perfect Images – Projector Display