TL;DR:
- The projection screen viewing angle depends on screen gain, placement, and seating layout, affecting image quality and comfort. Proper ergonomic positioning and accurate calibration are essential to ensure consistent brightness, color, and neck comfort across all seats. Selecting the right screen technology and placement based on room conditions enhances viewing experience and reduces user fatigue.
Projection screen viewing angle is defined as the angular range within which viewers experience optimal image brightness, color accuracy, and visual comfort from a projection screen. Get this wrong and you will see washed-out colors, uneven brightness, and neck strain within 30 minutes. Get it right and every seat in the room delivers a cinema-quality image. The key variables are screen gain, seating distance, and screen placement, and each one directly shapes the usable viewing cone. Standards from THX and SMPTE give us measurable targets, while ergonomic research on cervical spine pressure confirms that vertical screen placement matters just as much as horizontal angle.
How does screen gain affect viewing angle and image quality?
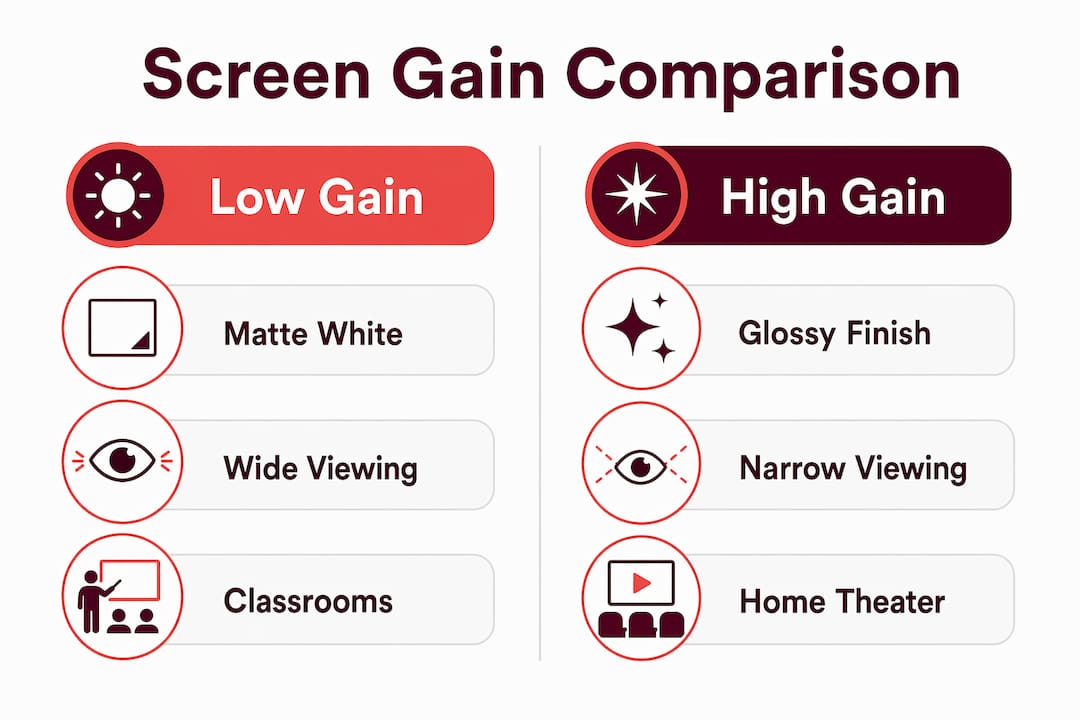
Screen gain measures how efficiently a projection screen reflects light back toward the audience compared to a reference matte white surface rated at 1.0. A higher gain number means more brightness on axis, but a narrower cone of usable viewing angle for everyone seated off to the sides.
The trade-off is straightforward. A 1.3 gain screen appears 30% brighter on axis compared to a 1.0 gain surface, but that brightness advantage disappears quickly as viewers move off center. This means a 1.3 gain screen suits a narrow, deep room where all seats are roughly centered, but fails in a wide conference room or classroom.
Here is how gain levels break down in practice:
- Gain 1.0 (matte white): Wide viewing angle up to 160°, neutral color reproduction, ideal for classrooms and wide meeting rooms
- Gain 1.1 to 1.3: Moderate brightness boost with acceptable off-axis performance, suitable for home theaters with centered seating
- Gain 1.5 to 2.5+: Significant brightness boost but high gain screens cause hot spotting and narrow viewing cones, best for narrow rooms with a single row of seats
| Screen Gain | Viewing Cone | Best Environment |
|---|---|---|
| 1.0 (matte white) | Up to 160° | Classrooms, wide meeting rooms |
| 1.1 to 1.3 | 80° to 100° | Home theaters, centered seating |
| 1.5 to 2.5+ | 30° to 60° | Narrow rooms, single-row seating |
Ambient light rejecting (ALR) screens add another layer to this equation. ALR technology filters out ceiling and side light while reflecting projector light toward the audience. The catch is that ALR screens trade some viewing angle for better contrast, making them excellent for bright rooms but requiring careful seat placement.
Pro Tip: If your room is wider than it is deep, or if guests regularly sit at the far left and right edges, choose a matte white 1.0 gain screen. You will sacrifice some peak brightness but gain consistent image quality across every seat.
What are the ideal horizontal and vertical viewing angles for comfort and immersion?
The industry has two widely cited standards for horizontal viewing angle. THX recommends a 40° horizontal viewing angle for immersive home theater experiences, while SMPTE sets 30° as the baseline for comfortable casual viewing. The practical implication is that a 10-foot seating distance pairs naturally with an 80 to 100-inch screen to hit these targets.
Seating distance and screen size are directly linked. For a 100-inch diagonal image, recommended seating distance is 8 to 12.5 feet to maintain a horizontal field of view between 25° and 40°. Sitting beyond 14 feet reduces immersion noticeably, while sitting closer than 8 feet pushes the viewing angle past the comfortable threshold and forces your eyes to scan rather than take in the full image.
Vertical viewing angle is equally critical and far more often ignored. The ergonomic target is 10° to 15° below horizontal eye level for the screen center. Here is a step-by-step method to achieve that:
- Measure the seated eye height of your average viewer (typically 42 to 48 inches from the floor for adults in a standard chair).
- Place the center of the screen at or slightly below that eye level measurement.
- Apply the one-third rule: align viewer eyes with the lower third of the screen, not the center or top.
- Confirm that no viewer needs to tilt their head upward to see the top of the screen.
- For tiered seating in classrooms or auditoriums, recalculate eye level for each row separately.
Vertical screen placement directly affects cervical spine pressure. Viewers looking upward at a screen for 90 minutes or more experience measurable neck tension. This is why the one-third rule exists: it keeps the natural downward gaze angle intact.
Pro Tip: In a classroom or boardroom, resist the urge to mount the screen as high as possible to improve sightlines. A lower screen with proper projector throw angle and keystone correction delivers better ergonomic outcomes for everyone in the room.
How do ALR screen types impact viewing angle and experience?
Ambient light rejecting screens solve a real problem: projectors lose contrast in bright rooms. But the technology used to reject ambient light also shapes the projection screen viewing angle in ways that matter for seating layout.
Fresnel ALR screens use a series of micro-optical ridges to direct projector light toward the audience while deflecting ceiling and side light away. The result is outstanding contrast and vivid color in bright rooms. The limitation is a narrow viewing cone. Fresnel screens are best for center seating arrangements where viewers sit directly in front of the screen. Anyone seated more than 25° to 30° off axis will notice a visible drop in brightness and color saturation.
Black Grid ALR screens use a different approach. A micro-louver structure absorbs ambient light from above while reflecting projector light across a wider horizontal range. This gives Black Grid screens a broader viewing cone compared to Fresnel designs, making them more forgiving for rooms with wider seating arrangements.
| ALR Type | Viewing Cone | Contrast Performance | Best Use Case |
|---|---|---|---|
| Fresnel ALR | Narrow (25° to 40°) | Excellent | Home theater, centered seating |
| Black Grid ALR | Wider (40° to 60°) | Good | Classrooms, wider meeting rooms |
| Matte White (no ALR) | Up to 160° | Standard | Any room with controlled lighting |
Key considerations when choosing between ALR types:
- Fresnel ALR screens deliver the best daytime viewing experience in bright rooms but require disciplined seating layouts
- ALR screens trade some viewing angle for improved contrast, so room layout must be planned around the screen's cone, not the other way around
- Black Grid ALR screens suit open-plan offices and classrooms where seating flexibility matters more than peak contrast
- For home theaters with blackout curtains, a standard matte white screen often outperforms ALR screens because ambient light is already controlled
You can explore the full breakdown of ALR technologies in Projectordisplay's ALR screen guide to match the right technology to your room conditions.
How to set up your projection screen and seating for optimal viewing angle
The ideal projection screen setup starts with measuring your room before selecting any equipment. Room shape, ambient light levels, and audience size each determine which screen type and gain level will deliver the best screen angle for optimal viewing.
Follow these guidelines based on your environment:
- Home theater: Use a 1.1 to 1.3 gain screen, center all primary seating within 30° of the screen axis, and position the screen center at seated eye level. A home theater setup guide can help you calculate throw distance and screen size together.
- Classroom: Choose a 1.0 gain matte white screen or a Black Grid ALR screen for daytime use. Mount the screen low enough that front-row students do not strain their necks. For classroom projector selection, Projectordisplay's classroom projector tips cover screen size and placement together.
- Business presentations: Prioritize wide viewing angles over peak brightness. A 1.0 gain screen in a well-lit conference room beats a high-gain screen that only looks good from the center seat.
- Open-concept living spaces: Side seating beyond 25° to 30° off-axis experiences brightness loss and color shift regardless of screen technology. Design your primary seating zone to stay within that cone.
For projection screen viewing distance, use this simple formula: multiply the screen's diagonal size in inches by 1.2 for the minimum distance and by 1.5 for the maximum comfortable distance. A 100-inch screen works best between 10 and 12.5 feet.
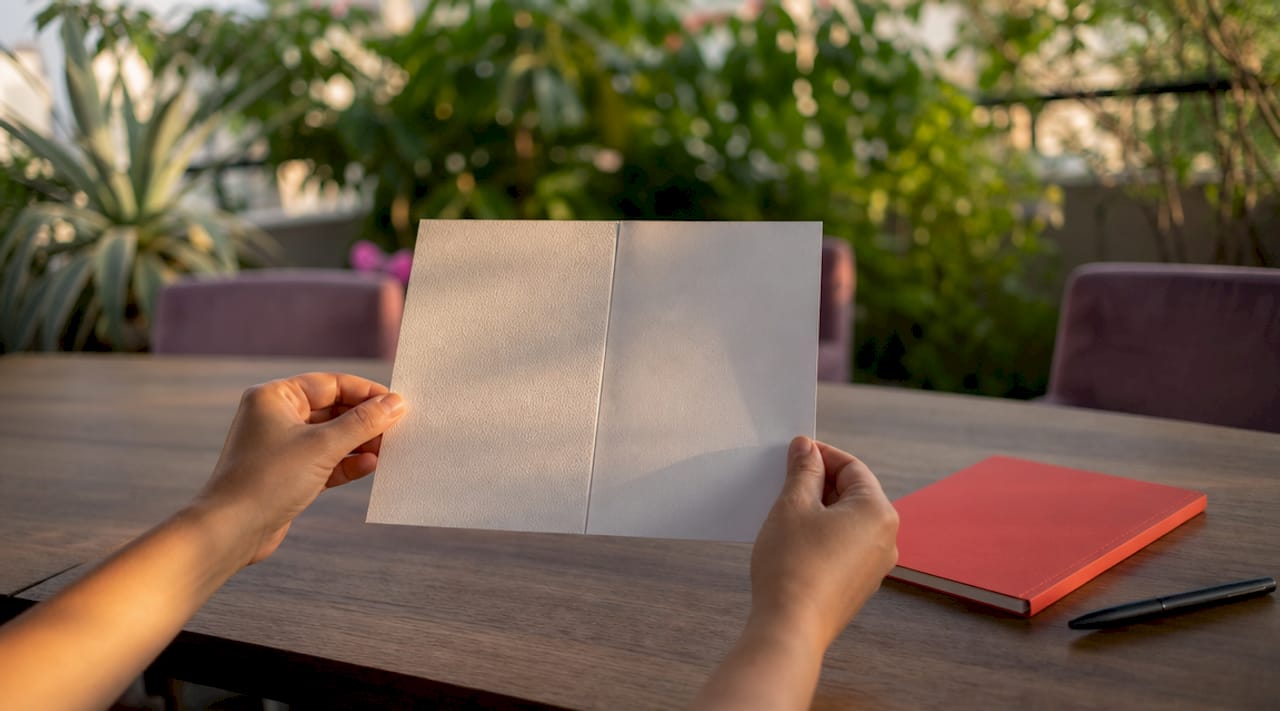
Pro Tip: Before finalizing your screen position, sit in every intended seat and have someone hold a piece of white foam board where the screen will go. Note where the board looks dim or color-shifted. That real-world test tells you more than any spec sheet.
What common mistakes affect projection screen viewing angles?
The most frequent mistake in any projection screen setup is mounting the screen too high. Positioning the screen too high causes cervical spine pressure and neck tension, particularly during presentations or movie sessions lasting more than an hour. The fix is straightforward: lower the screen until the center aligns with or slightly below seated eye level.
Here are the other errors that consistently degrade viewing quality:
- Choosing high-gain screens for wide rooms. A 2.0 gain screen in a conference room with seats spread across 60° of horizontal angle will look brilliant from the center and dim from the sides. Match gain to your seating geometry, not to the projector's brightness spec.
- Ignoring the horizontal viewing range. Many buyers focus entirely on screen size and projector lumens while ignoring that an audience wider than 60° total viewing angle requires a low-gain screen to avoid brightness drop-off and color shifts.
- Placing seats too far back. Sitting beyond 14 feet from a 100-inch screen reduces immersion and forces the projector to work harder. Closer, centered seating consistently outperforms distant, wide seating.
- Skipping keystone correction calibration. A screen tilted even slightly off vertical changes the effective viewing angle for every seat. Proper keystone correction keeps the image geometry consistent across the full screen surface.
Pro Tip: Run a simple brightness test after setup. Display a full white image and walk to the outermost seat in your room. If the image looks noticeably dimmer or warmer in color, your screen gain is too high for that seating width. Swap to a lower gain screen before accepting the setup as final.
Key takeaways
The projection screen viewing angle is determined by screen gain, seating geometry, and screen placement, and optimizing all three together is the only way to deliver consistent image quality to every viewer in the room.
| Point | Details |
|---|---|
| Match gain to room width | Use 1.0 gain for wide rooms and 1.3 or higher only for narrow, centered seating. |
| Follow THX and SMPTE standards | Target 30° to 40° horizontal viewing angle and seat viewers 8 to 12.5 feet from a 100-inch screen. |
| Apply the one-third rule | Align viewer eye level with the lower third of the screen to eliminate neck strain. |
| Choose ALR type by seating layout | Fresnel ALR suits centered seating; Black Grid ALR suits wider, more flexible arrangements. |
| Test before finalizing | Walk every seat and check brightness and color consistency before committing to a screen position. |
Why ergonomics beats specs every time
After working with projection setups across home theaters, corporate boardrooms, and school classrooms across Malaysia, the pattern I keep seeing is the same. Buyers obsess over lumens, resolution, and screen gain numbers, then mount the screen six inches too high and wonder why everyone complains of headaches after a two-hour session.
The marketing around high-gain screens is particularly misleading. A 2.5 gain screen sounds impressive on paper, and it genuinely is impressive if you are sitting dead center in a narrow room. Put that same screen in a wide boardroom and the people at the ends of the table are essentially watching a dim, color-shifted version of what the center sees. The spec sheet never tells you that.
My honest recommendation is to prioritize ergonomic placement first, then select screen gain to match your room geometry, and only then consider ALR technology if ambient light is a genuine problem. The right projection screen for your space is rarely the most expensive one. It is the one that delivers a consistent, comfortable image to every seat in the room, not just the best seat.
Fresnel ALR screens are genuinely impressive technology, and they have a real place in dedicated home theaters with controlled lighting and centered seating. But I have seen too many classrooms and meeting rooms fitted with Fresnel screens because they looked great in a demo, only to frustrate everyone sitting off to the sides. Test your setup in the actual room, with actual ambient light, before committing.
— Projector
Find the right projection screen at Projectordisplay

Projectordisplay is Malaysia's trusted projector seller, stocking a full range of projection screens to match every room type and seating layout. Whether you need a matte white 1.0 gain screen for a wide classroom, a Black Grid ALR screen for a bright conference room, or a Fresnel ALR screen for a dedicated home theater, Projectordisplay carries options across all gain levels and screen technologies. Browse the full projection screen Malaysia catalog to compare specifications side by side, or explore the 7 types of projection screens guide to identify the right fit for your environment. For large venue setups, Projectordisplay also offers high-lumen projectors matched to wide-angle screen configurations. Contact the team via WhatsApp for personalized screen placement advice and fast shipping across Peninsular Malaysia.
FAQ
What is the ideal projection screen viewing angle for a home theater?
THX recommends a 40° horizontal viewing angle for immersive home theater viewing, which pairs a 10-foot seating distance with an 80 to 100-inch screen. Keep all primary seats within 30° of the screen's center axis for consistent brightness and color.
How does screen gain affect the viewing angle?
Higher screen gain boosts on-axis brightness but narrows the usable viewing cone. A 1.3 gain screen appears brighter at center but dims noticeably off axis, making low-gain screens (1.0) the better choice for wide seating arrangements.
What is the best screen height for avoiding neck strain?
The screen center should align at or slightly below seated eye level, following the one-third rule. Viewers should look slightly downward at the screen center, never upward, to avoid cervical spine pressure during long sessions.
Are Fresnel ALR screens good for classrooms?
Fresnel ALR screens are not ideal for classrooms because their narrow viewing cone disadvantages students seated off to the sides. Black Grid ALR screens or matte white 1.0 gain screens deliver more consistent image quality across wider seating arrangements.
How far should viewers sit from a 100-inch projection screen?
The recommended seating distance for a 100-inch diagonal screen is 8 to 12.5 feet. Sitting beyond 14 feet reduces immersion, while sitting closer than 8 feet pushes the horizontal viewing angle past the comfortable threshold.
Recommended
- Projector Screen Placement Guide for Malaysia Users 2025 – Projector Display
- Choosing the right projector screen for Malaysia 2026 – Projector Display
- Projector Screen Size Guide 2025: Perfect Fit for Malaysian Needs – Projector Display
- Projector Screen Malaysia: Choose Right in 2026 – Projector Display