Did you know that a dusty projector can lose up to 40 percent of its cooling efficiency and may even suffer permanent damage if not cared for properly? Regular cleaning not only extends your projector's life but also ensures you get crisp images every time you use it. With the right preparation and careful steps, you can protect your investment and enjoy flawless viewing without worrying about overheating or blurry visuals.
Quick Summary
| Key Point | Explanation |
|---|---|
| 1. Prepare your workspace properly | Use a clean, well-lit area with a soft surface to prevent projector damage during cleaning. |
| 2. Always power down and cool the projector | Turn off and unplug the projector, allowing it to cool for 20-30 minutes to avoid overheating risks. |
| 3. Remove dust gently from the exterior | Use a dry microfiber cloth to clean dust; avoid liquids that could damage the projector's surfaces. |
| 4. Clean the lens with care | Use an air blower and a proper cleaning cloth; apply solutions correctly to preserve lens integrity. |
| 5. Clear air vents and filter thoroughly | Regularly clean filters and vents to maintain airflow and prevent overheating; never use liquid cleaners. |
Table of Contents
- Step 1: Prepare Projector And Cleaning Area
- Step 2: Power Down And Cool The Projector
- Step 3: Remove Dust From Exterior Surfaces
- Step 4: Clean Projector Lens Gently
- Step 5: Clear Air Vents And Filter Thoroughly
- Step 6: Verify Projector Performance After Cleaning
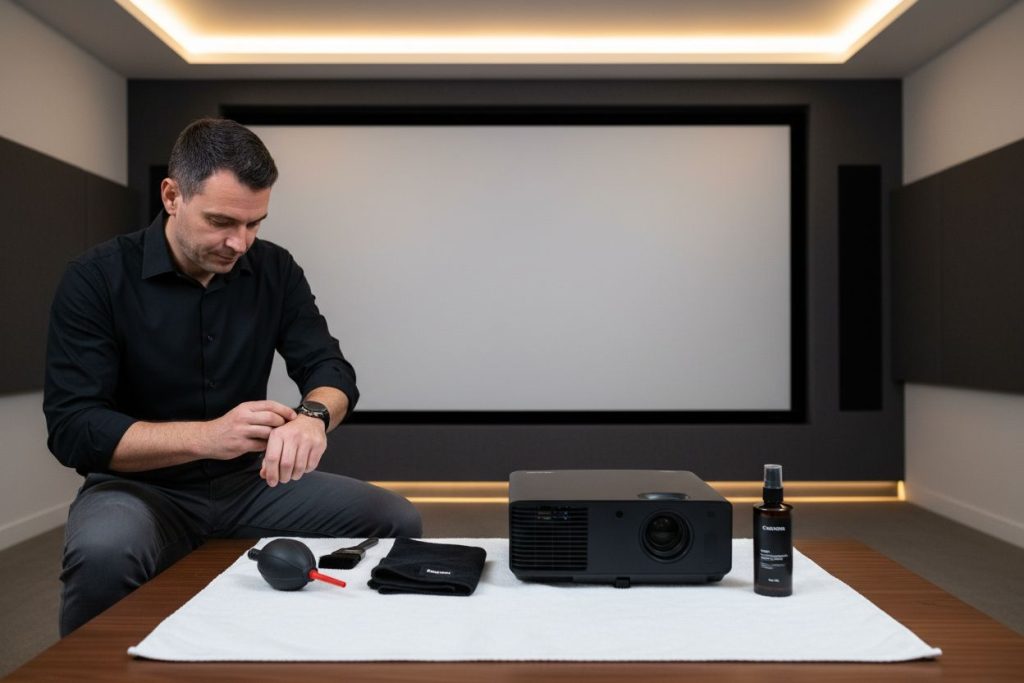
Step 1: Prepare projector and cleaning area
Before diving into cleaning your projector, you need a strategic setup that protects your valuable equipment and ensures effective maintenance. This initial preparation stage is crucial for preventing accidental damage and achieving optimal cleaning results.
First, select a clean workspace with excellent lighting. You want an area free from dust particles that could potentially contaminate your projector during the cleaning process. A well-lit workspace helps you see details like smudges or dirt that might be invisible under poor lighting conditions. Spread out a soft white towel or clean microfiber surface to create a protected workspace where you can safely handle your projector components.
Gather your cleaning toolkit carefully. According to research from projector maintenance experts, you will need specific tools to clean safely:
- Soft manual air blower (NOT compressed/canned air)
- Specialized lens brush with soft bristles
- High-quality microfiber cleaning cloth
- Professional lens cleaning solution designed for optical surfaces
Pro Tip: Avoid household cleaners like glass cleaner or paper towels. These can permanently damage delicate lens coatings.
Prioritize gentle handling throughout the preparation process. Unplug your projector and let it cool completely before starting. Remove any dust covers or protective cases carefully. If you wear jewelry or watches that might scratch surfaces, remove them before beginning.
For extra protection, read our detailed guide on projector lens maintenance to understand the nuances of professional equipment care. Your meticulous preparation sets the stage for a successful cleaning that maintains your projector's performance and longevity.
Step 2: Power down and cool the projector
Safety comes first when preparing to clean your projector. This step ensures you protect both yourself and the delicate electronic components from potential damage during the cleaning process.
Start by completely powering down your projector. Locate the power button and press it firmly to initiate shutdown. Some projectors have a specific cooling cycle that helps dissipate internal heat before fully turning off. According to research from projector maintenance experts, you must also unplug the power cord from the electrical outlet to prevent any electrical risks.
Once powered down, patience is key. Allow your projector to cool completely before attempting any cleaning. As documented by multiple technical sources, this cooling period typically takes between 20 to 30 minutes. During this time the internal components especially the lamp and lens reach a safe temperature that prevents potential burns or accidental damage.
Warning: Never attempt to clean a hot projector. The heat can cause lens coatings to smear and potentially harm sensitive optical surfaces.
While waiting for cooling, use this time to organize your cleaning materials. Ensure your workspace remains clean and dust free. Keep children and pets away from the projector to maintain a controlled environment.
To help you understand more about maintaining your projection equipment, check out our comprehensive guide on common projector maintenance issues. Your careful approach during this cooling stage sets the foundation for a safe and effective cleaning process.
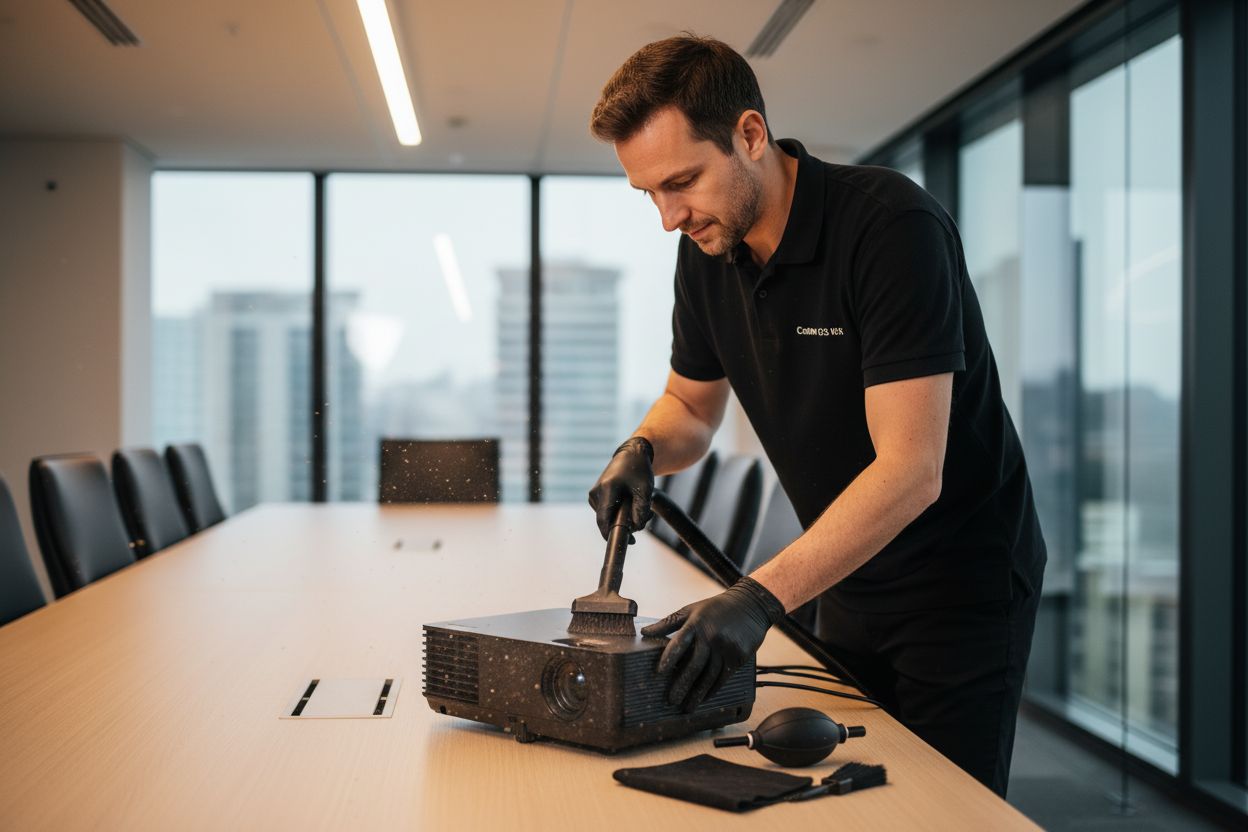
Step 3: Remove dust from exterior surfaces
Dust can accumulate quickly on your projector reducing its performance and potentially causing overheating. This step focuses on safely removing exterior dust without risking damage to your sensitive electronic equipment.
Begin with a soft microfiber cloth that will not scratch delicate surfaces. According to manufacturer safety guidelines, the cloth should be completely dry or only slightly dampened with clean water. Avoid using any liquid cleaners alcohol based solutions or aerosol sprays which can harm the projector's exterior coating and internal components.
Start from the top of the projector and work your way down using gentle sweeping motions. Pay special attention to ventilation areas where dust tends to collect. For hard to reach spots or air vents, professionals recommend using a soft brush attachment on a vacuum cleaner set to low suction. This prevents dust from being pushed deeper into the machine.
Pro Tip: Never apply direct pressure when cleaning. Let the microfiber cloth do the work with minimal contact.
Special care is required around ports connectivity areas and buttons. Use a dry cotton swab or soft brush to gently remove dust from these precision areas. Be extra careful around labeled sections to avoid accidentally wiping off important markings.
To expand your knowledge about projector maintenance techniques, explore our comprehensive guide on projector care strategies. Your meticulous approach to dust removal will help maintain your projector's performance and extend its operational life.
Step 4: Clean projector lens gently
Cleaning your projector lens requires precision and patience. This delicate process can dramatically improve your projection quality by removing dust particles and smudges that degrade image clarity.
According to professional lens maintenance experts, your first step is using a manual air blower to remove loose dust particles. Hold the blower several inches away and use short gentle bursts. Never use compressed or canned air which can damage sensitive lens coatings or introduce moisture.
Next carefully select your cleaning tools. You will need a specialized lens cleaning solution and a high quality microfiber cloth designed specifically for optical surfaces. Research from professional AV maintenance guides recommends applying the cleaning solution directly to the microfiber cloth not the lens surface. This prevents potential liquid seepage into internal components.
When wiping the lens use extremely light circular motions starting from the center and moving outward. Think of it like gently polishing a precious gemstone. Apply minimal pressure and allow the microfiber to do the work.
One or two passes are typically sufficient to remove most dust and light smudges.
Pro Tip: Always use a clean section of the microfiber cloth for each wipe to prevent redistributing dirt.
If stubborn spots remain use a specialized lens brush with soft bristles to gently dislodge particles. Avoid touching the lens surface with your fingers as skin oils can create permanent smudges.
To understand more about maintaining your projection equipment, learn about advanced projector care techniques. Your careful approach ensures crystal clear image quality and protects your valuable equipment.
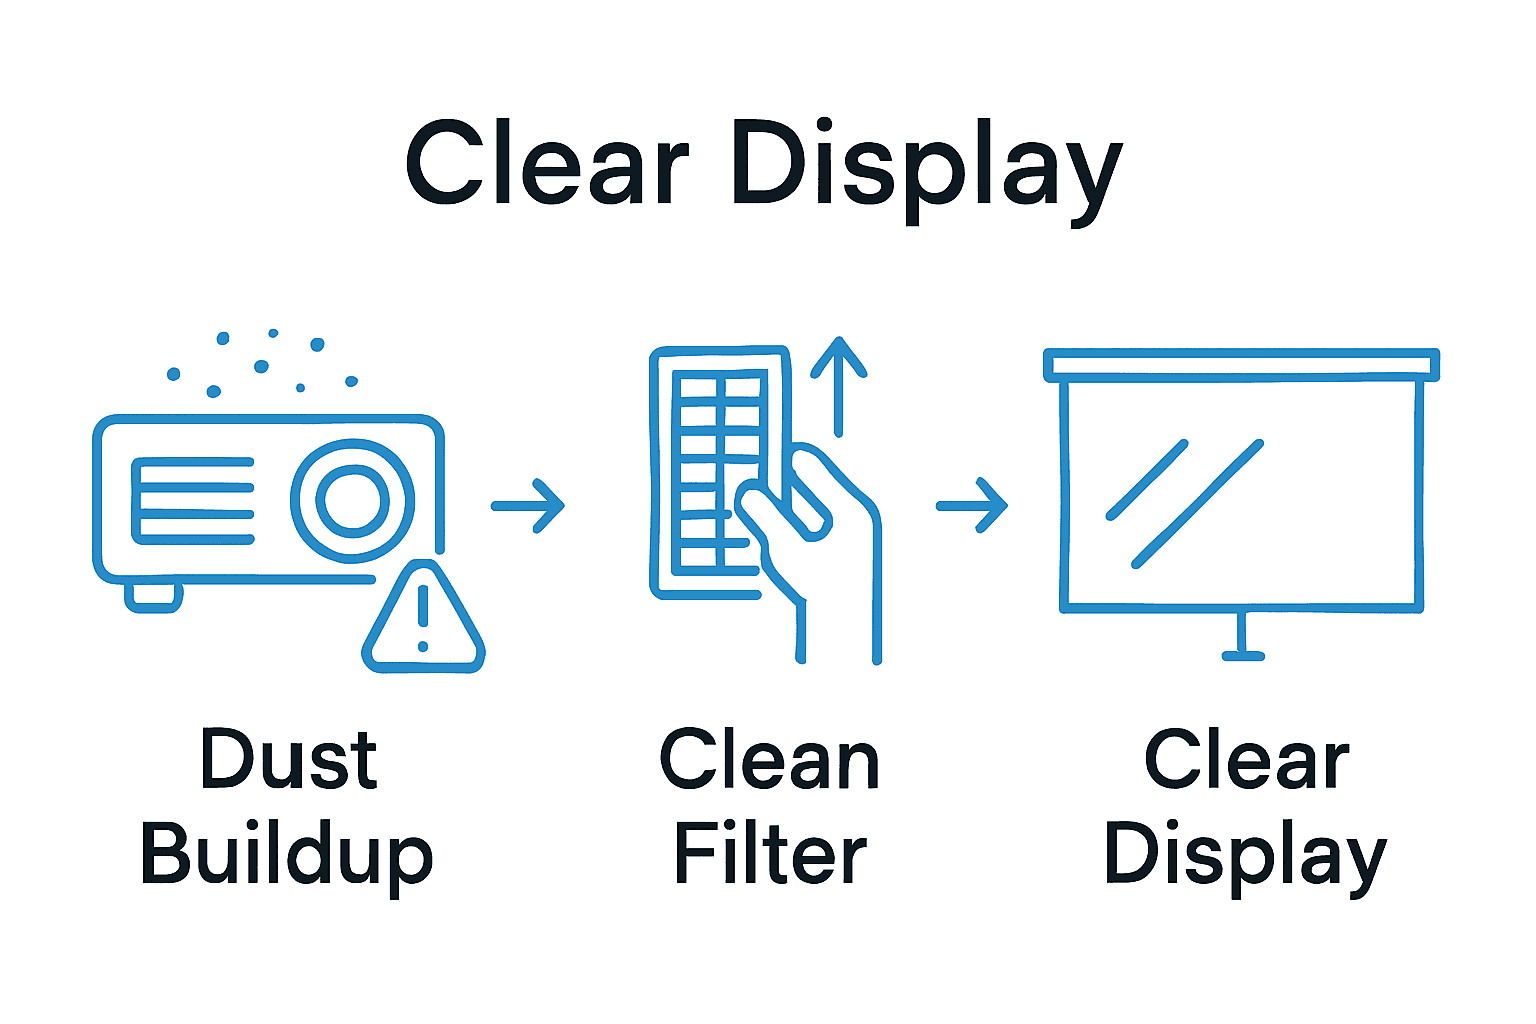
Step 5: Clear air vents and filter thoroughly
Keeping your projector's air vents and filters clean is crucial for maintaining optimal performance and preventing potential overheating issues. This step ensures your device continues running smoothly and efficiently.
According to manufacturer safety guidelines, begin by locating the air filter compartment. Most projectors have a clearly marked removable filter panel. Carefully open this compartment and gently extract the filter. Do not use excessive force which might damage the delicate mechanism.
For filter cleaning, professional maintenance experts recommend using a soft brush attachment on a vacuum cleaner set to low suction. Gently remove accumulated dust and debris. If the filter appears heavily soiled or damaged, consider replacing it entirely. According to technical research, a clean filter can improve your projector's cooling efficiency by up to 40 percent.
When cleaning air vents use a soft dry microfiber cloth or a specialized electronics cleaning brush. Pay close attention to removing dust from all ventilation openings. Be extremely careful not to push dust deeper into the internal components.
Warning: Never use liquid cleaners or compressed air on filters or vents. These can cause permanent damage to your projector's internal systems.
After cleaning ensure the filter is completely dry before reinserting.
 Moisture can create electrical risks and potentially damage your expensive equipment. Allow the filter to air dry naturally for at least 15 to 20 minutes before reinstallation.
Discover more about maintaining your projection equipment with our comprehensive projector care guide. Proper vent and filter maintenance is your first line of defense against potential performance issues.
Step 6: Verify projector performance after cleaning
After meticulously cleaning your projector you want to ensure everything functions perfectly. This final verification step confirms your hard work has restored optimal projection quality and performance.
Begin by reconnecting power and turning on your projector in a dimly lit room. According to professional maintenance guidelines, your first test should involve projecting a white or neutral background screen. This helps you immediately identify any remaining dust particles smudges or uneven cleaning marks that might have been missed during the initial cleaning process.
Inspect the projected image carefully. Professional AV maintenance experts recommend checking for several key indicators of successful cleaning: enhanced image sharpness improved color clarity and increased overall brightness. Pay special attention to previously blurry areas or sections that seemed dull before cleaning. Your thorough maintenance should reveal a noticeably crisper projection.
If you notice any persistent image quality issues like unexplained dimness or unexpected shadows consider additional troubleshooting. Some projectors might require professional calibration after thorough cleaning.
Pro Tip: Always keep a clean white wall or projection screen handy for your initial post cleaning performance check.
Look for subtle improvements in color saturation and contrast. Minor cleaning can dramatically enhance your viewing experience by removing dust that previously muted your projector performance. If everything looks perfect congratulations you have successfully completed a professional grade projector maintenance routine.
Learn more about advanced projector maintenance techniques with our comprehensive equipment care guide. Your commitment to regular maintenance ensures long lasting high quality projection performance.
Here's a summary of the main projector cleaning steps and their objectives:
| Step | Main Actions | Key Objective |
|---|---|---|
| Prepare projector & area | Select clean workspace Assemble cleaning tools |
Prevent contamination or damage |
| Power down & cool | Turn off & unplug Allow to cool 20-30 min |
Ensure safety & avoid heat damage |
| Remove exterior dust | Use microfiber cloth Clean vents & ports |
Reduce overheating, keep surface clean |
| Clean lens gently | Use air blower Lens cloth & solution |
Restore image clarity, protect optics |
| Clear vents & filter | Remove & clean filter Vacuum vents |
Maintain cooling, prevent internal dust |
| Verify performance | Test with neutral screen Inspect image quality |
Confirm cleaning restored quality |
Experience Crystal Clear Projection With the Right Equipment
Do you ever find yourself frustrated by dull images, lingering dust, or unclear visuals even after you have followed every step of proper projector cleaning? You are not alone. The article explains that dust buildup, faulty filters, and worn lenses can ruin your viewing experience. Sometimes, even careful cleaning cannot fix outdated or incompatible equipment. If you truly want consistently crisp results, you need to pair your maintenance efforts with high-quality display solutions.
Explore our full selection of projector screens to maximize picture clarity and eliminate common display obstacles. The right screen or accessory makes all the difference.

Do not let hard work go to waste with subpar equipment. Visit ProjectorDisplay.com today and discover top-rated projectors, reliable projector screens, and essential accessories. Complete your setup with the tools that elevate cleanliness into brilliance. Take action now for vibrant, flawless projection every time.
Frequently Asked Questions
How do I prepare my projector for cleaning?
Start by selecting a clean, well-lit workspace and gathering the necessary cleaning tools, including a soft air blower and microfiber cloth. Lay out a soft towel to protect your projector as you clean, ensuring you avoid any household cleaners that could damage delicate surfaces.
What should I do if my projector is hot before cleaning?
Allow your projector to cool completely before cleaning to prevent burns or damage. Unplug the projector, and wait approximately 20 to 30 minutes for all components, especially the lamp and lens, to reach a safe temperature.
What is the best way to clean the projector lens?
Use a manual air blower to remove loose dust, then gently wipe the lens with a microfiber cloth slightly dampened with lens cleaning solution. Make sure to start from the center of the lens and work outward in light circular motions to avoid scratches.
How can I ensure my projector air vents are clean?
Locate the air filter compartment and gently vacuum the filter with a soft brush attachment set to low suction. This process can improve your projector's cooling efficiency by up to 40%, preventing overheating and maintaining performance.
How do I verify the performance of my projector after cleaning?
Turn on your projector in a dimly lit room and project a neutral background image to inspect clarity and brightness. Look for enhancements in image sharpness and color saturation to confirm that your cleaning has effectively restored display quality.
Can cleaning my projector improve its lifespan?
Yes, regular maintenance and cleaning can significantly extend your projector's lifespan by preventing overheating and maintaining optimal performance. Commit to periodic cleaning sessions to enjoy clearer displays and a longer operational life.