Projector image looking a little blurry or faded? A single fingerprint can reduce lens sharpness by up to 20 percent, creating cloudy visuals even on expensive projectors. That sounds dramatic, but wiping that smudge the wrong way can actually make things worse and even scratch your lens. The secret is that your cleaning supplies and technique matter far more than you think, and most people skip crucial steps without even knowing it.
Table of Contents
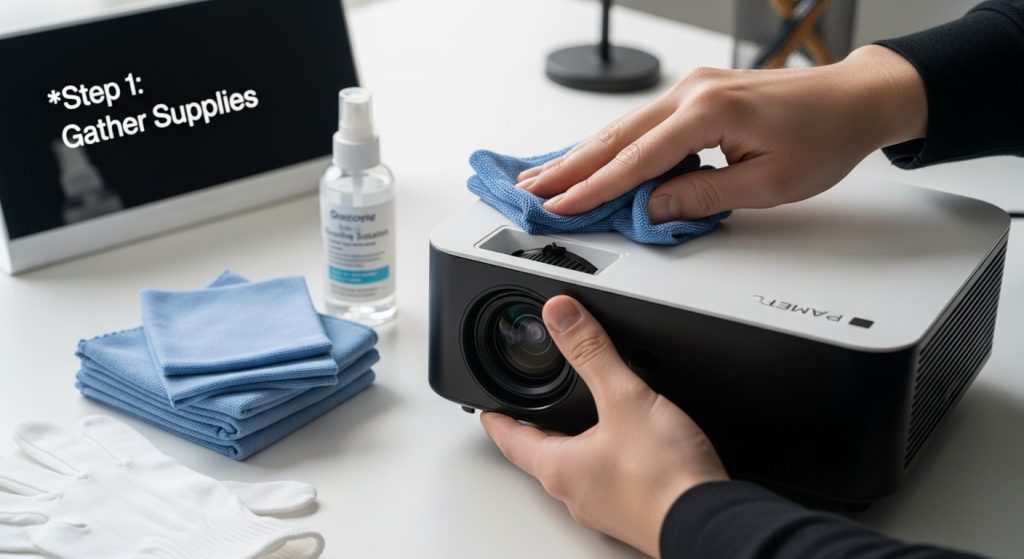
- Step 1: Gather Necessary Cleaning Supplies
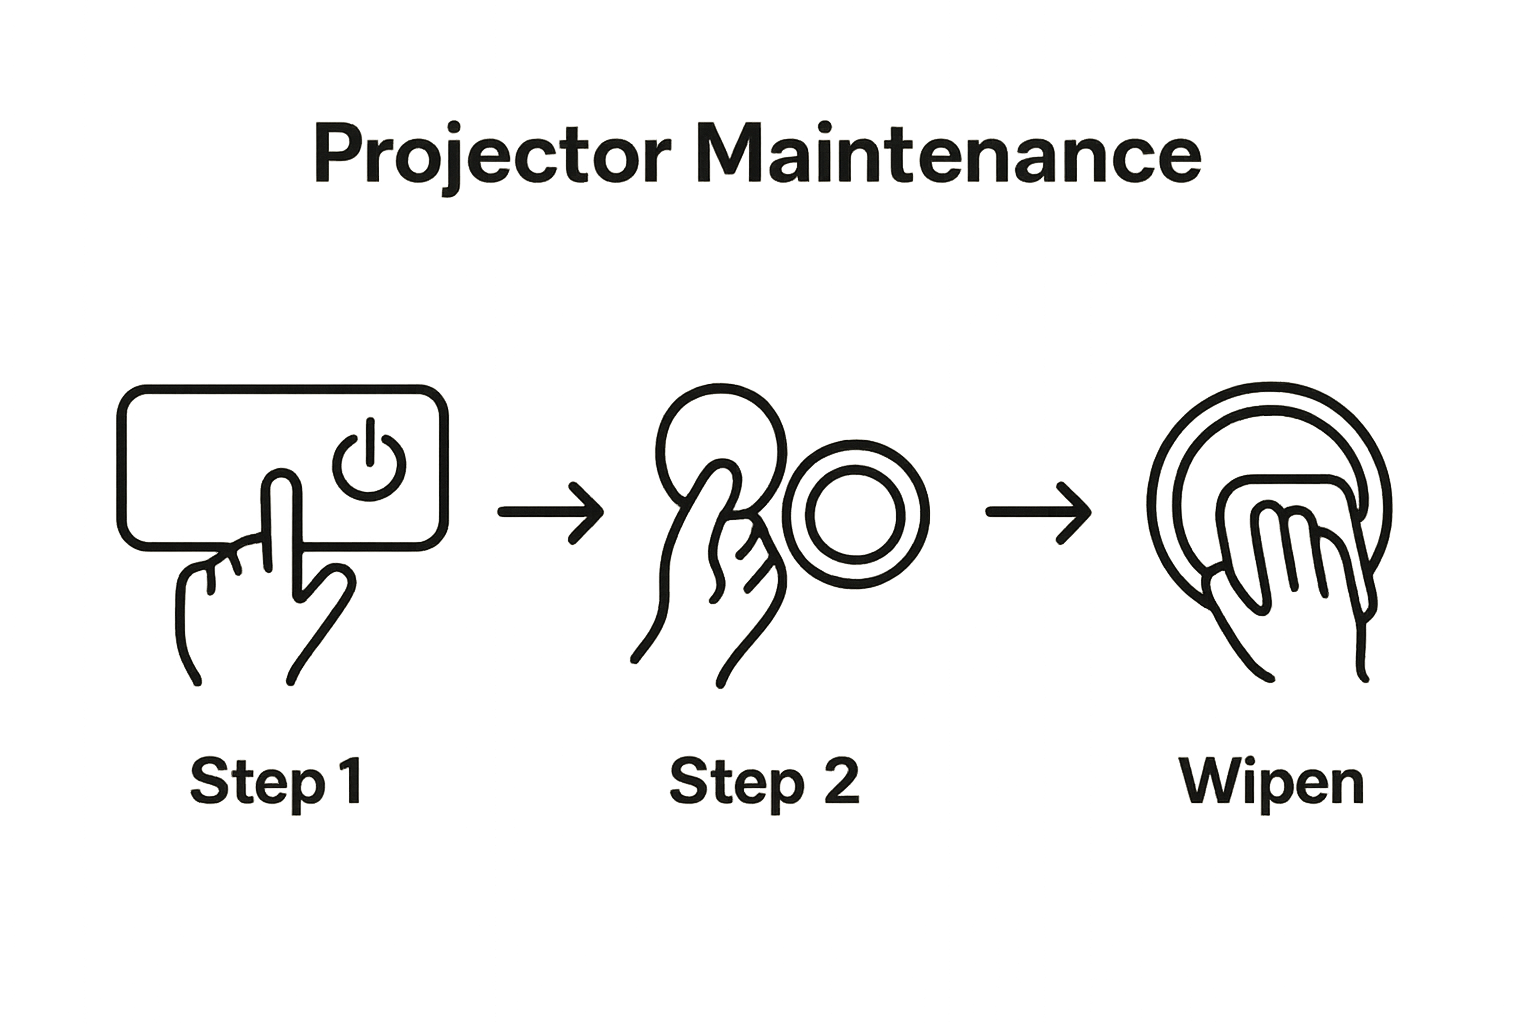
- Step 2: Power Off and Unplug the Projector
- Step 3: Remove the Lens Cap or Cover
- Step 4: Clean the Lens Using a Microfiber Cloth
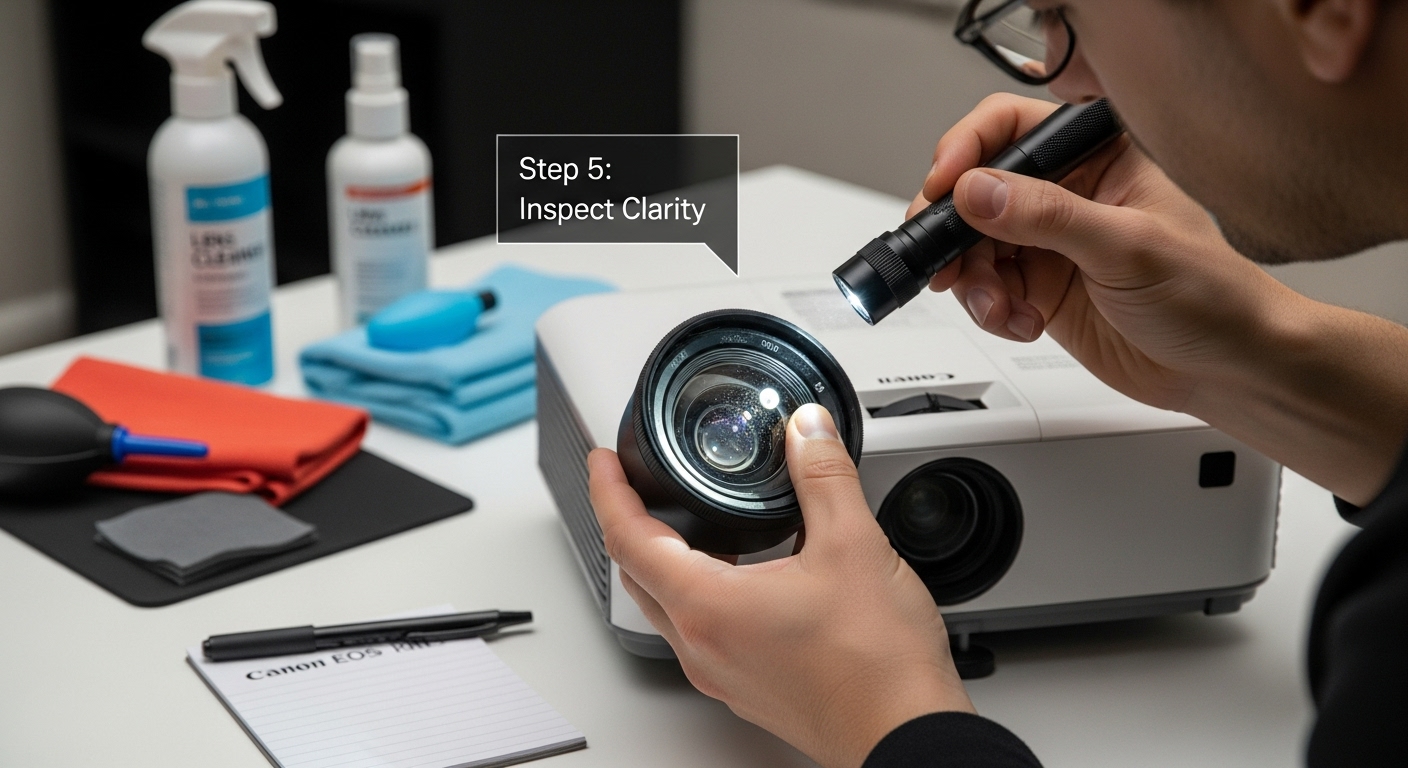
- Step 5: Allow the Lens to Dry and Inspect for Clarity
- Step 6: Reattach Lens Cap and Power On Projector
Quick Summary
| Key Point | Explanation |
|---|---|
| 1. Gather specific cleaning supplies | Collect soft microfiber cloths and professional lens cleaning solutions to avoid damage while cleaning your projector lens. |
| 2. Power off and unplug the projector | Always turn off and unplug your projector before cleaning to eliminate electrical hazards and allow safe handling of the equipment. |
| 3. Remove the lens cap gently | Handle the lens cap carefully to prevent damaging the lens surface and ensure a clean area for further cleaning steps. |
| 4. Use microfiber cloth for cleaning | Apply gentle circular motions with a clean microfiber cloth, starting from the center and moving outward to maintain lens integrity. |
| 5. Inspect lens after cleaning | After drying, check the lens under soft light for clarity, ensuring no streaks or smudges remain for optimal image quality. |
Step 1: Gather Necessary Cleaning Supplies
Before diving into cleaning your projector lens, assembling the right supplies is crucial for ensuring a safe and effective cleaning process. The success of your lens maintenance depends entirely on having the appropriate tools and materials prepared beforehand.
Essential Cleaning Materials
Your cleaning kit should include several specific items designed to handle delicate optical surfaces without causing damage. First and foremost, you will need soft microfiber cloths specifically manufactured for lens cleaning. These specialized cloths are engineered with ultra-fine fibers that can remove dust and smudges without scratching the delicate lens surface. Avoid using standard cloths, paper towels, or rough fabrics that might introduce microscopic scratches.
Next, acquire a professional lens cleaning solution specifically formulated for optical surfaces. Generic cleaning agents or household chemicals can potentially damage lens coatings, so invest in a solution designed explicitly for camera, telescope, or projector lenses. These professional solutions effectively dissolve oils and grime without leaving residue or causing chemical degradation.
Additional Recommended Tools
To complement your cleaning solution and microfiber cloth, consider including a few supplementary tools. Compressed air in a clean, sealed canister provides an excellent method for removing loose dust particles without direct contact. Optically designed lens cleaning tissues can also serve as a backup option for stubborn smudges. A pair of clean, lint-free cotton gloves can prevent fingerprint transfer during the cleaning process.
University of Maryland's Digital Learning Guide recommends organizing these materials on a clean, flat surface before beginning the lens cleaning process. This preparation ensures you can complete the task smoothly and systematically without interruption.
By carefully selecting and preparing your cleaning supplies, you set the foundation for a safe and effective projector lens maintenance routine. Taking these preparatory steps will help protect your valuable projection equipment and maintain optimal image quality.
The table below summarizes the essential and recommended tools for cleaning a projector lens, including their purpose and specific notes to ensure safe and effective use.
| Tool/Material | Purpose | Special Notes |
|---|---|---|
| Microfiber cloth | Removes dust and smudges safely | Only use cloths designed for optics; avoid reusing dirty sections |
| Professional lens cleaning solution | Dissolves oils and grime on lens | Do not use generic or household cleaners |
| Compressed air (sealed can) | Blows away loose dust particles | Use short bursts; never tilt or shake can |
| Lens cleaning tissues | Backup for stubborn smudges | Use only optical-grade tissues |
| Lint-free cotton gloves | Prevents fingerprint transfer | Wear during cleaning to avoid direct skin contact |
Step 2: Power Off and Unplug the Projector
Safety and proper preparation are paramount when cleaning a projector lens, making the power-off process a critical first step in your maintenance routine. Attempting to clean a projector while it is still operational can lead to potential electrical hazards and risk damaging sensitive optical components.
Powering Down the Projector Safely
Begin by locating the power button on your projector, typically found on the unit itself or on the accompanying remote control. Press and hold the power button until the device completely shuts down, which is usually indicated by a color change in the status light or a specific shutdown sequence. Resist the temptation to simply unplug the device without going through the proper shutdown procedure, as this can potentially harm internal components or interrupt ongoing processes.
After initiating the shutdown sequence, wait approximately 10 to 15 minutes to allow the projector to cool down completely. Projector lamps generate significant heat during operation, and attempting to clean the lens immediately after use can risk thermal damage or create an uncomfortable working environment. During this cooling period, ensure the projector is placed on a stable, flat surface away from potential disturbances.
Disconnecting Power and Preparing for Cleaning
Once the projector has cooled, carefully unplug the power cord from the electrical outlet. If your projector is connected to multiple devices such as laptops, HDMI sources, or audio equipment, systematically disconnect these connections as well. This comprehensive disconnection prevents any potential electrical interference and provides a clean workspace for lens maintenance. For those interested in understanding more about projector maintenance, read our comprehensive guide on changing projector lamps.
Verification Checklist
Before proceeding to lens cleaning, perform a quick verification to ensure complete power disconnection:
- Power button shows no active illumination
- Projector feels cool to the touch
- Power cord is completely removed from the electrical outlet
- All peripheral connections are unplugged
By meticulously following these steps, you create a safe environment for cleaning your projector lens, minimizing risks of electrical shock or equipment damage.
The checklist below organizes the recommended verification steps before starting to clean your projector lens, helping you ensure power and connections are safely managed.
| Checklist Item | Description |
|---|---|
| Power button shows no active illumination | Confirms projector is fully powered off |
| Projector feels cool to the touch | Ensures unit is safe to handle after cooling down |
| Power cord is completely removed from the electrical outlet | Confirms there is no electrical connection |
| All peripheral connections are unplugged | Avoids electrical interference and clears workspace |
 The careful approach of powering down, allowing cooling, and completely disconnecting sets the stage for a thorough and safe lens maintenance process.
Step 3: Remove the Lens Cap or Cover
Removing the lens cap or cover is a delicate yet essential step in preparing your projector for cleaning. This process requires careful handling to prevent potential damage to the sensitive optical surface and ensure a thorough cleaning approach.
Understanding Lens Cap Removal
Projector lens caps are designed to protect the delicate lens from dust, scratches, and accidental damage when the device is not in use. Before removing the cap, examine how it attaches to your specific projector model. Some lens caps snap on, while others might have a twist or slide mechanism. Gentle handling is crucial to avoid applying excessive pressure that could potentially damage the lens or the cap's attachment points.
Begin by holding the projector steady with one hand and using your other hand to carefully remove the lens cap. If the cap seems stuck, do not force it. Instead, examine the attachment mechanism closely and look for any small release buttons or specific techniques recommended in your projector's user manual. Some projectors might have a slight twist mechanism that requires a subtle rotation before the cap can be removed.
Handling the Lens Cap During Cleaning
Once removed, place the lens cap on a clean, soft surface away from your cleaning area. Avoid setting it down on dusty or rough surfaces that might transfer debris back onto the cap when you replace it later. If you're interested in maintaining your projector's overall performance, learn more about proper projector maintenance to complement your lens cleaning routine.
Verification and Preparation Checklist
Before proceeding to the next cleaning step, perform a quick verification:
- Lens cap is completely removed without force
- Lens surface is exposed and visible
- No visible damage to the lens cap or lens rim
- Lens cap is placed in a clean, safe location
- Hands are clean and free from oils or debris
By carefully removing the lens cap, you create a clean and safe environment for the next steps of lens maintenance.
The following checklist helps you verify the lens cap is properly removed and the cleaning area is prepared, keeping your projector lens safe during the process.
| Checklist Item | Description |
|---|---|
| Lens cap is completely removed without force | Ensures gentle handling and prevents damage |
| Lens surface is exposed and visible | Confirms lens is ready for cleaning |
| No visible damage to the lens cap or lens rim | Verifies both cap and lens are intact |
| Lens cap is placed in a clean, safe location | Prevents contamination for later replacement |
| Hands are clean and free from oils or debris | Minimizes transfer of contaminants to lens surface |
The goal is to prepare the lens for gentle cleaning while protecting its delicate optical coating and structural integrity.
Step 4: Clean the Lens Using a Microfiber Cloth
Cleaning your projector lens with a microfiber cloth requires precision, gentleness, and a systematic approach to ensure you remove dust, smudges, and fingerprints without causing any damage to the delicate optical surface. The microfiber cloth serves as your primary tool for restoring lens clarity and maintaining optimal image quality.
Preparing the Microfiber Cloth
Before touching the lens, ensure your microfiber cloth is immaculately clean and free from any potential contaminants. Gently unfold the cloth and inspect it under good lighting to confirm no debris or particles are present that could scratch the lens surface. If the cloth appears slightly dirty, use a fresh section or consider using a new cloth entirely. Important: Never use the same area of the cloth multiple times, as this can redistribute dirt and potentially cause scratching.
Hold the microfiber cloth between your thumb and forefinger, creating a taut, smooth surface. This technique provides maximum control and minimizes the risk of inadvertently applying too much pressure while cleaning. If your cloth feels slightly stiff, you can warm it briefly between your hands to make it more pliable and easier to maneuver across the lens surface.
Cleaning Technique and Motion
Approach the lens cleaning process with extremely gentle, deliberate motions. Start from the center of the lens and use light, circular motions that gradually move outward toward the edges. This technique helps prevent pushing dirt or dust toward the lens rim, which could potentially cause scratching. Apply minimal pressure – let the microfiber cloth's specialized fibers do the work of lifting dust and oils without aggressive rubbing.
If stubborn smudges remain after your initial pass, you might consider using a professional lens cleaning solution. Spray the solution directly onto the microfiber cloth rather than the lens itself, which prevents potential liquid seepage into the projector's internal components. Learn more about maintaining your projector's performance to complement your careful cleaning routine.
Verification and Final Inspection
After cleaning, perform a careful inspection of the lens under good lighting:
- No visible smudges or fingerprints remain
- Lens surface appears clear and uniform
- No streaks or residue are present
- Microfiber cloth shows no signs of dirt transfer
- Lens looks pristine from multiple viewing angles
By following these meticulous cleaning steps, you ensure your projector lens remains in optimal condition, preserving the quality of your visual presentations and home entertainment experience.
Use the table below to confirm your lens cleaning was effective using the main inspection steps mentioned in the guide.
| Inspection Step | What to Look For |
|---|---|
| No visible smudges or fingerprints | Lens should be clear with no obvious marks |
| Surface appears clear and uniform | Even clarity across all areas |
| No streaks or residue present | No light-reflecting streaks are left behind |
| Microfiber cloth has no dirt transfer | Cloth should not pick up further dirt or debris |
| Lens looks pristine from all angles | Check clarity by rotating and angling the lens |
Step 5: Allow the Lens to Dry and Inspect for Clarity
After carefully cleaning your projector lens, the final crucial step involves allowing the lens to dry completely and conducting a thorough visual inspection to ensure optimal clarity and performance. This step is essential for guaranteeing that your cleaning efforts have successfully restored the lens to its pristine condition.
Drying Process and Environmental Considerations
Position your projector in a clean, dust-free environment with soft, indirect lighting that will allow you to observe the lens surface without creating harsh reflections. Natural ambient light works best for this inspection. Allow the lens to air dry naturally for approximately 5 to 10 minutes, avoiding the temptation to use any external drying methods like compressed air or cloth that might reintroduce potential contaminants. Important: Ensure the area is free from airborne dust particles that could settle on the freshly cleaned lens surface during the drying process.
While waiting for the lens to dry, take a moment to prepare your workspace. Clear away all cleaning materials and ensure your hands remain clean to prevent accidental recontamination of the lens. If possible, create a small barrier around the projector using a clean cloth or paper towel to minimize environmental interference during the drying phase.
Detailed Visual Inspection Technique
Once the lens has dried completely, conduct a meticulous visual inspection using careful lighting techniques. Hold a bright, soft light source at a 45-degree angle to the lens, which will help reveal any remaining smudges, streaks, or microscopic particles that might have been missed during the initial cleaning. Move the light source slowly across the lens surface, rotating the projector slightly to examine the lens from multiple angles. For more insights on maintaining your projector's performance, consider exploring additional maintenance techniques.
Verification and Final Assessment
Complete your inspection by checking the following key criteria:
- No visible streaks or smudges remain
- Lens surface appears uniformly clear
- No dust particles are visible under angled light
- Lens coating looks undamaged and consistent
- Surface reflects light evenly without unusual patterns
If any imperfections are detected, carefully repeat the cleaning process using a fresh microfiber cloth and minimal cleaning solution. The goal is to achieve a completely pristine lens surface that will ensure optimal image quality and projector performance.
Step 6: Reattach Lens Cap and Power On Projector
The final stage of your projector lens maintenance involves carefully reattaching the lens cap and systematically powering on the device to verify that your cleaning process has not disrupted its functionality. This step ensures your projector is protected and ready to deliver optimal image quality.
Lens Cap Reattachment Process
Carefully align the lens cap with the projector lens, ensuring a precise and secure fit. Gentle, deliberate movements are crucial during this process to prevent any potential damage to the freshly cleaned lens surface. Depending on your projector model, the cap might require a slight twist, snap, or sliding motion to lock into place. Take a moment to confirm the cap sits flush and creates a complete seal around the lens perimeter. A properly attached lens cap acts as a protective barrier against dust, moisture, and potential accidental scratches when the projector is not in use.
Position the projector on a stable, level surface away from potential environmental contaminants. Double-check that no cleaning materials or loose objects remain near the device that could potentially interfere with its operation. If you're interested in maintaining your projector's long-term performance, explore our comprehensive guide on Epson projector maintenance for additional insights.
Powering On and Initial Performance Check
Reconnect the power cord to the electrical outlet and press the power button with a steady, controlled motion. Observe the startup sequence carefully, paying attention to any unusual sounds, display irregularities, or unexpected behavior. The first projection should appear clear and crisp, reflecting the thorough lens cleaning you've just completed. Watch for the following indicators during initial startup:
- Consistent and sharp image clarity
- No unusual flickering or distortion
- Proper color reproduction
- Smooth focus across the entire projected surface
- No visible dust or smudge remnants on the image
By methodically completing these final steps, you've not only cleaned your projector lens but also ensured its continued performance and protection. Regular maintenance like this helps preserve your projector's image quality and extends its operational lifespan.
Upgrade Your Viewing Experience With a Crystal-Clear Advantage
Tired of blurry images even after cleaning your projector lens? You are not alone. The steps in this article can help you fight dust, smudges, and dull projections, but sometimes lens cleaning only gets you part of the way toward perfect visuals. Achieving true clarity also depends on the rest of your setup. If your current screen is faded or your accessories are lacking, it can hold your projector back no matter how spotless your lens is. Imagine what you could experience with the right combination of clean optics and a high-quality projector screen from ProjectorDisplay.com.

Give your projector the professional boost it deserves. Explore our range of premium screens, projector cases, and essential accessories, all designed to enhance image quality and protect your investment. Your next step toward sharper, brighter viewing is just a click away at ProjectorDisplay.com. Shop now and see the full difference for yourself.
Frequently Asked Questions
How often should I clean my projector lens?
It's recommended to clean your projector lens every few months or as needed, depending on usage and environmental factors. If you notice a decrease in image clarity, it may be time to clean the lens.
What cleaning supplies are best for a projector lens?
Use soft microfiber cloths and a professional lens cleaning solution specifically formulated for optical surfaces. Avoid using household cleaners or rough fabrics that can scratch the lens.
Can I use paper towels to clean my projector lens?
No, paper towels can be too abrasive and may scratch the delicate surface of the lens. Always opt for a microfiber cloth designed for cleaning optical surfaces.
What should I do if stubborn smudges remain on my projector lens?
If stubborn smudges persist after initial cleaning, apply a few drops of professional lens cleaning solution to a clean microfiber cloth and gently wipe the lens in circular motions, starting from the center and working outward.