
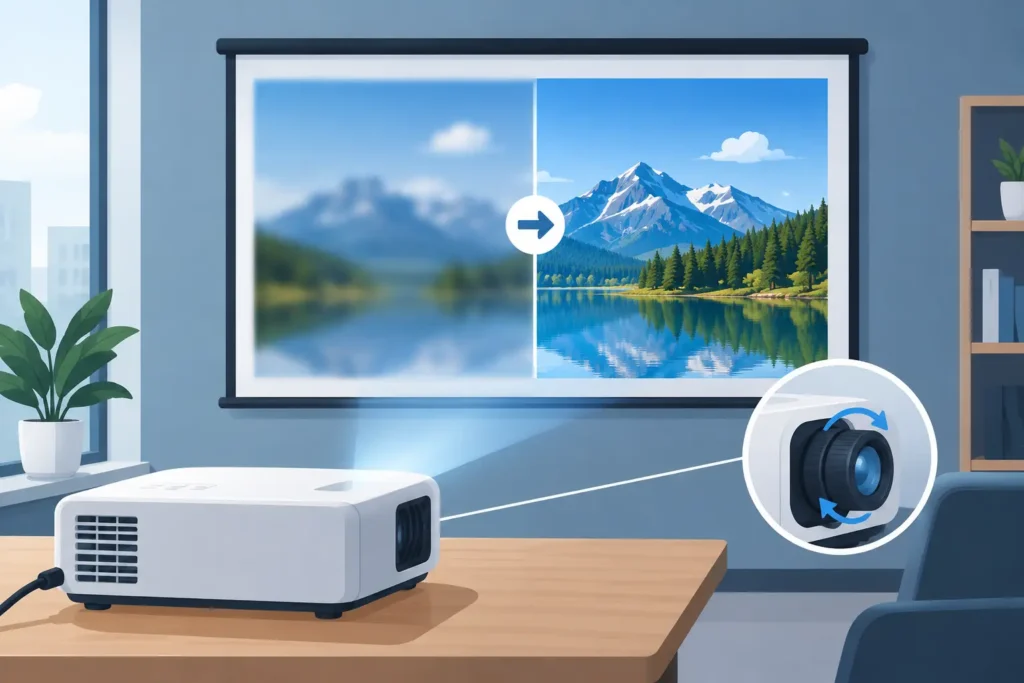
A movie night that looks soft, a spreadsheet nobody can read, or classroom text that blurs at the edges usually has a fix. If you are asking, why is projector image blurry, start by identifying whether the whole picture is out of focus or only certain areas look unclear. That distinction quickly points to the real cause.
A projector does not create sharpness by itself. Its lens, placement, screen surface, input signal, and room conditions all work together. A Full HD or 4K projector can still look disappointing if it is aimed at the wrong screen size, fed a low-resolution signal, or used beyond its practical throw distance.
Why Is a Projector Image Blurry?
The most common reason is simple: the lens is not focused correctly for the projector’s current position. Turn the focus ring slowly while displaying detailed text or a settings menu, not a movie scene. Fine text gives your eyes a more reliable reference than faces or dark video.
If the center becomes sharp but the corners remain soft, focus may not be the real problem. The projector could be tilted too far, the lens may be dirty, or the unit may be placed outside its recommended projection range. In some cases, especially with compact portable models, a small amount of edge softness is a trade-off for a smaller, lower-cost optical system.
Check focus, zoom, and projector distance
Manual-focus projectors need adjustment whenever you move them. Even shifting a projector a few inches can change the best focus point. Models with optical zoom also need a final focus adjustment after zooming in or out.
Confirm that the projector is sitting within its specified throw-distance range for your screen size. A standard-throw projector placed too close or too far away may be difficult to focus evenly. Short-throw and ultra-short-throw projectors are even more sensitive to placement. They can produce a large image in a tight room, but a slight movement can affect alignment and edge clarity.
Use the projector’s native image size where possible. Enlarging an image far beyond the recommended screen size spreads the available pixels over a larger area. The result can look soft even when the lens is perfectly focused.
Avoid excessive keystone correction
Keystone correction is useful when the projector cannot sit directly in front of the screen, but it is not a replacement for proper placement. Digital keystone reshapes the picture by processing and discarding part of the image area. Heavy correction can reduce visible detail, particularly on presentation text, spreadsheets, and classroom content.
Place the projector level with the screen and centered horizontally whenever possible. Then use lens shift, if your model has it, before relying on keystone. Lens shift moves the projected image optically and preserves more detail. If the image looks sharp on one side but blurry or stretched on the other, correct the physical angle first.
Clean the Lens the Right Way
A smudged lens can make the entire image look hazy, lower contrast, and scatter bright light around subtitles or white text. Fingerprints, dust, and residue are common after moving a portable projector or adjusting a ceiling-mounted unit.
Turn the projector off, allow it to cool, and use a clean microfiber lens cloth. For stubborn marks, use a lens-safe cleaning solution sparingly on the cloth, never directly on the lens. Avoid tissues, paper towels, and household glass cleaners because they can scratch coatings or leave residue.
If cleaning the outer lens makes no difference and you can see spots or haze inside the optical path, do not open the projector body yourself. Internal dust, a damaged lens assembly, or a light-engine issue may require professional service.
Make Sure the Source Is Actually Sharp
A sharp projector cannot add detail that the source device does not provide. This is frequently missed when a streaming stick, laptop, set-top box, or wireless display adapter is set to a lower output resolution.
For a native Full HD projector, set the source output to 1920 x 1080 when available. For a native 4K projector, select a compatible 4K output and use content that is genuinely available in 4K. A projector may accept a 4K signal without having a native 4K panel, so check the product specification rather than assuming the input label equals the projected resolution.
Laptop users should also check display scaling. A computer set to duplicate a low-resolution secondary screen may send an inferior signal to the projector. Choose the projector’s preferred resolution in display settings, then test with a document containing small text.
Wireless screen sharing is convenient for meetings and classrooms, but it can introduce compression, reduced resolution, or lag depending on the device and network. For critical presentations, gaming, or high-detail video, a quality HDMI connection is usually the more dependable option.
Inspect the HDMI cable and connection
An aging, loose, or low-spec HDMI cable can cause flicker, signal dropouts, color problems, or a soft-looking image if the source falls back to a lower mode. Make sure the connectors are fully seated and test with another cable if the picture suddenly changed.
For longer cable runs in conference rooms and classrooms, cable quality matters more. A cable that works at 1080p over a short distance may struggle with 4K or high refresh-rate content over a longer run. Choose a cable rated for the signal you plan to use, and avoid tightly bending or crushing it during installation.
Match the Projector to the Room and Screen
Sometimes "blurry" is actually a brightness or contrast problem. In a bright meeting room, washed-out text can appear fuzzy because the projected whites are competing with window light and overhead fixtures. Closing blinds, dimming lights near the screen, and choosing a projector with sufficient ANSI lumens can make edges look noticeably cleaner.
The screen matters too. A smooth, flat projector screen gives the lens a consistent surface to work with. Projecting onto a textured wall can scatter light and make fine detail look uneven. A wrinkled pull-down screen or a screen that is not tensioned can also create localized distortion that resembles a focusing issue.
For a home theater, match the projector’s brightness and resolution to the planned screen size and viewing environment. For an office or school, prioritize readable resolution, adequate ANSI lumens, and placement flexibility. XGA may be suitable for basic slides, while Full HD provides a clearer experience for detailed documents, video, and modern teaching content.
Rule Out Heat and Hardware Problems
If your projector starts sharp but becomes blurry after 20 to 40 minutes, heat may be affecting focus. Check that air vents are unobstructed, the air filter is clean where applicable, and the projector has enough clearance around it. A projector installed in a tight cabinet or close to a ceiling without ventilation can overheat and shorten component life.
Older lamp-based projectors can lose brightness and image quality as the lamp ages. A dim lamp does not always cause true blur, but reduced brightness can make the picture look dull and undefined. Check lamp hours in the projector menu and replace the lamp with the correct compatible model when it reaches its recommended service life.
Laser projectors generally offer longer-lasting brightness and less lamp maintenance, but they are not immune to alignment, lens, or internal optical issues. If focus will not hold, one corner remains persistently blurry, or you hear unusual fan behavior with a warning light, arrange an inspection rather than continuing to adjust settings.
A Quick Test Before You Change Anything Else
Project a built-in menu or focus pattern directly onto a flat screen. If the menu is blurry, the cause is likely focus, placement, lens condition, or hardware. If the menu is crisp but your movie, laptop, or presentation is soft, investigate the source resolution, HDMI cable, wireless connection, or content quality instead.
This one test prevents a lot of unnecessary troubleshooting. It also helps when comparing projector options: native resolution, throw ratio, optical zoom, lens shift, and ANSI lumens should suit the way the projector will actually be installed, not just the largest specification on the box.
A clear image is usually the result of a few small details working together. Set the projector square to a proper screen, give the lens a careful clean, feed it the right resolution, and let the hardware breathe. If you are planning a new home, classroom, or meeting-room setup, choosing the right projector and mounting position from the start is the easiest way to keep every image crisp.