
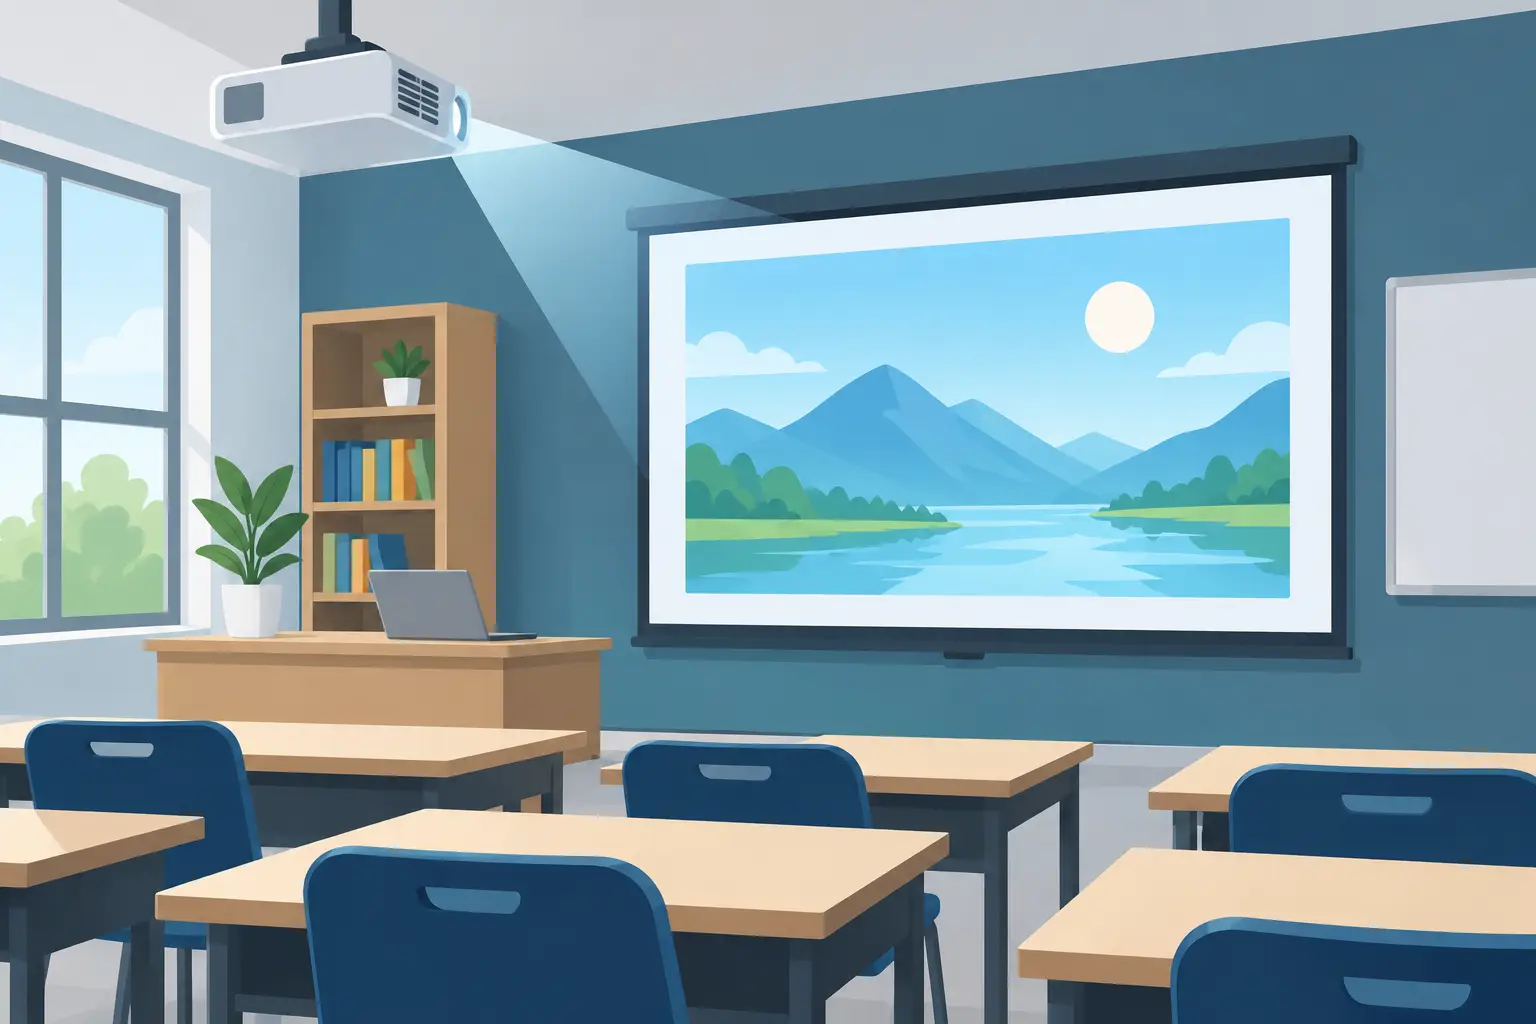
A teacher should not have to stand at the back of the room to avoid casting a shadow across the lesson. A short throw projector for classroom use solves that familiar problem by producing a large image from a much shorter distance. Mounted close to the wall or screen, it keeps the presenter out of the light path, reduces glare, and frees up valuable teaching space.
That sounds straightforward, but the right choice depends on more than projector size or price. Classroom lighting, room depth, viewing distance, device connections, and how often the projector will be used all affect the result. The best setup is one that supports clear teaching every day, not just an impressive image during installation.
Why a Short Throw Projector Works in Classrooms
A standard projector may need to sit several feet away from the screen to create a large image. In a compact classroom, that can mean placing it in the middle of the room, running cables across walkways, or positioning students where they can block the projection.
A short throw model uses a specialized lens to create a large picture at close range. Depending on the projector’s throw ratio, it may produce a 100-inch image from roughly three to five feet away. Ultra-short-throw models can sit just inches from the wall, making them especially useful for front-of-class installations.
The practical advantages are immediate. Teachers can walk naturally near the display without creating distracting shadows. Students seated closer to the screen are less likely to block the image. The installation can also look cleaner because the projector, screen, wall mount, and cables remain concentrated at the front of the room.
Short throw is not automatically the right answer for every space. A deeper lecture hall with a fixed ceiling mount may work well with a conventional projector. But for smaller classrooms, training rooms, tutoring centers, and collaborative learning spaces, short throw usually delivers a more comfortable teaching experience.
Start With Throw Distance and Screen Size
Throw distance is the measurement from the projector lens to the projection surface. It is the first specification to check because it determines whether the projector can create your desired image size from the available mounting location.
Projector specifications list a throw ratio, typically shown as a range or a single number. A lower ratio means the projector can produce a bigger image from a shorter distance. For example, a projector with a 0.5:1 throw ratio can create a 100-inch diagonal image at approximately half the screen width away from the surface.
Before selecting a model, measure the usable wall or screen area, then decide on a realistic image size. A huge display is not always better if students in the front row must look up uncomfortably or if the projected image overlaps a whiteboard. In many standard classrooms, a 75-inch to 100-inch image gives a strong balance of visibility and comfort.
Also allow room for the mount and cable connections. An ultra-short-throw projector may be close to the wall, but its exact placement is more sensitive than a standard model. A professional wall mount or purpose-built short-throw mount helps maintain image alignment over time.
Check for image geometry
Short throw lenses project at a wider angle, so small placement errors can be more noticeable. Choose a location that lets the projector sit level and centered with the screen. Features such as keystone correction are useful for fine adjustments, but relying heavily on digital correction can reduce image sharpness.
For the cleanest result, prioritize correct mounting geometry, then use optical or digital adjustments only where needed.
Choose Brightness for Real Classroom Lighting
Brightness is measured in ANSI lumens, and it has a direct effect on whether slides, videos, diagrams, and text remain visible under classroom lighting. A projector that looks bright in a dark demonstration room can appear weak when windows are uncovered and overhead lights are on.
For a typical classroom with controlled lighting, around 3,000 to 4,000 ANSI lumens is often a practical starting range. Rooms with bright windows, large open spaces, or limited blackout options may benefit from 4,000 ANSI lumens or more. If the projector will mostly display video in a darkened room, extreme brightness may not be necessary.
Brightness should be considered alongside screen size. The larger the projected image, the more light is spread across the surface. A projector that performs well at 80 inches may look less punchy at 120 inches in the same room.
Screen choice also matters. A proper projector screen can improve perceived contrast and image uniformity compared with an uneven painted wall. If the classroom needs a flexible installation, a wall-mounted screen or portable pull-up screen may be suitable. For permanent teaching areas, a fixed-frame screen offers a flat, consistent surface.
Resolution Should Match Teaching Content
Resolution determines how much detail the projector can display. For classrooms that mainly show presentation slides, web pages, worksheets, and basic video, XGA or WXGA may still be sufficient. However, Full HD resolution provides a noticeably clearer image for detailed text, spreadsheets, maps, educational videos, and split-screen lessons.
A useful rule is to match the projector to the source devices and the way teachers teach. If teachers connect modern laptops, document cameras, or streaming devices, Full HD is a sensible long-term choice. It also makes small fonts and visual teaching materials easier for students at the back of the room to read.
4K projection can be valuable in specialist applications such as design, media, science visualization, or large lecture rooms. For most everyday classrooms, however, a bright Full HD short throw projector may offer better value than paying more for resolution students may not fully notice.
Consider color performance, not only resolution
Educational content often includes colorful charts, photos, highlighted text, and video. Technologies such as 3LCD are known for strong color brightness, which can help visuals remain vivid in rooms with ambient light. Color accuracy is particularly relevant for art, science, geography, and early-learning materials where visual clarity supports understanding.
Plan Connectivity Around Real Teaching Habits
A projector should make lesson setup faster, not add another technical task before every class. HDMI remains the core connection for laptops, media players, visualizers, and many interactive devices. Select a projector with enough HDMI inputs for the equipment that will stay connected permanently.
Wireless presentation can be useful when multiple teachers need to share content from laptops, tablets, or phones. Depending on the model and device ecosystem, wireless display features may support screen mirroring, AirPlay, or dedicated wireless dongles. This is convenient, but wired HDMI is still the most reliable choice for high-resolution video, longer lessons, and rooms with busy wireless networks.
Audio deserves the same planning. Built-in speakers are acceptable for short clips or smaller rooms, but they may not be powerful enough for a full classroom. If the projector will be used for language lessons, films, assemblies, or training sessions, connect it to external speakers or an existing sound system.
For schools with shared equipment, look for practical control options. LAN connectivity, remote management, and scheduled power settings can help IT teams monitor devices and reduce unnecessary lamp or laser usage.
Lamp, LED, or Laser: Think About Total Ownership
Traditional lamp projectors can offer a lower upfront cost and may suit classrooms with moderate use. Their lamps eventually need replacement, so it is worth confirming replacement-lamp availability and expected lamp life in normal and eco modes.
LED projectors can offer long light-source life and low maintenance, although brightness levels vary widely by model. Laser projectors are often the strongest choice for high-use classrooms because they combine long life, quick startup, consistent brightness, and reduced maintenance requirements. Their initial price is higher, but they can make financial sense for schools that use the projector daily across multiple years.
There is no single best light source. A small tuition center with occasional classes may prioritize affordable lamp-based performance. A school fitting out many classrooms may find laser models easier to manage over the long term, especially when maintenance time is part of the cost.
Installation Details That Protect the Investment
The projector itself is only one part of a reliable classroom display system. Use a mount designed for the projector’s weight and intended throw distance. Keep HDMI and power cables protected and routed away from student access. If the projector is ceiling-mounted, confirm that the image can be reached safely for filter cleaning, adjustments, or servicing.
Ventilation is another consideration. Do not install the projector inside a tight cabinet or directly beside heat-producing equipment. Dusty environments may require more frequent cleaning, particularly for models with air filters.
Finally, test the setup from the students’ perspective. Sit at the back, sides, and front rows. Check that text is readable, colors remain visible, and the teacher can write or point near the display without throwing a shadow. Those few checks often reveal whether the installation is genuinely ready for daily teaching.
A classroom display should help teachers keep attention on the lesson rather than the equipment. When you are comparing models, bring the room measurements, expected screen size, lighting conditions, and device list to ProjectorDisplay.com for a more accurate recommendation or quotation.