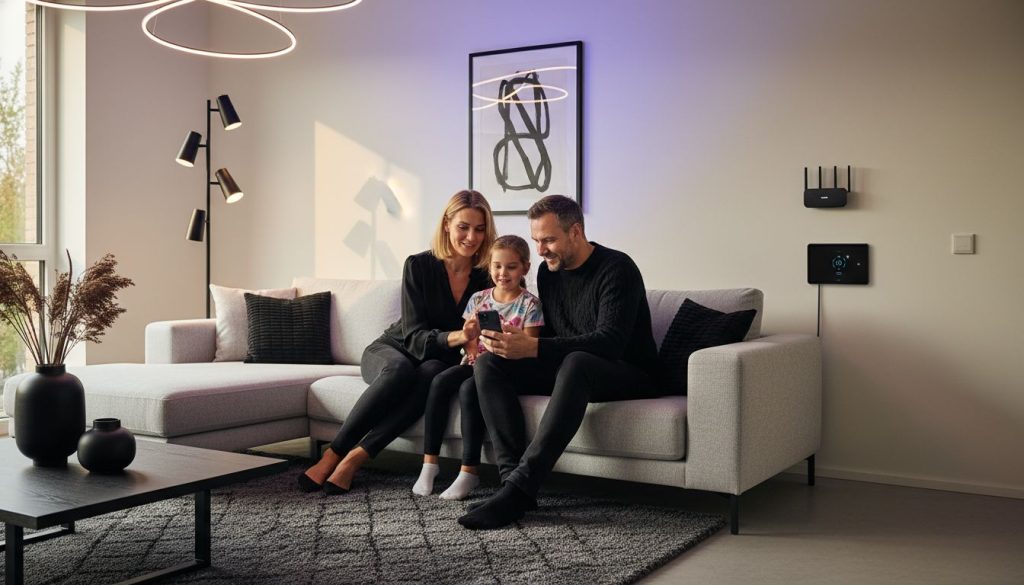
Over 60 percent of homeowners now consider smart lighting as a top upgrade for modern living. Choosing the right system can transform daily routines, boost convenience, and even improve energy efficiency. Before you reach for that new smart bulb or switch, understanding each setup step ensures a smooth installation and smooth integration into your home. This guide walks you through everything you need for a hassle-free smart lighting experience.
Table of Contents
- Step 1: Prepare Your Space for Smart Light Installation
- Step 2: Install and Power Your Smart Lights
- Step 3: Connect Smart Lights to Your Network
- Step 4: Configure Lighting Settings in the App
- Step 5: Test and Automate Your Smart Lighting
Quick Summary
| Key Point | Explanation |
|---|---|
| 1. Turn off power before installation | Start by identifying and shutting off the correct circuit breaker to ensure a safe environment for smart light installation. |
| 2. Label wires accurately | Identify and label the lead, load, ground, and neutral wires to facilitate proper connections during the installation process. |
| 3. Use a stable Wi-Fi connection | Ensure your home Wi-Fi is strong and reliable for better connectivity and performance of your smart lighting system. |
| 4. Create lighting scenes | Set up automated lighting scenes in the app for different activities, enhancing convenience and ambiance with just one tap. |
| 5. Regularly update app and firmware | Keep your smart light app and devices updated to access new features and ensure optimal functionality for your system. |
Step 1: Prepare Your Space for Smart Light Installation
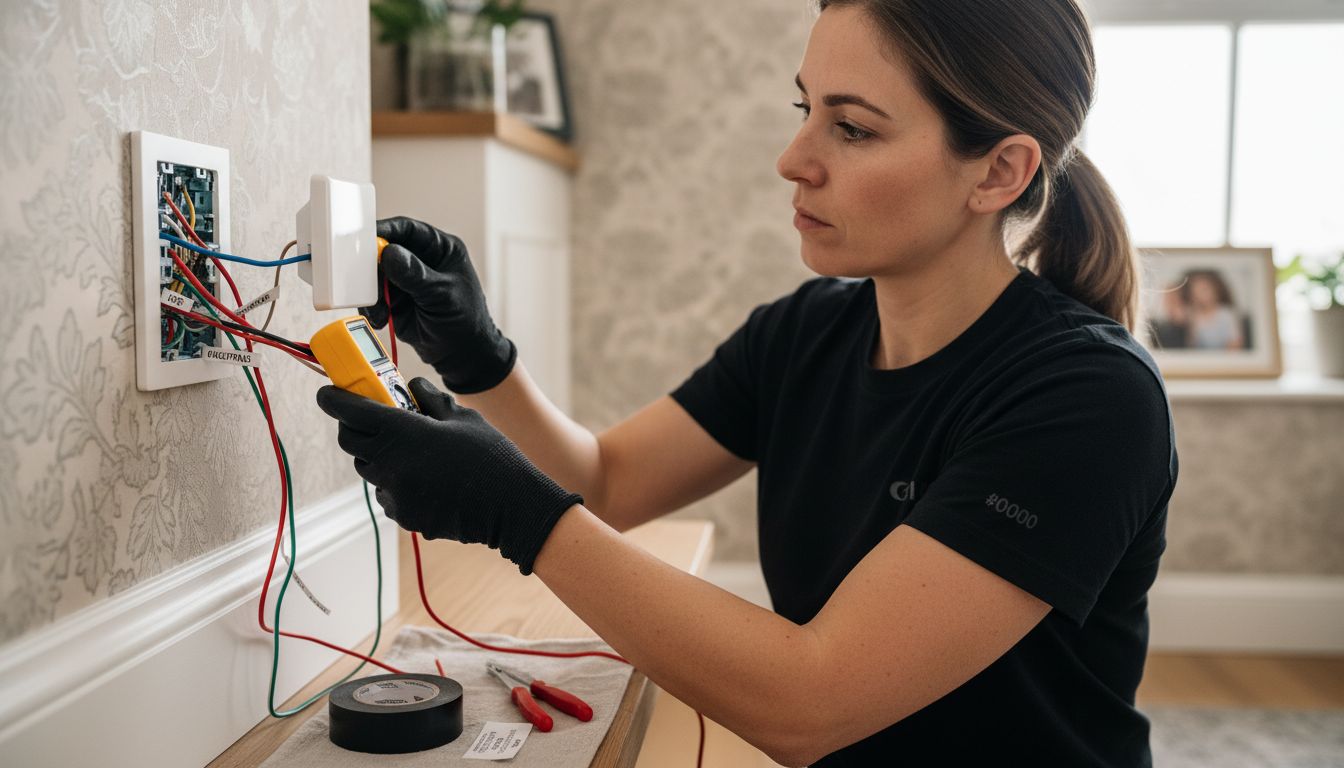
Before diving into smart light installation, you will need to assess and prepare your electrical space carefully. Proper preparation ensures a smooth and safe setup of your new smart lighting system. According to Security.org, the first critical step involves safety electrical work.
Begin by identifying your electrical circuit breaker and turning off power to the specific area where you will be working. This means testing each breaker switch until the light at your installation location completely turns off. Safety cannot be overstated here protecting yourself from potential electrical hazards is paramount. Carefully remove the existing light switch plate and examine the wire configuration. You will need to identify and label the lead, load, ground, and neutral wires precisely.
If your existing electrical setup lacks any required wires or seems complex, do not attempt a DIY installation. Security.org recommends consulting a professional electrician who can assess your specific electrical configuration and ensure proper smart switch compatibility. Some smart switches require specific wiring configurations, and an expert can help you navigate these technical requirements safely.
Pro Tip: Keep a voltage tester and electrical tape handy during this preparation phase. Double check that no electrical current is running to your work area before beginning any installation steps. Taking these precautionary measures will help you create a safe environment for your smart light upgrade.
Step 2: Install and Power Your Smart Lights
With your space prepared, you are now ready to physically install and power your smart lighting system. According to Security.org, the installation process varies slightly depending on whether you are installing smart light switches or smart light bulbs.
For smart light switches, carefully connect the labeled wires matching the lead, load, ground, and neutral connections to the corresponding terminals on your new smart switch. Secure the switch firmly into the electrical box, ensuring all connections are tight and properly insulated. Once installed, turn the circuit breaker back on and test the switch functionality. Security.org recommends downloading the manufacturer's mobile application to complete the setup and link the switch to your home network.
If you are installing smart light bulbs, the process is more straightforward. Unscrew your existing bulb and replace it with the smart bulb. If your system includes a hub, plug it into your home router following the manufacturer's instructions. Download the companion mobile app and follow the pairing instructions carefully. Pro tip: When replacing multiple bulbs, choose a system that uses a central hub to prevent overwhelming your home Wi-Fi network and ensure smoother overall performance.
After installation, spend a few moments labeling each smart light in your app.
This will help you quickly identify and control individual lights, making your new smart lighting system more intuitive and user friendly.
Step 3: Connect Smart Lights to Your Network
Now that your smart lights are physically installed, it is time to establish their network connection and configure their digital controls. Security.org suggests a systematic approach to pairing and configuring your new smart lighting system.
Begin by downloading the manufacturer's mobile application on your smartphone or tablet. Open the app and follow the specific pairing instructions provided. For smart light bulbs, this typically involves placing the bulb in pairing mode and allowing the app to detect and connect to the device. Security.org recommends carefully labeling each smart light within the app to make future control and management more intuitive. If you are setting up multiple bulbs or switches, consider using a central hub to maintain a stable and organized network connection.
Ensure your home Wi-Fi network is stable and has strong signal coverage in the areas where you are installing smart lights. Position your router or Wi-Fi extenders strategically to provide consistent connectivity. When adding multiple smart light devices, go slowly and pair them one at a time to prevent network congestion and ensure each device connects correctly. With what is a smart projector in Malaysia, you might discover additional smart home integration possibilities that could complement your new lighting setup.
Pro Tip: Create distinct groups or rooms in your smart light app to streamline control.
 This allows you to manage lights by location or create complex lighting scenes with just a few taps on your smartphone.
Step 4: Configure Lighting Settings in the App
With your smart lights successfully connected to the network, it is time to unlock their full potential by customizing settings and exploring advanced features. Security.org highlights the importance of understanding your app's configuration capabilities for creating personalized lighting experiences.
Start by exploring the brightness and color options available for each smart light. Most apps allow you to adjust color temperature from warm yellow tones to cool blue hues, enabling you to create the perfect ambiance for any room or occasion. Security.org recommends experimenting with scheduling features that allow you to automate lighting based on time of day, creating scenes for morning, evening, or specific activities like watching movies or working.
Delve into the automation and integration possibilities within your smart lighting app. You can create complex routines that trigger multiple lights simultaneously or link your smart lights with other home automation systems. For instance, what is a smart projector in Malaysia might offer complementary integration options that enhance your overall smart home experience. These advanced settings can transform your lighting from a simple on off function to an intelligent system that adapts to your lifestyle.
Pro Tip: Regularly update your app and device firmware to access new features and ensure optimal performance. Some apps offer advanced features like geofencing that can automatically adjust your lights based on your smartphone's location.
Step 5: Test and Automate Your Smart Lighting
With your smart lighting system configured, the exciting phase of testing and creating sophisticated automation begins. Security.org emphasizes the importance of thoroughly verifying each light's functionality and exploring automation potential to maximize your system's convenience.
Start by systematically testing each smart light through the mobile app. Toggle individual lights on and off, adjust brightness levels, and experiment with color settings to confirm their responsiveness. Security.org recommends creating multiple lighting scenes for different scenarios such as movie watching, reading, or relaxing. These scenes can automatically adjust brightness and color temperature with a single tap, transforming your living space instantly. Consider developing schedule based automations that align with your daily routine like gradually brightening lights in the morning or dimming them in the evening.
Expand your smart lighting's capabilities by exploring integration with other smart home devices. what is a smart projector in Malaysia might offer complementary automation options that could enhance your overall home entertainment experience. Advanced users can create complex routines that trigger multiple lights simultaneously based on specific conditions like time of day, outside light levels, or even your smartphone's location.
Pro Tip: Maintain a stable network connection and periodically update your app and device firmware to access new automation features and ensure optimal performance. Some advanced systems allow voice control integration and machine learning capabilities that can further customize your lighting experience.
Enhance Your Smart Lighting Experience with Seamless Audio and Visual Solutions
Setting up smart lights is a crucial step toward a more convenient and connected home. You want your lighting to respond intuitively and create the perfect atmosphere without hassle. But true comfort comes from combining smart lighting with quality sound and visual devices that elevate your living space. Whether you are creating movie nights or immersive presentations, pairing your smart lights with optimized sound systems and high-quality projectors will transform your environment.

Discover the perfect companion to your smart lighting setup by exploring the Sound Systems Archives – Projector Display for rich and clear audio that complements your lighting scenes. Protect your smart tech gear with sleek, reliable options found in our Projector Bag / Case Archives – Projector Display. Ready to integrate your smart lighting with cutting-edge projection technology today Visit ProjectorDisplay.com to browse and order premium projectors with wireless connectivity and high resolution designed for the modern Malaysian home. Start your smart home upgrade now for a truly connected and immersive experience.
Frequently Asked Questions
How do I prepare my space for smart light installation?
To prepare your space for smart light installation, start by turning off the power at the circuit breaker for the area you'll be working in. Carefully remove the existing light switch plate and label the wires to ensure correct connections during installation.
What should I do if my existing wiring does not support smart light installation?
If your existing wiring lacks necessary connections or seems too complex for a DIY installation, it's best to consult with a professional electrician. They can assess your setup and recommend the appropriate solutions for your smart lighting upgrade.
How do I install smart light switches correctly?
To install smart light switches, connect the labeled wires—lead, load, ground, and neutral—to their corresponding terminals on the smart switch. Then secure the switch in the electrical box, turn the circuit breaker back on, and test the switch functionality.
How can I ensure my smart lights connect to the Wi-Fi network?
To ensure your smart lights connect to the Wi-Fi network, download the manufacturer's mobile app and follow the pairing instructions. Make sure your home Wi-Fi has a strong signal in the installation area, and connect devices one at a time to avoid network congestion.
What features should I look for in the smart lighting app?
When using the smart lighting app, explore brightness and color options, scheduling features, and automation capabilities. Create groups or rooms for easy management and set routines to automate your lights based on specific times or activities.
How do I test my smart lighting system after setup?
After setting up your smart lighting system, test each light through the mobile app by toggling them on and off, adjusting brightness, and changing colors. Create lighting scenes for different scenarios, such as movie watching or reading, to maximize the convenience of your setup.