
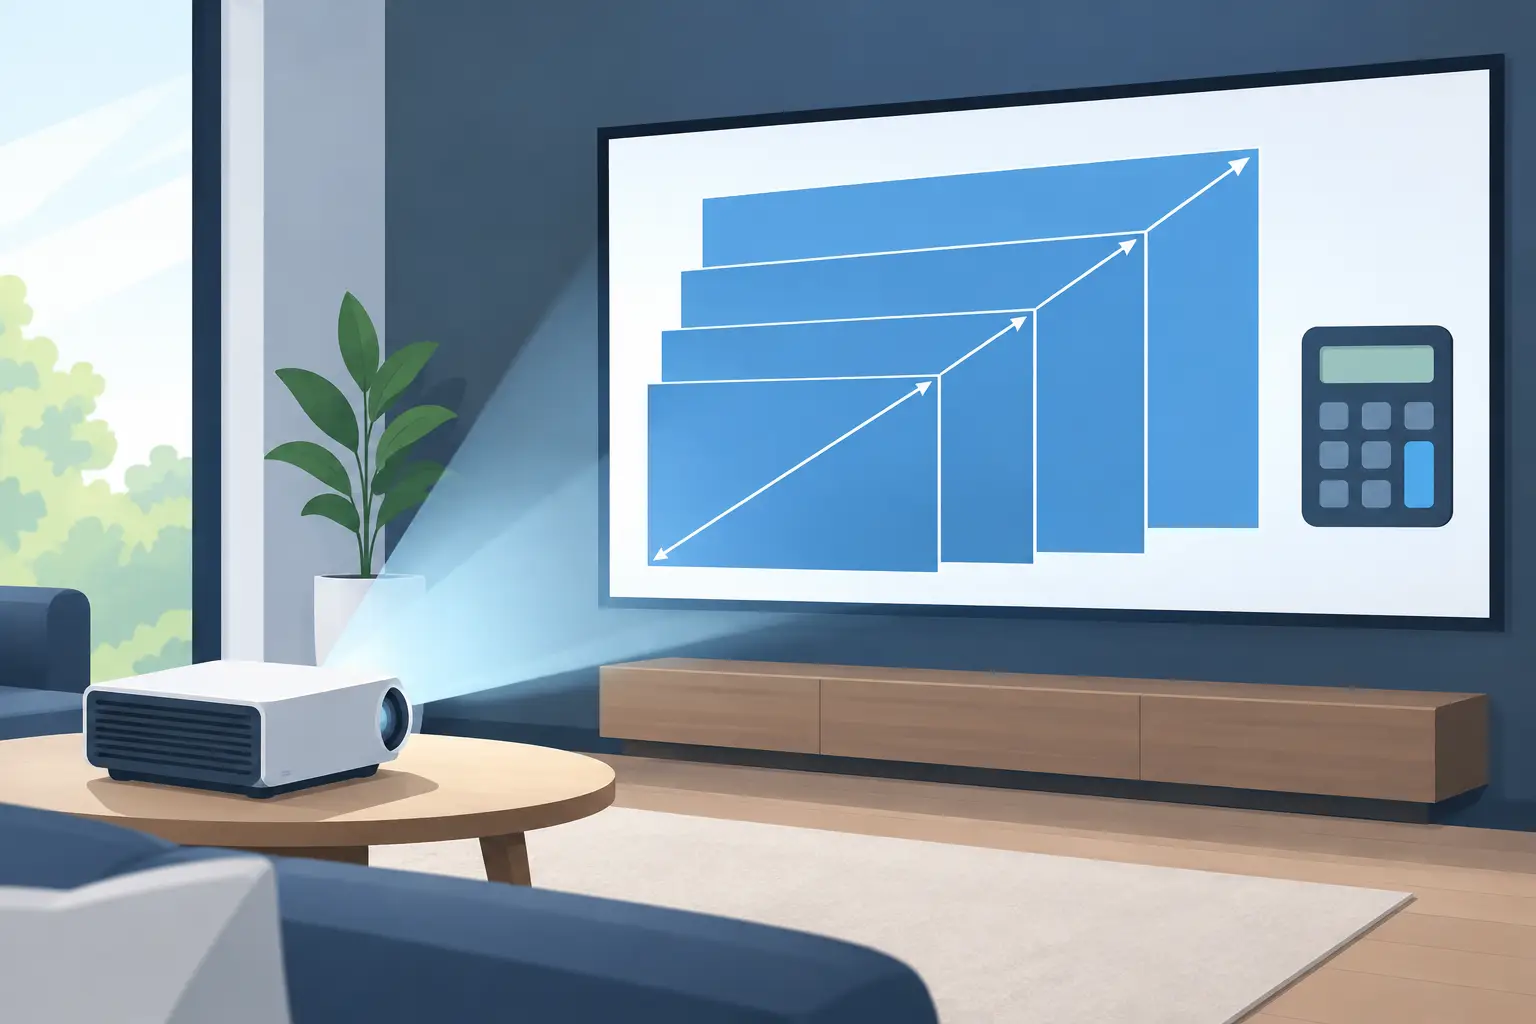
A projector that looks impressive in a product listing can feel completely wrong once it reaches the room. The image may be too large for the wall, too small for the audience, or impossible to achieve from the planned mounting position. A projector screen size calculator helps prevent those expensive surprises by connecting four practical details: screen size, aspect ratio, throw ratio, and projector distance.
For a home theater, that calculation determines whether movie subtitles are easy to read from the sofa. In a meeting room or classroom, it affects whether people at the back can see a spreadsheet, lesson slide, or video clearly. Getting the dimensions right before buying the projector, screen, mount, and cables creates a better visual experience from day one.
What a Projector Screen Size Calculator Tells You
A screen size calculator is not just a diagonal-size tool. Its main job is to tell you how large an image a specific projector can create from a specific distance. Most calculators use the projector’s throw ratio, which is the relationship between throw distance and image width.
The core formula is straightforward:
Throw distance = image width x throw ratio
If a projector has a fixed throw ratio of 1.5:1 and you want an image that is 100 inches wide, the projector lens needs to sit about 150 inches, or 12.5 feet, from the screen. A projector with a 1.0:1 ratio would create that same 100-inch-wide image from 100 inches away.
Zoom-lens projectors have a throw-ratio range, such as 1.3-2.1:1. In that case, the calculator gives a distance range rather than one fixed placement. This is useful when ceiling mounts, electrical points, or room beams limit where the projector can go.
The calculator can also work in reverse. Enter the available lens-to-screen distance, select a projector, and it shows the image-size range possible in that location. That is often the smarter starting point for offices, classrooms, and apartments where the room layout is already fixed.
Start With the Screen Format, Not the Diagonal
A 100-inch screen sounds specific, but it is not enough information on its own. Screen size is measured diagonally, while projector throw calculations use image width. The aspect ratio changes that width and height.
For movies, streaming, sports, gaming, and most modern presentation content, 16:9 is the standard choice. A 100-inch 16:9 screen is approximately 87 inches wide and 49 inches high. A 120-inch 16:9 screen is about 105 inches wide and 59 inches high. That extra 20 inches of diagonal creates a noticeably larger viewing area, so it needs more wall space, brightness, and seating distance.
A 4:3 screen is still relevant for older presentation formats, document cameras, and some classroom material. At the same diagonal measurement, a 4:3 screen is narrower but taller than a 16:9 screen. If a projector is mainly used for PowerPoint, spreadsheets, or legacy content, confirm the native resolution and the preferred content format before choosing a widescreen display.
For example, an XGA projector has a 4:3 native format, while Full HD and many 4K projectors are 16:9. A mismatch will still work, but unused portions of the screen may appear as black bars. That is not a fault with the projector or screen. It simply means the content shape does not fill the display area.
Use Throw Ratio to Check the Real Installation Distance
Measure from the projector lens to the screen surface, not from the back wall, the ceiling bracket, or the front of the projector. A difference of a few inches can matter in compact rooms, especially with short-throw models.
Say you are planning a 120-inch, 16:9 image. Its width is roughly 105 inches. With a projector rated at 1.5:1, the required throw distance is about 157.5 inches, or 13.1 feet. If your room only allows 10 feet between the lens and screen, that projector cannot produce the intended image size without moving the screen or selecting a lower-throw model.
This is why a projector screen size calculator should be used alongside the product’s published throw-ratio specification. Do not assume two projectors with the same resolution will install at the same distance. Resolution controls image detail. Throw ratio controls placement.
Standard Throw, Short Throw, and Ultra-Short Throw
Standard-throw projectors are common for home theaters, training rooms, and larger meeting spaces. They generally need several feet of distance to produce a large image and work well when the projector can be ceiling-mounted behind the seating area.
Short-throw projectors create a large display from much closer to the screen. They are useful in classrooms and offices because presenters are less likely to cast shadows on the image. They can also suit smaller homes where a standard projector would need to sit in the middle of the room.
Ultra-short-throw projectors sit very close to the wall or screen, often on a cabinet beneath the image. They save space and reduce shadows, but screen flatness becomes critical. A slightly uneven wall can make geometry look distorted, while a dedicated ultra-short-throw screen can improve image uniformity and ambient-light performance.
Check Whether the Image Will Be Comfortable to Watch
A calculator can confirm that a 150-inch image fits the wall, but it cannot decide whether 150 inches is sensible for your audience. Viewing distance matters just as much.
For a 16:9 Full HD image, a common comfortable viewing range is roughly 1.5 to 2.5 times the screen diagonal. That puts a 100-inch screen at around 10.5 to 17 feet from the main seating position. Viewers can sit closer, particularly for 4K content, but a large image viewed from too close may make text, presentation details, or fast-moving game content tiring to follow.
In a classroom or boardroom, prioritize readability at the farthest seat rather than maximum screen size. Fine spreadsheet columns and small fonts are harder to read than a movie scene, even on a large screen. A Full HD or higher-resolution projector can help, but clear source content and sensible text sizing remain essential.
Brightness Changes the Size You Can Use
The largest image a projector can physically create is not always the largest image it can create well. As the picture gets bigger, the available light spreads across a wider area. The image becomes less bright.
A darkened home theater can support a larger screen with moderate ANSI lumens. A living room with windows, a classroom with overhead lights, or a meeting room used during the day usually needs more brightness. Screen material also matters. A higher-gain screen can increase perceived brightness in certain viewing positions, while ambient-light-rejecting materials can improve contrast in rooms that cannot be fully darkened.
For daytime business use, do not choose screen size from throw distance alone. Consider the projector’s ANSI lumens, the room lighting, the screen surface, and the type of content. Presentation slides often need more perceived brightness than movies because white backgrounds and small text expose washed-out images quickly.
Leave Room for Mounting and Image Alignment
The calculator result is the beginning of the installation plan, not the final measurement. Check the projector’s lens offset, vertical shift range, and mounting guidance. Some models project the image higher or lower than the lens center, while projectors with lens shift allow more placement flexibility without affecting image quality.
Keystone correction can straighten an image when the projector is not perfectly aligned, but it should not be the main installation method. Heavy keystone adjustment can reduce usable detail and may create uneven focus. Whenever possible, mount the projector square to the screen and use the correct lens position.
Also allow physical clearance for HDMI cables, power connections, ventilation, and access to controls or filter areas where applicable. For ceiling installations, confirm that the mount supports the projector’s weight and can place the lens at the calculated distance. A quality mount and properly routed HDMI cable are small details that make the finished setup look and perform better.
A Practical Projector Screen Size Calculator Checklist
Before placing an order, measure the usable screen wall, lens-to-screen distance, ceiling height, and primary viewing distance. Then choose the content format, usually 16:9 for entertainment and modern presentations, and compare the desired diagonal against the projector’s throw range.
Next, match the screen size to the room brightness and the projector’s ANSI lumens. Finally, confirm that the planned mount location accounts for lens offset or lens shift. This process takes a few minutes, but it avoids choosing a projector that is technically excellent and physically unsuitable for the space.
ProjectorDisplay.com can help buyers compare projector, screen, mount, and connectivity requirements when a room needs an end-to-end solution. Bring the room measurements, desired screen size, and intended use to the conversation. The right calculation turns a blank wall into a display that feels deliberately designed, whether it is showing a family movie, a client presentation, or a lesson for a full classroom.