
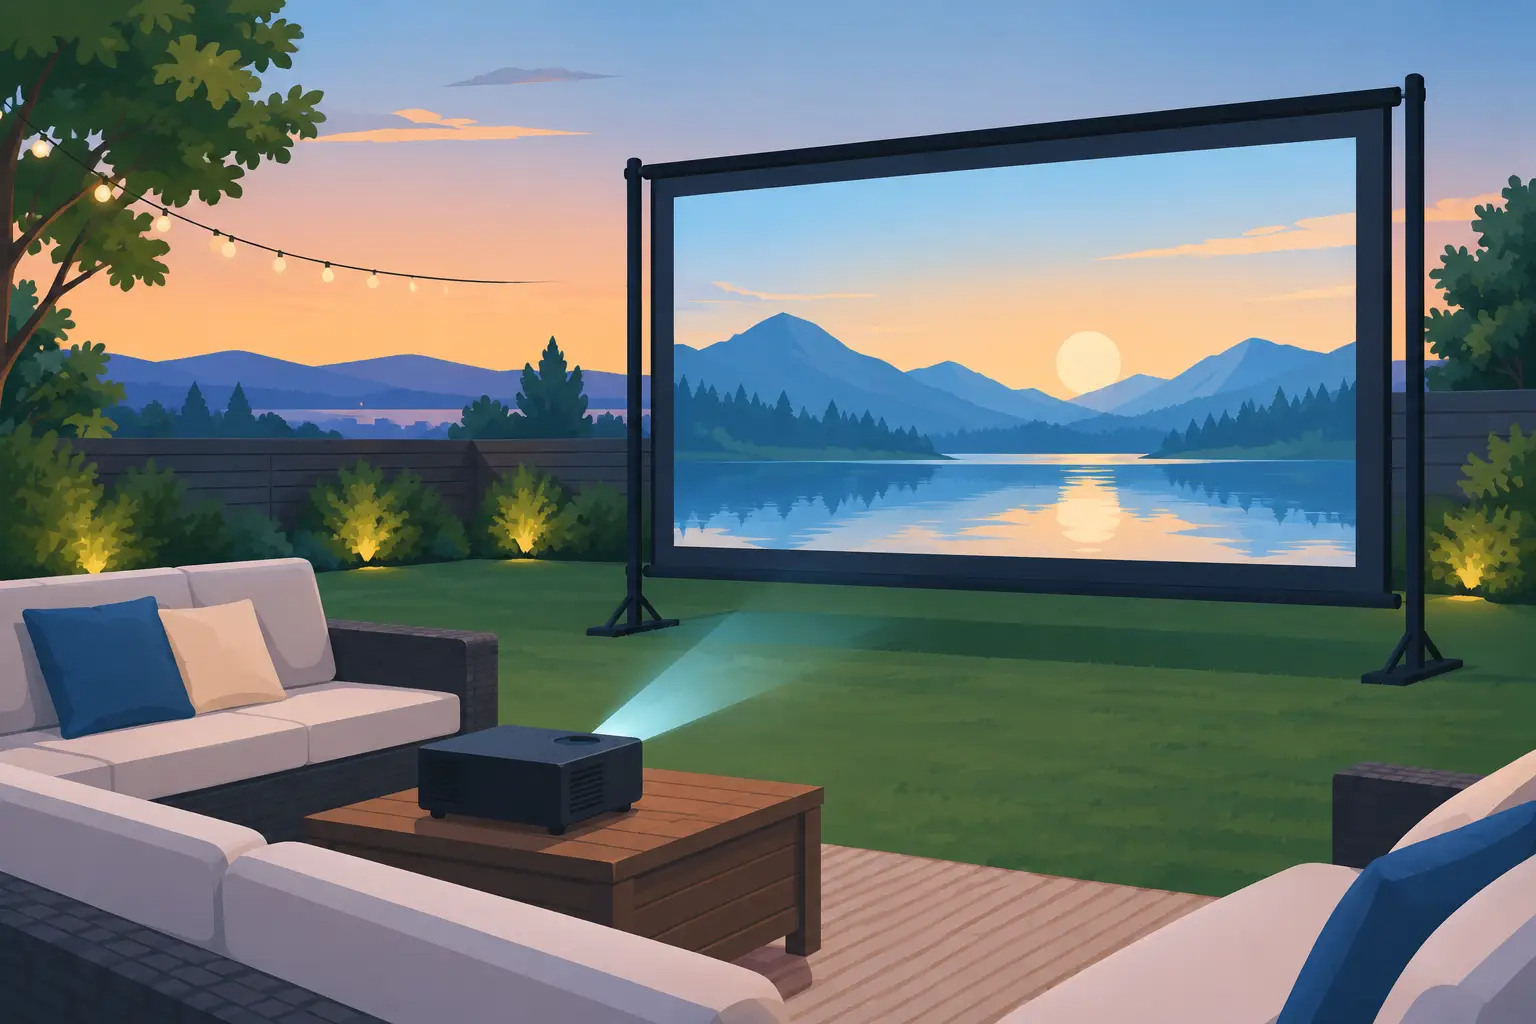
A backyard movie night can look surprisingly premium, but only if the image has a proper surface to land on. An outdoor projector screen for movies gives you a flatter, brighter, and more consistent picture than a painted wall, garage door, or hanging bedsheet. It also helps your projector deliver the color, contrast, and detail you paid for.
The best choice is not always the largest screen or the lowest-priced portable model. Your available space, projector brightness, viewing distance, wind exposure, and how often you plan to set up outdoors all matter. A family watching animated movies on weekends has different needs from a homeowner building a permanent patio theater or an event team screening presentations for a crowd.
Why an Outdoor Projector Screen for Movies Makes a Difference
A wall may seem convenient, but outdoor walls are rarely smooth enough for a clean image. Uneven paint, brick texture, stains, and surface color can reduce sharpness and make skin tones or darker scenes look inaccurate. A dedicated screen uses a controlled viewing surface to reflect light more evenly.
That matters most during scenes with shadows, subtitles, night photography, or detailed Full HD and 4K content. A proper screen can make a modest portable projector look more polished, while a high-performance laser projector can show the depth and clarity it was designed to produce.
Outdoor screens also make setup more predictable. Once you know the screen size and aspect ratio, you can position the projector at the correct throw distance instead of guessing against a wall. This is especially useful for short-throw projectors, which need careful placement to avoid image distortion.
Choose the Right Screen Type for Your Space
The most practical screen style depends on whether your movie setup is occasional, seasonal, or permanent. Portability is valuable, but it usually comes with trade-offs in tension, stability, or setup time.
Inflatable Screens for Easy Backyard Events
Inflatable screens are popular for family gatherings, community nights, and users who need a large image without a permanent installation. They pack down compactly and can create an impressive viewing area quickly. Most include a blower that keeps the frame inflated during use.
The trade-off is sound and stability. The blower creates a low background hum, and the screen needs proper anchoring. In breezy conditions, use the supplied stakes and guy lines, and do not treat an inflatable screen as a set-and-forget installation. It works best on grass or a space where anchors can be secured safely.
Portable Tripod and Pull-Up Screens
Tripod and pull-up models suit smaller patios, balconies, garages, and casual movie nights. They are straightforward to carry and store, making them a good match for compact smart projectors and portable Full HD models.
Their main limitation is wind. A lightweight tripod can move, tip, or ripple if the weather changes. Choose a sheltered location and use appropriate weight or anchors where the screen design allows it. These screens are best for smaller audiences rather than a large open-yard event.
Fixed-Frame Screens for Dedicated Outdoor Theaters
A fixed-frame screen creates the flattest viewing surface and the most theater-like result. The fabric is tensioned around a rigid frame, so images remain sharp from edge to edge. This is a strong choice for a covered patio, outdoor entertainment wall, or semi-permanent installation.
Before choosing this option, consider weather protection. Even screens marketed for outdoor use last longer when they are shielded from direct rain, dust, intense sun, and moisture. A covered structure or weather-resistant enclosure protects both the screen and the projector.
Manual and Motorized Roll-Down Screens
Roll-down screens are a clean solution for patios, pergolas, and outdoor living areas where the screen should disappear when not in use. Manual designs are simpler and usually more affordable, while motorized models add convenience for frequent viewing.
For exterior use, verify that the casing, mounting hardware, and screen fabric are suitable for the location. A standard indoor screen installed outside may warp, collect moisture, or deteriorate faster than expected.
Screen Size Should Match the Audience and Projector
Bigger is exciting, but a screen that overwhelms the yard can make viewing uncomfortable. If guests sit too close to a large image, they will spend the evening turning their heads instead of enjoying the film. If they sit too far away from a small screen, fine detail and subtitles become difficult to read.
For a typical backyard group, a 100-inch to 120-inch diagonal screen is often a practical range. A 100-inch 16:9 screen is roughly 87 inches wide, while a 120-inch model is about 105 inches wide. Measure the full width of the viewing area, then leave room for speakers, pathways, chairs, and safe projector placement.
A useful starting point for Full HD viewing is seating at roughly 1.5 to 2.5 times the screen diagonal. For a 120-inch screen, that places many viewers about 15 to 25 feet away. Personal preference matters: movie fans often enjoy sitting closer, while larger groups may prefer a wider seating area farther back.
Also check your projector’s throw ratio before ordering. The throw ratio determines how far the projector must sit from the screen to produce a given image size. A standard-throw projector may need 10 to 15 feet or more for a large screen, while an ultra-short-throw model can project a large image from only a short distance. Use the projector specifications rather than relying on estimates.
Select the Best Screen Material and Gain
Screen material affects brightness, viewing angles, and contrast. For most outdoor movie setups, a matte white screen is the safe, versatile option. It provides natural color reproduction and wide viewing angles, allowing guests seated to the side to enjoy a similar image.
Screen gain describes how efficiently the surface reflects projected light. A gain near 1.0 is generally balanced for backyard viewing. Higher-gain materials can appear brighter from the center, but they may narrow the viewing angle and create a visible hot spot. That can be frustrating when several people are spread across a patio.
Gray or ambient-light-rejecting materials can improve perceived black levels in brighter environments, but they are not a magic fix for sunset or nearby lighting. Outdoor movie nights still look best after dark. If you start before nightfall, a brighter projector is more useful than expecting the screen to overcome daylight.
For occasional use, wrinkle-resistant fabric is worth prioritizing. Creases and loose material become visible when the projector image hits the screen. A tensioned surface produces the most professional result, especially with detailed 4K content.
Match Your Projector Brightness to the Outdoor Setup
The screen and projector work as one system. A large outdoor screen needs enough light output to create a satisfying picture after sunset. For dark-night viewing on a 100-inch to 120-inch screen, a projector rated around 2,500 ANSI lumens or higher is a practical starting point. More brightness gives you extra flexibility when there is residual twilight or nearby ambient light.
Be careful when comparing brightness claims. ANSI lumens are a standardized measurement and are more useful than vague labels such as "LED lumens" or "lux." Resolution matters too. Full HD is an excellent target for streaming, sports, and movies, while 4K can add visible detail on larger screens when the source content and viewing distance support it.
Do not forget connectivity. An outdoor setup is easier when your projector has HDMI for a streaming stick, game console, or media player. Smart Android projectors can reduce the number of devices needed, while wireless casting can be convenient for casual viewing. For the most dependable movie night, download content in advance or test the Wi-Fi signal in the yard before guests arrive.
Plan for Wind, Power, and Audio
A good image is only part of the experience. Outdoor conditions can change quickly, so place the screen on level ground, keep cables out of walkways, and use outdoor-rated extension cords where needed. Never leave a screen or projector exposed if rain is expected.
Built-in projector speakers are fine for a small group sitting close by, but outdoor sound disperses quickly. A powered speaker, soundbar, or portable Bluetooth speaker can make dialogue much easier to hear. Position audio near the audience rather than turning the volume excessively high, especially in residential areas.
Before movie night, test the entire setup while there is still daylight. Confirm the projector focus, screen tension, HDMI connection, audio sync, and seating positions. This small rehearsal prevents the familiar scramble of adjusting settings while everyone waits for the movie to begin.
A well-chosen outdoor projector screen does more than create a larger picture. It gives your projector a dependable stage, so a simple backyard can become the place where friends stay late, families rewatch favorites, and ordinary weekends feel a little more memorable.