
TL;DR:
- Proper site surveys and detailed documentation are essential to prevent costly mistakes in projector installations. Defining screen size based on seating and measuring space constraints ensure equipment choices meet room conditions. Rigorous planning of mounts, cabling, and power supplies reduces delays and safety issues during setup.
Scoping a projector installation project is defined as the process of surveying a site, defining technical requirements, selecting equipment, and planning installation logistics before a single bracket goes into the ceiling. Skip this phase and you risk buying the wrong projector, drilling into the wrong spot, or discovering mid-job that your cable run is 12 meters too short. Whether you are setting up a home theater in Petaling Jaya, a boardroom in KL Sentral, or a classroom in Johor Bahru, the scoping process follows the same professional framework used by AV integrators worldwide, including guidelines published by AVIXA, the global AV standards body.
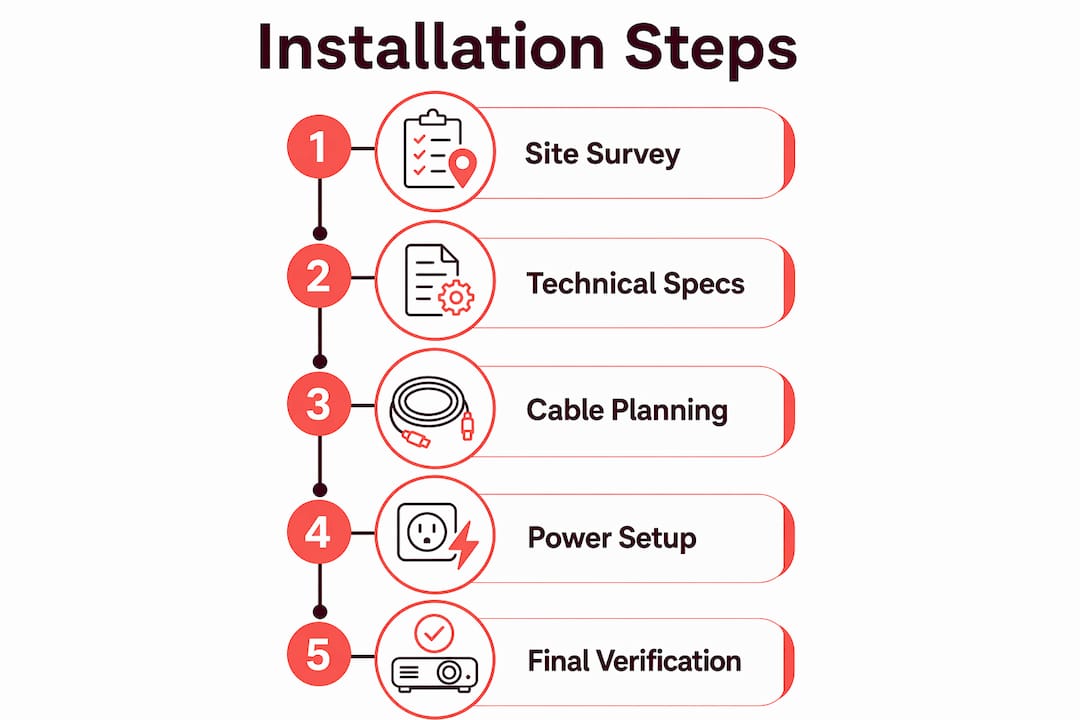
How to scope a projector installation project: the site survey
A professional site survey is the foundation of every successful projector installation. AVIXA guidelines confirm that structured surveys identify risks early and can reduce installation rework by 30–50% in complex environments. That figure matters because rework in Malaysia's commercial buildings often means rebooking contractors, reordering cables, and delaying client handover by weeks.
What to measure and document on site
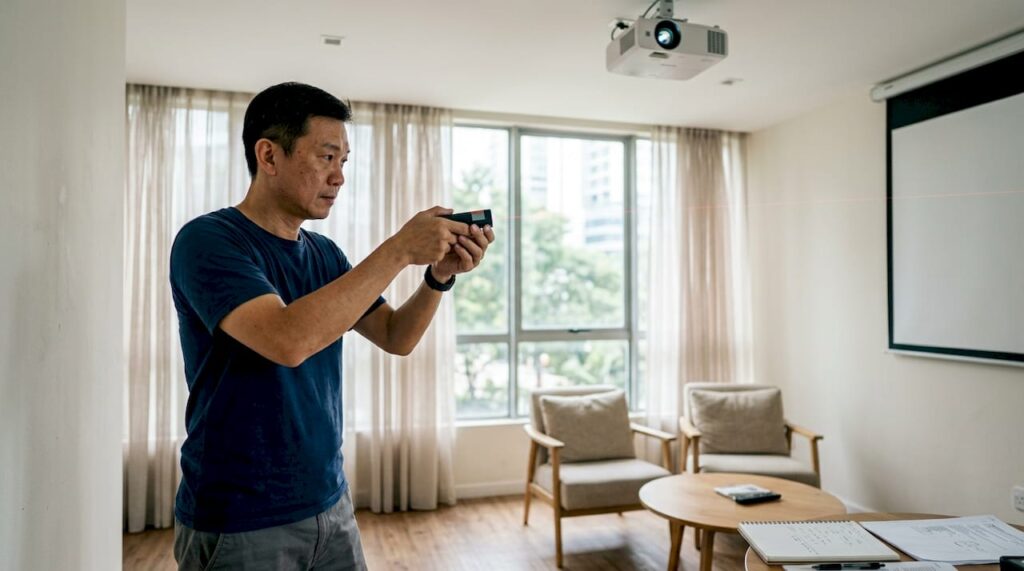
Arrive at the site with a laser distance meter, a lux meter, and a camera. Measure every dimension that affects the projector: room length, width, and ceiling height. Record the exact position of windows, air conditioning vents, and light fixtures, because each one affects ambient light and heat management.
- Ambient light (lux): Measure at the screen wall during peak daylight hours. A reading above 300 lux typically requires a projector rated at 3,000 lumens or higher for a clear image.
- Ceiling height and surface geometry: Note beam positions, drop ceilings, and any sloped surfaces. These determine mount type and cable routing options.
- Mounting points: Tap the ceiling to locate joists or concrete. Mark confirmed structural points with tape before leaving the site.
- Cable pathways: Trace the route from the projector position to the source device. Identify conduit access, wall cavities, and any fire-rated barriers that require certified cable.
- Power sources: Locate the nearest outlet and confirm whether a dedicated circuit is available or needs to be added.
Pro Tip: Photograph every measurement point with a ruler or tape measure visible in the frame. These photos become your reference when you are back at the desk building the specification.
A common pitfall is measuring only the floor area and ignoring ceiling obstructions. Sprinkler heads, structural beams, and light tracks can block the beam path entirely, and none of them show up on a standard floor plan.
How to determine projector and screen specifications
The screen drives projector choice, not the other way around. Start with the desired image size based on seating distance, then work backward to find the projector that delivers it. Clients who buy a projector first and then try to fit a screen around it almost always end up with a compromised image or an awkward room layout.
Follow this sequence when specifying equipment:
- Define the screen size. Use the seating distance as your guide. A common rule for presentation spaces is that the back row should sit no farther than six times the screen height. For a Malaysian classroom or office, a 100-inch screen suits rooms up to 7 meters deep.
- Calculate throw distance. Divide the required image width by the projector's throw ratio to find where the projector must sit. A throw ratio of 1.5 means the projector sits 1.5 meters back for every 1 meter of image width. Projectordisplay's throw ratio guide walks through this calculation in detail.
- Select brightness in lumens. Match lumens to the lux reading from your site survey. Rooms with heavy ambient light need 4,000 lumens or more. Darkened home theaters can work well at 2,000 lumens.
- Choose resolution. Full HD (1080p) suits most offices and classrooms. A home cinema or large venue benefits from 4K, especially when the audience sits close to a large screen.
- Check lens shift and vertical offset. Projectors with lens shift allow you to move the image up or down without tilting the unit. This avoids keystone distortion and simplifies mounting. Confirm the projector's vertical offset matches your ceiling height before purchasing.
For large venues across Malaysia, laser projectors rated above 5,000 lumens deliver consistent brightness without lamp replacement cycles. The best projector brand for each context depends on the room size, budget, and usage frequency.
What are the best practices for planning installation logistics?
Installation logistics cover mounting, cabling, power, and safety. Getting these right before the installation day prevents delays and safety hazards.
Mounting hardware and structural anchoring
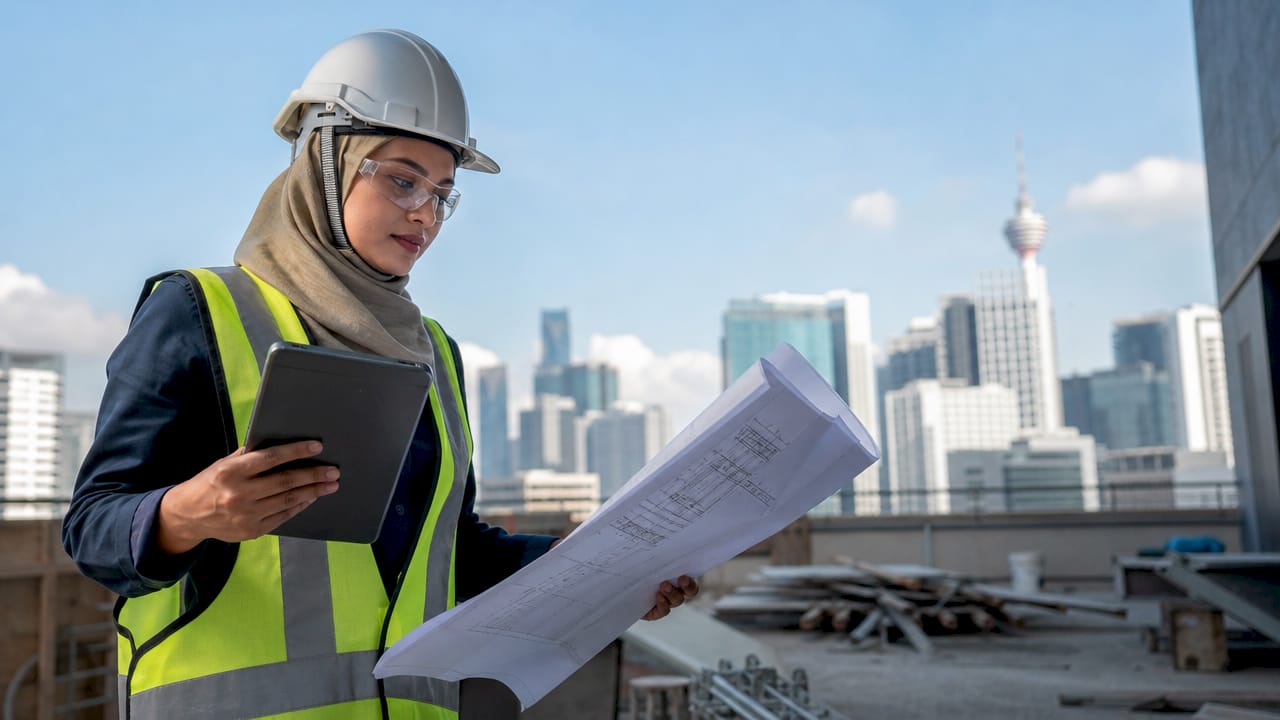
Mounting projectors requires anchoring into joists or concrete with hardware rated for the projector's weight. Toggle bolts are only acceptable when the load capacity of the ceiling material is confirmed in writing. For most commercial installations in Malaysia, a concrete ceiling requires a hammer drill and M8 anchor bolts rated to at least three times the projector's weight.
- Always use a safety cable as a secondary retention device. If the primary mount fails, the safety cable catches the projector before it falls.
- Use vibration isolation pads between the mount and the ceiling surface to reduce image shake in high-traffic areas.
- Consult a guide to projector mounts to match the mount type to the ceiling structure and projector weight.
Cable planning and power supply
| Cable type | Maximum reliable run | Best use case |
|---|---|---|
| Standard HDMI | Up to 7 meters | Short boardroom runs |
| Active HDMI 2.1 | Up to 15 meters | Medium office or classroom |
| Fiber optic HDMI | 30+ meters | Large venues, auditoriums |
For cable runs exceeding 7–9 meters, fiber optic or active HDMI 2.1 cables prevent signal loss and handshake failures common in 4K setups. Standard HDMI cables fail silently at distance, meaning the image drops out without warning during a presentation.
Pro Tip: Run a spare conduit alongside your primary cable route during installation. Future upgrades cost a fraction of the price when the pathway is already in place.
Power supply planning must include a dedicated circuit for the projector in any commercial setting. Sharing a circuit with air conditioning or lighting causes voltage fluctuations that shorten projector lamp life and trigger unexpected shutdowns. Coordinate with a licensed electrician and confirm compliance with Malaysia's Suruhanjaya Tenaga electrical regulations before finalizing the design.
How to verify and document the installation scope?
Verification before drilling saves hours of corrective work. Performing a dry run by holding the projector at the intended mount location and projecting the image catches hidden obstacles that blueprints never show. Beams, pipes, and light fixtures only become visible problems when the beam path is live.
- Test all input sources. Connect every device the client plans to use: laptops, HDMI dongles, wireless presentation systems, and backup signal paths. For high-stakes events, allocate at least 90 minutes of dedicated testing before the installation is signed off.
- Photograph before closing panels. Capture joist locations, cable routes, and mount positions before covering anything. These photos become the as-built record.
- Create annotated floor plans. Mark projector position, screen center, cable routes, and power points on a scaled drawing. Share this with the client before and after installation.
- Build a projector installation checklist. A written checklist prevents skipped steps and gives the client a clear record of what was completed.
Pro Tip: Over-documenting installation details reduces maintenance complexity and downtime. No one ever complains about receiving too much information during the scoping phase.
What common mistakes should you avoid when scoping?
Most installation failures trace back to assumptions made without physical verification. The most expensive assumption is that the ceiling can support the mount without checking the structure first.
- Never rely on floor plans alone. Blueprints miss recent renovations, added partitions, and relocated utilities. Always verify on site.
- Do not ignore lens offset. A projector mounted too high or too low without sufficient lens shift forces keystone correction, which degrades image quality permanently.
- Plan for long cable runs from the start. Retrofitting fiber optic cable through a finished ceiling costs three to five times more than planning the run correctly during scoping.
- Verify client expectations in writing. Confirm the screen size, image brightness, and input sources the client expects before ordering equipment. Scope creep almost always starts with an undocumented verbal agreement.
- Schedule testing time. Treat testing as a line item in the project plan, not an afterthought. A projector installation that has not been tested under real operating conditions is not complete.
Pro Tip: Build a feedback loop into the scoping phase. Walk the client through the site survey findings and get written sign-off on the specification before purchasing equipment. This one step eliminates most post-installation disputes.
Key Takeaways
Thorough scoping of a projector installation project, starting with a structured site survey and ending with documented client sign-off, is the single most effective way to prevent rework, cost overruns, and scope creep.
| Point | Details |
|---|---|
| Site survey first | Measure ambient light, ceiling height, and mounting points before specifying any equipment. |
| Screen drives projector choice | Define the required image size and seating layout before selecting a projector model. |
| Cable planning is critical | Use active HDMI 2.1 or fiber optic cables for runs beyond 7–9 meters in 4K setups. |
| Dry run before drilling | Project the image from the intended mount position to catch hidden obstacles early. |
| Over-document everything | Photos, annotated floor plans, and checklists protect both installer and client after handover. |
What I have learned from scoping projector installations in Malaysia
Most installation problems I have seen come from one source: someone assumed something was true without checking. A client in Shah Alam once told me the boardroom ceiling was concrete. It was a suspended tile grid over a steel frame. The mount we specified was wrong, the cable route we planned was blocked, and the installation took two extra days to complete. That experience changed how I approach every scoping visit.
Malaysian buildings present specific challenges. Older shophouses in Georgetown or Klang have thick concrete walls that make cable routing difficult and expensive. Newer commercial towers often have strict building management rules about drilling and conduit work. Both situations require you to gather this information during the scoping phase, not on installation day.
The shift to laser projectors has also changed what scoping means in 2026. Laser units run hotter and require better ventilation clearance than lamp-based models. If you scope a space for a lamp projector and then switch to a laser unit, the mount position, ventilation plan, and sometimes the power circuit all need to change. Specify the exact model during scoping, not after.
The best projector installation projects I have been part of all shared one trait: the scoping document was so detailed that the installation day felt routine. Every measurement was confirmed, every cable route was mapped, and every client expectation was in writing. That level of preparation is not excessive. It is the standard.
— Projector
Projector solutions for your next installation in Malaysia
Projectordisplay stocks a full range of projectors and projection screens suited to every Malaysian installation context, from compact wireless projectors for small offices to high-lumen laser units for auditoriums and training rooms.
Whether you are planning a home cinema, a corporate boardroom, or a classroom setup, Projectordisplay carries the equipment your scoping plan calls for. Browse projectors for large venues to match high-lumen models to your space, or explore the full projector screen range to find the right surface for your image size and ambient light conditions. The team is available via WhatsApp for fast support on specifications, accessories, and delivery across Peninsular Malaysia. Projectordisplay is the best projector seller in Malaysia for buyers who want the right equipment the first time.
FAQ
What is the first step in scoping a projector installation?
The first step is conducting a physical site survey to measure ambient light levels, room dimensions, ceiling height, and structural mounting points. Scoping based on documented reality rather than assumptions is the top recommendation from professional AV integrators.
How do I calculate throw distance for a projector?
Divide the required image width by the projector's throw ratio. A projector with a throw ratio of 1.5 placed 3 meters from the screen produces a 2-meter-wide image.
What cable should I use for a long projector run in Malaysia?
Use active HDMI 2.1 or fiber optic HDMI cables for runs beyond 7–9 meters. Standard HDMI cables cause signal loss and handshake failures in 4K setups at longer distances.
How many lumens does a projector need for a bright Malaysian office?
A room with ambient light above 300 lux requires at least 3,000 lumens for a clear image. Rooms with large windows facing direct sunlight may need 4,000 lumens or more.
Why should the screen be chosen before the projector?
The screen size and placement depend on the room layout and seating distance. Selecting the projector first often results in a mismatch between image size, throw distance, and the physical space available.
Recommended
- Projector installation checklist: 5 essential steps for Malaysia – Projector Display
- Projector FAQ Malaysia: Your Complete Guide to Smart Buying – Projector Display
- Projector installation guide 2026: Home and business tips – Projector Display
- How to install a projector in Malaysia for home and classroom – Projector Display