Your Epson 3020 projector's bulb doesn't last forever. When images dim or colors fade, it's time for a replacement. Many home theater enthusiasts in Malaysia face this challenge, unsure how to restore their projector's vibrant performance. This guide walks you through everything needed to replace your Epson 3020 bulb safely and effectively. You'll learn what tools to gather, how to execute the replacement step by step, troubleshoot common issues, and maintain peak performance long term.
Table of Contents
- What You Need Before Replacing Your Epson 3020 Bulb
- Step-By-Step Guide To Replacing The Epson 3020 Bulb
- Troubleshooting Common Epson 3020 Bulb Replacement Problems
- What To Expect After Replacing Your Epson 3020 Bulb
- Explore Quality Epson Projector Bulbs And Accessories In Malaysia
- Frequently Asked Questions
Key takeaways
| Point | Details |
|---|---|
| Timely replacement matters | Replacing your bulb before complete failure prevents damage and maintains image quality |
| Preparation is essential | Gather proper tools, genuine bulbs, and follow safety protocols before starting |
| Follow exact steps | A systematic approach ensures safe installation and optimal projector performance |
| Troubleshoot effectively | Common issues like warning lights or dim images often have simple fixes |
| Expect quality results | New bulbs restore brightness and color accuracy for 2000 to 3000 hours |
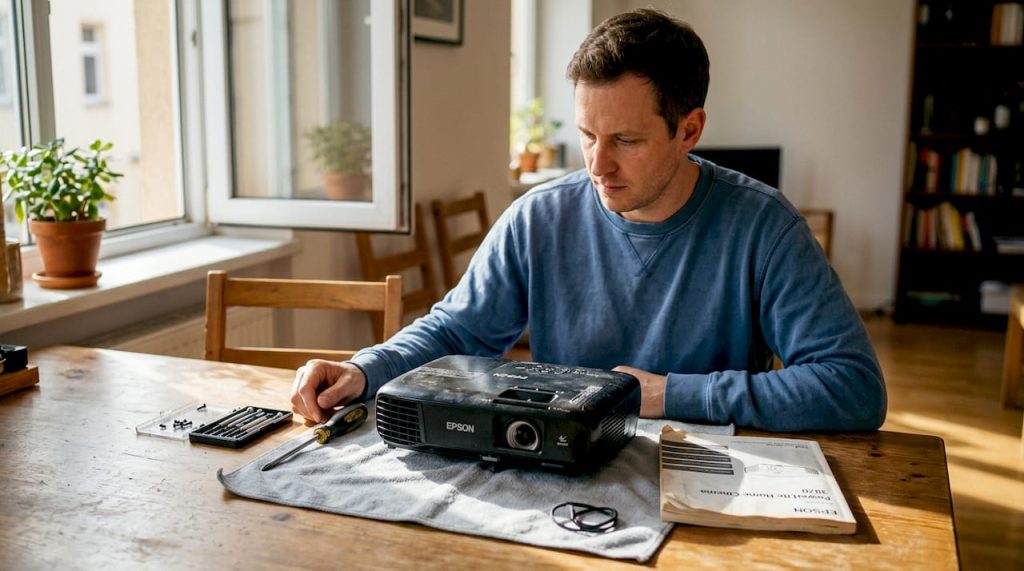
What you need before replacing your Epson 3020 bulb
Proper preparation makes bulb replacement straightforward and safe. You'll need specific tools and parts to complete the job correctly. Start by gathering a Phillips head screwdriver, microfiber cloth, cotton gloves, and your replacement bulb. The Epson ELPLP68 is the genuine replacement designed for the 3020, though compatible alternatives exist.
Choosing between genuine and generic bulbs affects both performance and longevity. Genuine Epson bulbs deliver consistent brightness and color accuracy throughout their lifespan. Generic options cost less upfront but may produce inconsistent results. Proper tools and a genuine replacement bulb are critical for successful Epson 3020 bulb replacement.
| Bulb Type | Average Lifespan | Initial Brightness | Price Range (MYR) |
|---|---|---|---|
| Genuine Epson ELPLP68 | 2500-3000 hours | 230W full spec | 800-1200 |
| High-quality compatible | 2000-2500 hours | 210-230W | 400-600 |
| Budget generic | 1500-2000 hours | 180-210W | 200-400 |
Safety comes first when handling projector bulbs. Always unplug your projector and wait at least 60 minutes for the bulb to cool completely. Hot bulbs can cause severe burns. Never touch the glass surface of a new bulb with bare hands, as skin oils reduce bulb life and can cause premature failure. Work in a clean, dust-free space to prevent particles from entering the lamp housing.
Pro Tip: Keep your projector's user manual nearby during replacement. It contains model-specific diagrams and reset instructions that save time and prevent errors.
Organize your workspace before starting. Lay out all tools within easy reach. Place a soft cloth under your work area to catch any screws or small parts. Having everything ready prevents interruptions once you begin the replacement process. Check your projector maintenance schedule to ensure you're addressing other potential issues while the lamp housing is open.
Step-by-step guide to replacing the Epson 3020 bulb
Replacing your Epson 3020 bulb requires careful attention to each step. Rushing through the process risks damaging your projector or the new bulb. Following recommended replacement steps extends lamp life and prevents damage to the projector. This systematic approach ensures success.
-
Power down and disconnect completely. Turn off your projector using the power button and wait for the cooling fan to stop. Unplug the power cable from both the projector and wall outlet. Let the unit sit for at least one hour to allow the old bulb to cool to room temperature.
-
Access the lamp compartment. Locate the lamp cover on top or side of your projector, depending on installation. Use your Phillips head screwdriver to remove the cover screw. Slide or lift the cover away carefully and set it aside with the screw in a safe location.
-
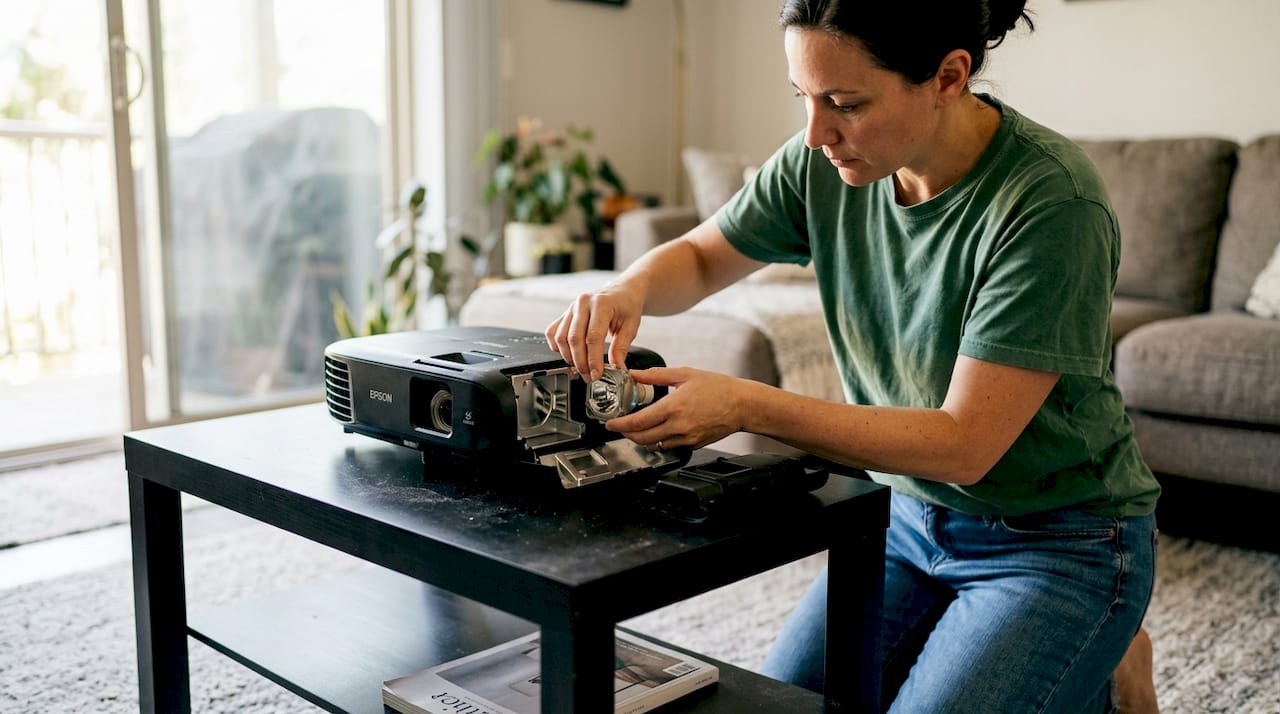
Remove the old bulb assembly. You'll see the lamp housing secured by two screws. Loosen these screws but don't remove them completely, as they're captive screws designed to stay attached. Grip the lamp housing handle and pull straight out with steady, even pressure.
-
Install the new bulb. Put on cotton gloves before handling your new bulb. Remove it from protective packaging carefully. Align the new lamp housing with the projector's guides and slide it in until it seats firmly. Tighten both screws evenly, alternating between them to ensure proper alignment.
-
Replace the lamp cover and reconnect. Position the lamp cover back over the compartment. Insert and tighten the cover screw securely. Plug the power cable back into the projector and wall outlet. Your hardware installation is now complete.
-
Reset the lamp timer. Power on your projector and access the settings menu. Navigate to the lamp settings or maintenance section. Select the option to reset the lamp hours counter. This step ensures accurate tracking of your new bulb's usage time.
Pro Tip: Take photos with your phone at each step, especially before removing the old bulb. These reference images help if you need to verify correct positioning during reassembly.
The entire replacement process typically takes 15 to 20 minutes when you work methodically. Never force any components. If something doesn't fit easily, double check alignment and orientation. The Epson ELPLP68 projector lamp is designed for tool-free removal once screws are loosened, so excessive force indicates a problem.
Troubleshooting common Epson 3020 bulb replacement problems
Even with careful installation, you might encounter issues after replacing your bulb. Most problems have simple solutions that don't require professional help. Understanding common issues helps you diagnose and fix them quickly. Common post-replacement problems include projector not turning on, warning lights, and image issues.
| Issue | Possible Cause | Quick Fix |
|---|---|---|
| Projector won't power on | Lamp not fully seated | Remove and reinstall bulb, ensure firm seating |
| Lamp warning light blinking | Timer not reset | Access menu and reset lamp hour counter |
| Dim or flickering image | Loose connections or low-quality bulb | Check all connections, consider genuine replacement |
| Overheating warning | Blocked ventilation | Clean air filters and ensure proper airflow |
| Color distortion | Incorrect bulb type | Verify you have correct ELPLP68 model |
If your projector won't turn on after replacement, first verify the bulb is properly seated. Remove the lamp cover again and check that the housing is pushed in completely and both screws are tight. Loose connections prevent the projector from detecting the bulb. Also confirm you plugged the power cable in securely at both ends.
Blinking warning lights usually indicate the lamp timer wasn't reset. Access your projector's menu system and navigate to lamp settings. Select the reset option and confirm the action. The warning should clear immediately. If it persists after resetting, the projector may not be recognizing the new bulb. This sometimes happens with non-genuine replacements that don't match exact specifications.
Dim or flickering images after replacement point to either a defective bulb or improper installation. First, power down and reseat the bulb following the installation steps again. If problems continue, the bulb itself may be faulty. Quality issues are more common with generic bulbs. Contact your supplier about a replacement if you purchased recently.
- Always handle bulbs by the base or housing, never touch glass surfaces
- Keep the lamp compartment clean and free of dust
- Don't overtighten screws, which can crack housings
- Allow proper cooling time before removing any bulb
- Save your old bulb packaging for potential returns
Maintaining proper ventilation prevents many post-installation problems. Clean your projector's air filters every month, especially in dusty environments. Blocked filters cause overheating, which dramatically shortens bulb life and triggers warning lights. Check the Epson projector lamp troubleshooting guide for model-specific diagnostic steps.
What to expect after replacing your Epson 3020 bulb
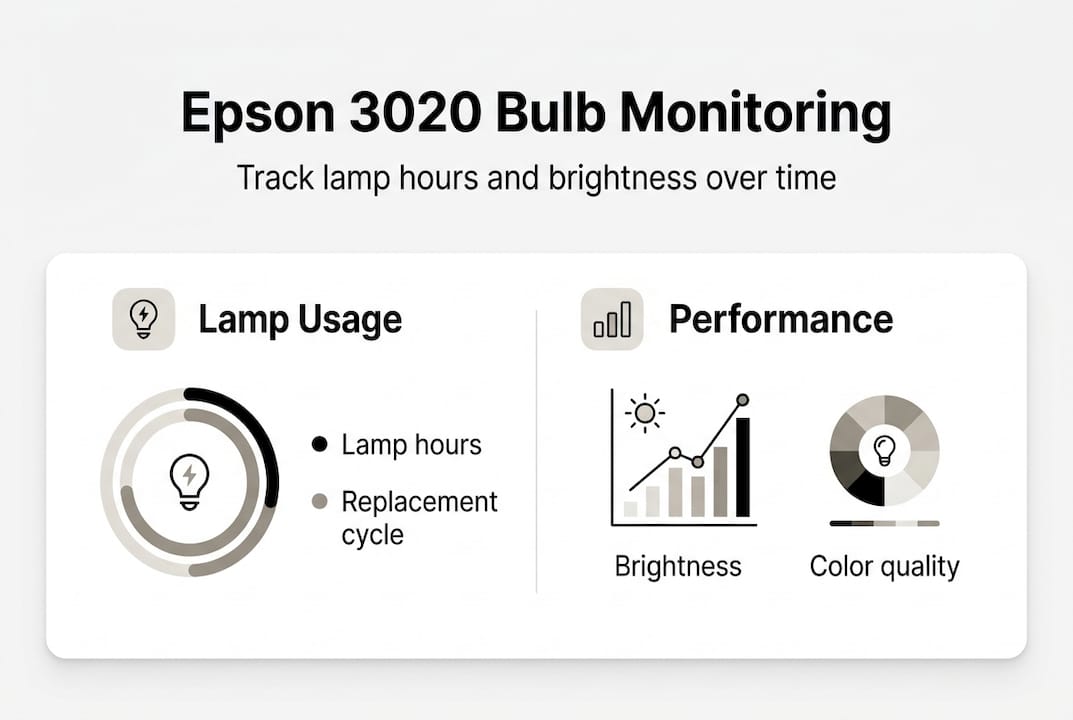
A new bulb transforms your projector's performance immediately. You'll notice brighter images, more accurate colors, and sharper contrast compared to the old, worn bulb. Understanding what to expect helps you maximize your investment and plan for future maintenance. Typical Epson 3020 bulbs last around 2000 to 3000 hours before replacement is needed again.
Bulb longevity depends heavily on usage patterns. Running your projector in eco mode extends life significantly, sometimes reaching the upper end of the 3000 hour range. Normal mode provides maximum brightness but consumes bulb life faster. Most users see 2500 hours with mixed usage. Track your hours through the projector's menu system to anticipate when the next replacement will be needed.
Image quality improvements are dramatic when replacing a failing bulb. Brightness can increase by 40 to 60 percent compared to a bulb near end of life. Colors appear more vibrant and accurate, especially reds and blues that fade first in aging bulbs. Black levels improve as the bulb produces cleaner, more focused light. Your home theater experience returns to like-new quality.
Average Epson 3020 bulbs deliver up to 3000 hours of viewing when properly maintained, providing years of reliable home theater performance for most users.
Ongoing maintenance protects your new bulb investment and ensures consistent performance:
- Clean air intake filters monthly to prevent dust buildup
- Ensure adequate ventilation around the projector during operation
- Avoid powering off abruptly, use the shutdown sequence
- Keep the projector in a temperature-controlled environment
- Schedule regular cleaning of internal optics every 6 months
Temperature management is critical for bulb longevity. Operating in rooms above 35°C (95°F) stresses the bulb and shortens life. Ensure your projector has at least 20cm of clearance on all ventilated sides. Never cover vents or operate in enclosed spaces without proper airflow. The cooling fan must run its complete cycle after shutdown, so don't unplug immediately after turning off.
Pro Tip: Purchase a spare bulb when you install your new one. Having a backup prevents frustrating downtime if your current bulb fails during an important viewing session or presentation.
Monitor your bulb's performance over time through the projector's lamp hour counter. Most users replace around the 2000 to 2500 hour mark, before complete failure occurs. Proactive replacement prevents the risk of bulb explosion, which while rare, can damage internal components. Follow projector maintenance tips to extend both bulb and projector lifespan.
Explore quality Epson projector bulbs and accessories in Malaysia
Now that you know how to replace and maintain your Epson 3020 bulb, sourcing quality parts becomes your next priority. Projector Display Malaysia specializes in genuine Epson replacement bulbs and compatible alternatives that meet strict quality standards. We understand Malaysian home theater enthusiasts need reliable parts with fast delivery across Peninsular Malaysia.

Our projector sale products section features regular promotions on bulbs and accessories, helping you save without compromising quality. We stock the complete range of Epson ELPLP68 bulbs along with cleaning kits, mounting solutions, and projection screens. Expert support via WhatsApp ensures you get the right parts for your specific model. Whether you're replacing a bulb or upgrading your entire home theater setup, we provide the products and guidance you need.
Frequently asked questions
What is the average lifespan of an Epson 3020 projector bulb?
Epson 3020 bulbs typically last between 2000 and 3000 hours depending on usage mode. Eco mode extends life toward the upper range while normal mode provides maximum brightness but shorter duration. Regular maintenance like cleaning filters and ensuring proper ventilation can push lifespan closer to 3000 hours. Most users plan for replacement around 2500 hours to avoid unexpected failures.
How can I tell if my Epson 3020 bulb needs replacement?
Several signs indicate your bulb is nearing end of life. Dimming brightness is the most obvious symptom, where images appear noticeably darker than when the bulb was new. Flickering, color shifts toward yellow or green, and the lamp warning light illuminating all signal replacement time. If your projector displays a lamp hour warning message or won't power on despite proper connections, the bulb has likely failed completely.
Are third-party Epson 3020 bulbs reliable alternatives?
Third-party bulbs vary significantly in quality and reliability. Budget generic options cost 50 to 70 percent less but often deliver shorter lifespans and inconsistent brightness. High-quality compatible bulbs from reputable manufacturers can perform nearly as well as genuine Epson bulbs at moderate savings. Genuine Epson bulbs guarantee proper fit, optimal performance, and warranty coverage, making them the safest choice for protecting your projector investment.
Can I replace the Epson 3020 bulb myself safely?
Yes, replacing the bulb yourself is safe when you follow proper procedures. Always unplug the projector and allow at least 60 minutes cooling time before opening the lamp compartment. Use gloves to handle the new bulb and avoid touching glass surfaces. The replacement process requires only a screwdriver and takes 15 to 20 minutes. Following step-by-step instructions ensures you complete the job correctly without risking damage to yourself or the projector.