
Classroom presentations often lose their impact when projector lamps start to fade or malfunction. For educators and AV professionals across Malaysia, finding a reliable and affordable elplp85 replacement lamp is key to maintaining vibrant visuals and seamless sessions. This guide highlights proper projector lamp handling and step-by-step replacement strategies, helping you safeguard both your equipment investment and the learning experience.
Table of Contents
- Step 1: Prepare Your Projector for Lamp Replacement
- Step 2: Remove the Old elplp85 Replacement Projector Lamp
- Step 3: Install the New elplp85 Replacement Projector Lamp
- Step 4: Secure and Reset the Projector Lamp Settings
- Step 5: Verify Installation and Test Projector Performance
Quick Summary
| Key Point | Explanation |
|---|---|
| 1. Prepare tools and manuals | Gather necessary tools like screwdrivers and read your projector's manual for specific lamp replacement guidelines. |
| 2. Handle lamps with care | Always avoid touching the glass part of projector lamps with bare hands to prevent damage from oils. |
| 3. Reset lamp settings | After installation, reset the projector's lamp timer to ensure accurate tracking of usage and performance. |
| 4. Test projector performance | Power on and evaluate the projector for errors and image quality after replacing the lamp. |
| 5. Dispose of old lamps properly | Dispose of old lamps following environmental guidelines to prevent hazardous material issues. |
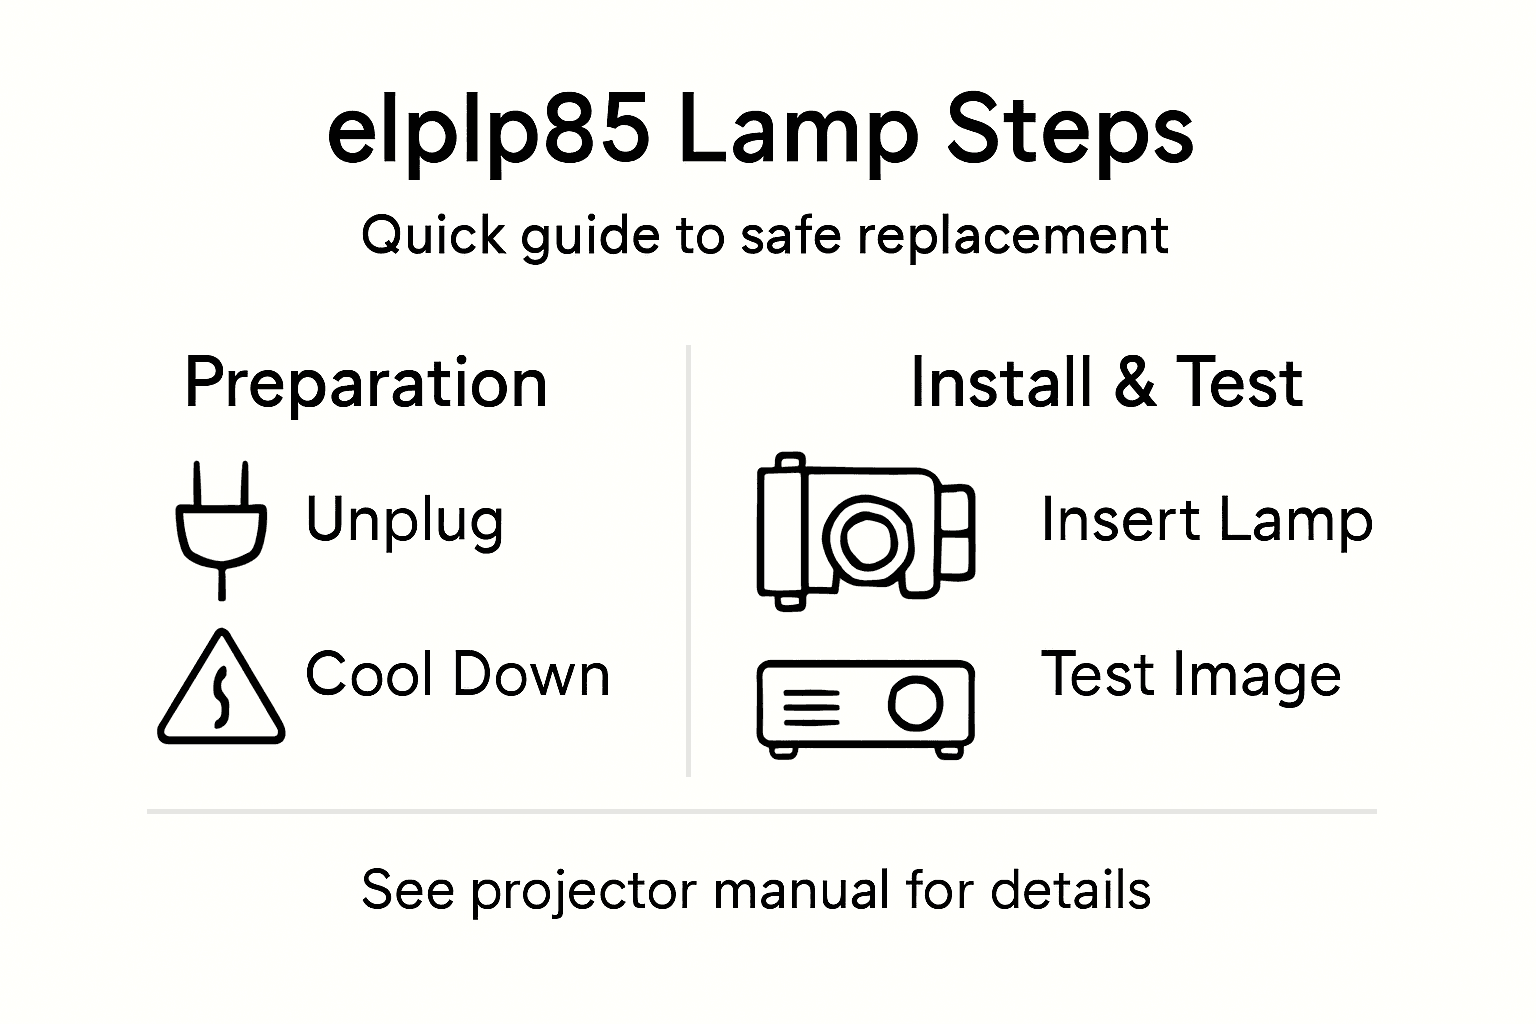
Step 1: Prepare Your Projector for Lamp Replacement
Replacing a projector lamp requires careful preparation and understanding of your device's specific requirements. Before diving into the replacement process, you'll want to take several crucial steps to ensure a smooth and safe lamp swap.
Start by gathering the necessary tools and reviewing your projector's specific lamp replacement guidelines. Every projector model has unique characteristics, so consulting your user manual or manufacturer's instructions is essential. You'll typically need:
- Screwdriver set (usually Phillips head)
- Clean, soft cloth
- Work surface with good lighting
- New replacement lamp (confirmed compatible with your model)
- Protective gloves
Safety First: Always unplug your projector and allow it to cool completely before attempting any lamp replacement.
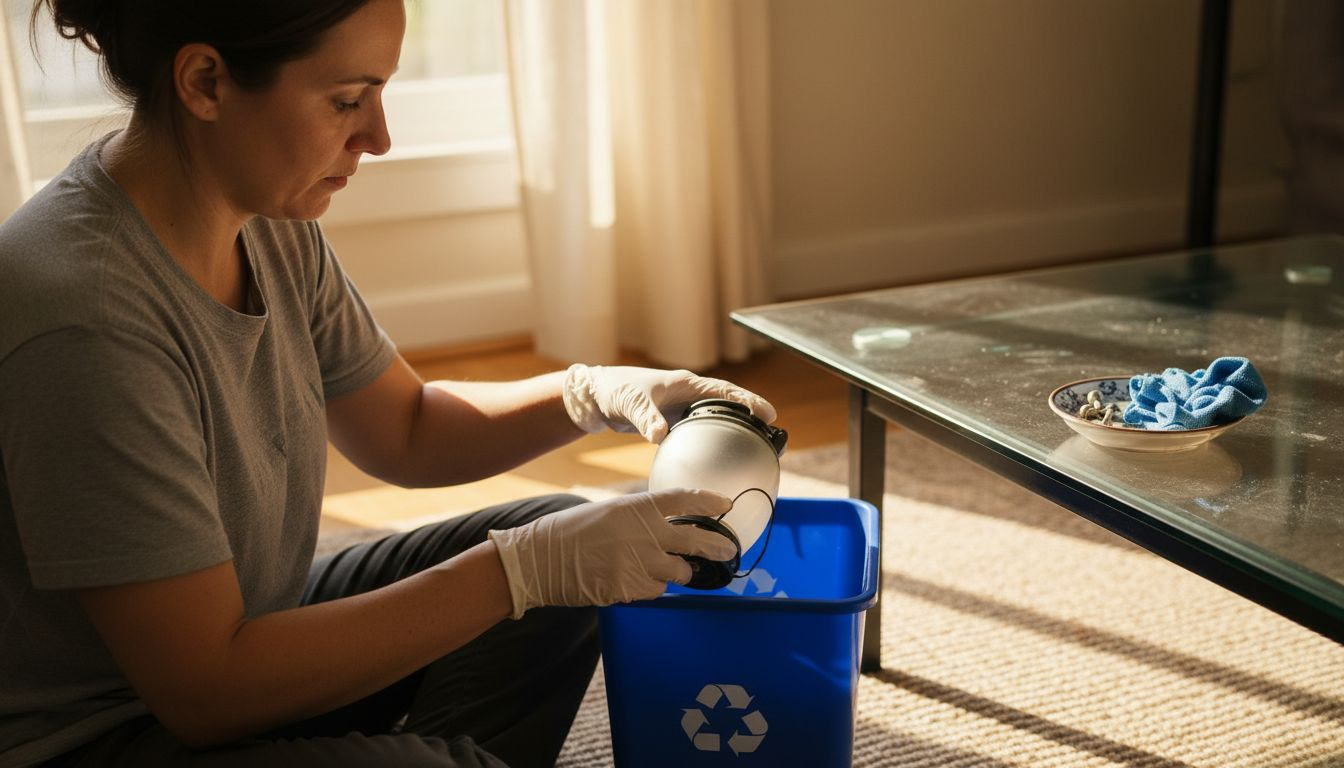
Carefully inspect your current lamp and lamp compartment for any signs of damage or excessive wear. When handling the old lamp, remember that proper environmental disposal is critical to prevent hazardous material release. Most projector lamps contain mercury and require specialized recycling procedures.
Understand your projector's specific requirements before beginning. Some models have spring-loaded lamp compartments, while others require complete removal of a cover panel. Check the mounting mechanism and familiarize yourself with how the lamp is secured.
Compare these common projector lamp compartment mechanisms and their effects on the replacement process:
| Compartment Type | Typical Securing Method | Replacement Difficulty | Special Handling Needs |
|---|---|---|---|
| Spring-loaded panel | Snap-in or latch | Easy | Check spring tension |
| Screw-fastened cover | Multiple screws | Moderate | Store screws separately |
| Release lever system | Internal lever | Moderate–advanced | Reference manual for sequence |
Pro tip: Keep a small container nearby to store screws and small components during the replacement process to prevent losing any critical parts.
Step 2: Remove the Old elplp85 Replacement Projector Lamp
Removing the old projector lamp requires precision and careful handling to prevent damage to your expensive equipment. In this critical step, you'll carefully extract the existing lamp from your projector following specific safety protocols.
Before starting, ensure you have safe lamp removal techniques memorized. Here are the key steps for lamp removal:
- Ensure the projector is completely powered off and unplugged
- Allow the lamp and projector to cool completely (at least 30-45 minutes)
- Locate the lamp access panel or compartment
- Remove the panel screws carefully
- Gently slide out the lamp assembly
Caution: Never touch the glass portion of the lamp with bare hands to prevent oil transfer and potential damage.
When handling the old lamp, be aware that proper mercury-containing lamp disposal is crucial for environmental safety. Most projector lamps contain hazardous materials that require specialized recycling procedures.
Handle the lamp assembly with extreme care. Use soft, lint-free gloves if possible and support the lamp from its base or edges. Some projector models have delicate mounting brackets that can bend or break if too much pressure is applied.
Pro tip: Take a quick photo of the lamp's original positioning before removal to ensure correct reinstallation of the new lamp.
Step 3: Install the New elplp85 Replacement Projector Lamp
Successfully installing your new projector lamp requires precision and attention to detail. This critical step will restore your projector's visual performance and ensure optimal functionality.
Begin by reviewing the precise lamp installation techniques specific to your projector model. You'll want to follow these critical steps carefully:
- Align the new lamp with the mounting brackets
- Check the orientation matches the original positioning
- Gently slide the lamp into the housing
- Secure all mounting screws evenly
- Verify the lamp is firmly seated
Warning: Never touch the glass surface of the new lamp with bare hands to prevent potential performance issues.
Carefully inspect the lamp installation procedure to ensure you're following manufacturer guidelines. Most replacement lamps require specific handling to maintain their warranty and performance standards.
Verify electrical connections before fully closing the lamp compartment. Ensure no loose wires or connections could interfere with the lamp's proper functioning. Some projector models have delicate connection points that require extra care.
Pro tip: Keep the lamp's original packaging with serial number and installation instructions as a reference for future maintenance.
Step 4: Secure and Reset the Projector Lamp Settings
The final stage of your projector lamp replacement involves securing the lamp compartment and resetting critical system settings. These important steps ensure your projector accurately tracks lamp usage and maintains optimal performance.
Accurately reset your projector lamp timer, typically by following these general steps:
- Power on the projector
- Access the main settings menu
- Navigate to lamp or maintenance settings
- Select lamp hour reset option
- Confirm the reset when prompted
Caution: Incorrectly resetting lamp settings can void warranty or lead to inaccurate maintenance tracking.
Most projector manufacturers require users to verify lamp installation settings through the control panel. These settings help track lamp usage, monitor performance, and provide early warnings about potential replacements needed.
Double-check the lamp compartment to ensure all screws are tightened and the cover is securely fastened. Loose connections can impact projector performance and potentially damage the new lamp.
Pro tip: Keep a small log of your lamp replacement dates and hours used to help predict future maintenance needs.
Step 5: Verify Installation and Test Projector Performance
After completing the lamp replacement, you'll want to thoroughly test your projector to ensure everything functions correctly. This critical verification step confirms your hard work and prevents potential future issues.
Begin by testing projector performance indicators through these comprehensive checks:
- Power on the projector and observe initial startup
- Check for any error messages on the display
- Verify image brightness and color consistency
- Test multiple input sources
- Examine image focus and clarity
- Listen for any unusual sounds during operation
Careful testing now can prevent potential problems later in your projector's lifecycle.
Follow the recommended performance verification procedures by systematically evaluating image quality. Pay special attention to luminance levels, color accuracy, and overall projection performance.
Confirm lamp functionality by running the projector through a complete warm-up cycle. Most projector lamps require 10-15 minutes of continuous operation to stabilize and demonstrate full performance capabilities.
Pro tip: Keep your projector manual nearby during testing to quickly reference specific troubleshooting steps if any issues arise.
Here's a quick reference comparing key risks and benefits at each projector lamp replacement stage:
| Step | Primary Risk | Key Benefit | Expert Tip |
|---|---|---|---|
| Preparation | Wrong lamp or lost screws | Safe, smooth process | Use a parts tray for fasteners |
| Removal | Broken components or glass | Damage-free extraction | Take photos before starting |
| Installation | Incorrect alignment or loose fit | Optimal lamp performance | Retain packaging for warranty details |
| Securing & Resetting | Missed reset or loose cover | Accurate usage tracking | Log replacement dates and lamp hours |
| Testing | Skipped checks, unnoticed issues | Verified working projector | Test all features after replacement |
Keep Your Projector Running Smoothly With the Right Accessories and Support
Replacing your elplp85 projector lamp can be challenging when you want to avoid damage and guarantee optimal performance. It involves careful steps like proper alignment, secure installation, and resetting lamp settings. Don't let an outdated or failing lamp ruin your viewing experience or business presentation. Stay ahead with reliable replacement parts and complementary gear.

Explore our extensive collection at ProjectorDisplay.com where you can find quality replacement lamps and enhance your setup with premium projector screens for crisp image display. Protect your investment with durable projector bags and cases perfect for safe transport and storage. Act now to keep your projector performing at its best and enjoy vivid, uninterrupted visuals every time.
Frequently Asked Questions
How do I prepare my projector for elplp85 lamp replacement?
To prepare your projector, unplug it and let it cool completely. Gather tools like a screwdriver, clean cloth, protective gloves, and ensure you have the correct replacement lamp ready.
What steps should I follow to remove the old elplp85 projector lamp?
First, power off and unplug the projector, then let it cool for 30-45 minutes. Locate the lamp compartment, remove screws carefully, and gently slide out the lamp assembly without touching the glass.
How can I ensure the new elplp85 lamp is installed correctly?
Align the new lamp with the mounting brackets, and make sure the orientation matches the original positioning before gently sliding it into place. Secure the screws evenly to ensure a firm fit and check that all electrical connections are secure.
What should I do after installing the new elplp85 lamp?
After installation, you need to reset the projector lamp settings in your projector's menu. Power on the projector, navigate to the lamp settings, and select the reset option to track new lamp usage accurately.
How can I test my projector to ensure the new elplp85 lamp works correctly?
To test your projector, power it on and observe the initial startup, checking for any error messages. Verify the image quality, brightness, and clarity to ensure optimal performance after replacement.
What are some common mistakes to avoid during the lamp replacement process?
Common mistakes include forgetting to let the projector cool down before starting and touching the glass of the new lamp with bare hands. Always handle components carefully and take photos to reference the original setup.