
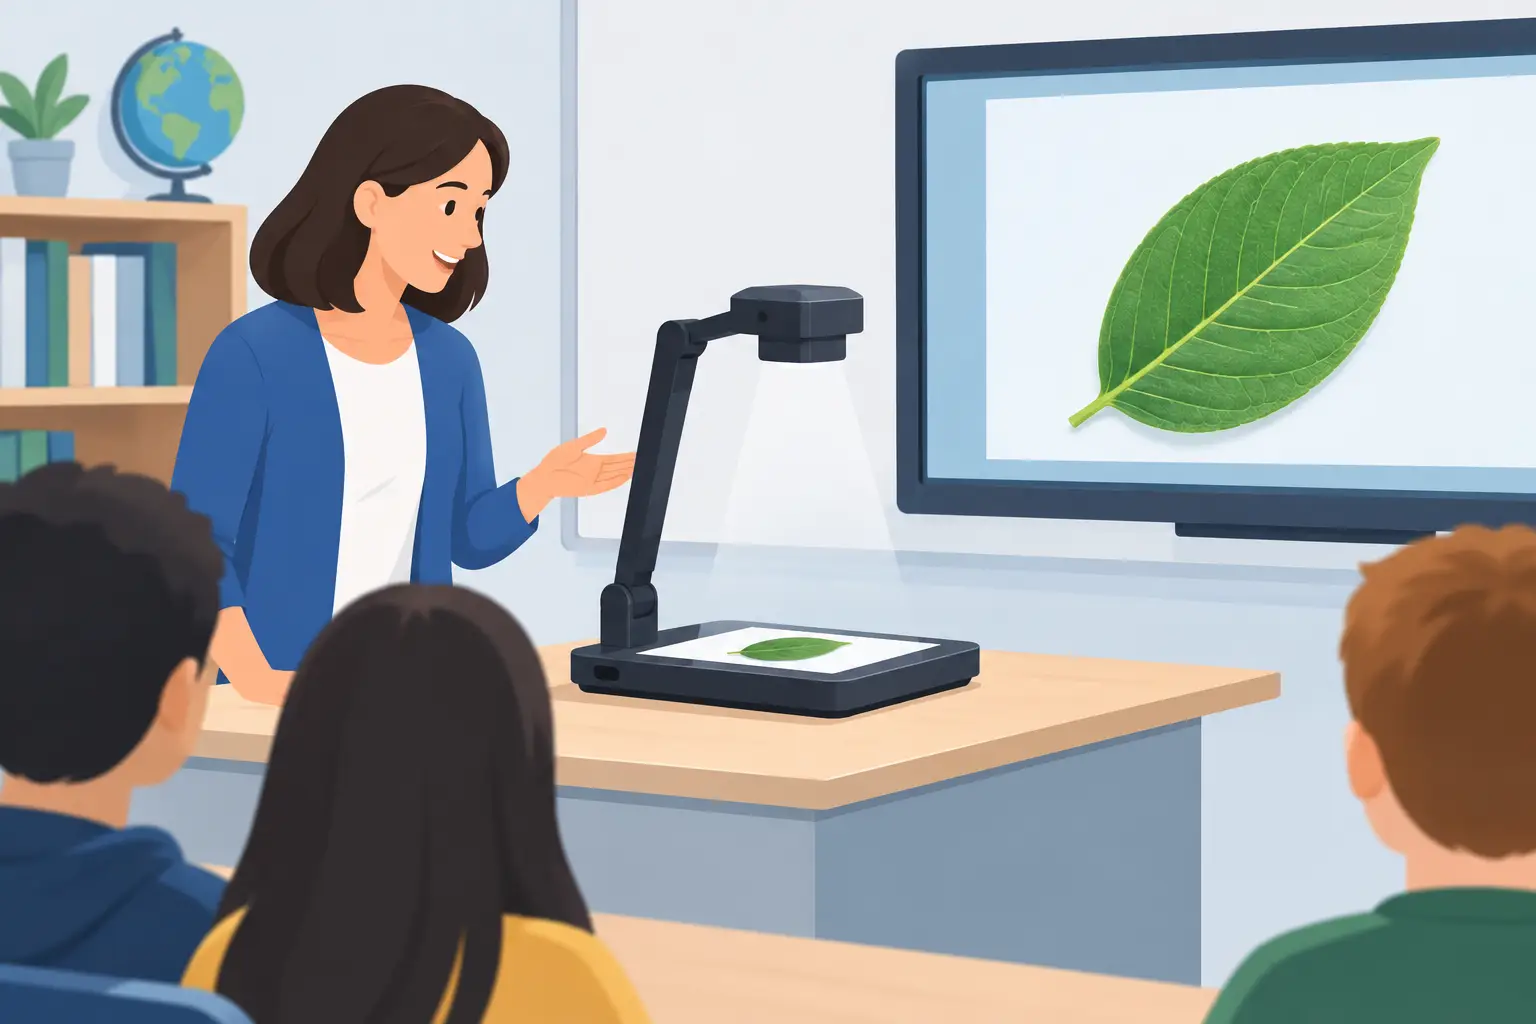
A student places a worksheet under the camera, and every desk can see the teacher annotate it in real time. That is the practical value of a wireless visualizer for teachers: it turns books, science specimens, handwritten work, and physical demonstrations into front-of-room content without passing materials around or standing behind a computer.
Also called a document camera, a visualizer is one of the most flexible tools in a classroom display setup. The wireless element adds mobility, but it should never come at the cost of a stable image or a lesson delayed by connection problems. The best choice depends on the room, the display already installed, and how teachers actually teach.
What a wireless visualizer does in the classroom
A visualizer uses a camera mounted on an arm or compact base to capture physical objects and display them on a projector, interactive smartboard, monitor, or computer. Unlike a webcam, it is designed for close-up work. It can show a textbook page, a student's written answer, a map, a calculator screen, an art technique, or a small object with useful detail.
Wireless capability usually means the visualizer can send its image to a computer, display receiver, or interactive panel over Wi-Fi. Some models use a dedicated wireless connection, while others work through an app or network-based sharing system. This can reduce cable clutter around the teacher's desk and allow the camera to move between tables or classrooms.
For teachers, the real benefit is not simply removing a cable. It is the ability to keep a lesson visual and responsive. A math teacher can work through a problem by hand. An elementary teacher can enlarge a picture book. A science teacher can demonstrate a lab setup from above. A special education instructor can magnify text or objects for students who need a clearer view.
Choose wireless carefully, not automatically
Wireless is convenient, but it is not always the best primary connection. A crowded school Wi-Fi network can introduce lag, disconnects, or lower video quality. This matters less for displaying a still worksheet and more when showing motion, demonstrations, or live student work.
For that reason, many classrooms benefit from a visualizer with both wireless and wired options. Wireless can support flexible teaching and quick sharing, while HDMI or USB provides a dependable fallback for scheduled lessons, exams, training sessions, and rooms with unreliable network coverage.
A good setup gives the teacher choices. If the visualizer will live permanently beside a projector or interactive display, a wired HDMI connection may be the simplest day-to-day solution. If it will move from room to room, be used for group stations, or support hybrid instruction, wireless functionality becomes more valuable.
Check how the wireless connection works
Do not assume that every wireless visualizer connects directly to every screen. Some require a laptop running companion software. Others need a wireless display dongle or receiver. Some work best with specific interactive panels, while others can share through AirPlay, Miracast, or a manufacturer's platform.
Before buying, confirm the complete signal path: visualizer to receiver, receiver or computer to display, and display to projector or smartboard. This avoids the common mistake of buying a capable camera that cannot connect to the equipment already in the classroom.
Image quality that helps students see the point
Resolution is a useful starting point. Full HD, or 1080p, is a strong standard for classrooms because it keeps printed text, diagrams, and small objects clear on a larger screen. Lower-resolution cameras may be suitable for basic document display, but fine handwriting can become difficult to read when projected across a bright room.
A higher-resolution camera does not solve everything. Autofocus quality is equally important. A visualizer should refocus quickly when a teacher moves from a full worksheet to a small object, then back to a book page. Slow or unreliable focus interrupts instruction and makes students wait for the image to sharpen.
Look at the camera's zoom capability as well. Optical zoom preserves more detail than digital zoom, although a strong high-resolution sensor can still make digital zoom useful for normal classroom work. For a teacher showing coins, insects, circuit boards, or detailed art materials, close-up clarity deserves extra attention.
Color accuracy also matters. For literature, math, and standard documents, it may not be the deciding feature. For art, design, biology, early learning materials, and color-coded diagrams, natural color helps students interpret what they are seeing correctly.
Match the visualizer to the display system
A wireless visualizer is only one part of the visual experience. Its output must suit the screen, projector, or interactive LED smartboard in the room.
With a projector, brightness and ambient light affect how well students see the image. A classroom projector with suitable ANSI lumens, paired with a proper projector screen or a smooth whiteboard surface, will make document-camera content easier to read. If the room is small, a short-throw projector can reduce shadows when the teacher stands near the board.
With an interactive smartboard, check whether the visualizer can display through the board's built-in operating system or whether it needs a connected computer. A simple HDMI or USB workflow can be more practical than asking every teacher to install software or join a network before class.
For portable teaching, a compact visualizer paired with a portable projector can be useful in training rooms, libraries, multipurpose spaces, and temporary classrooms. In this case, battery requirements, carry weight, setup time, and protective storage matter as much as camera specifications.
Features teachers will use every week
The best classroom technology disappears into the lesson. A visualizer should be quick to power on, simple to position, and easy to operate without a long training session. Physical buttons for zoom, autofocus, rotate, freeze frame, and light adjustment are often more useful than a complex software menu.
A built-in LED light can improve visibility when demonstrating small objects, but it should be adjustable. Glossy textbook pages, laminated cards, and reflective science materials can produce glare under a bright fixed light. A flexible arm and adjustable lighting make it easier to find a clear viewing angle.
Image rotation is another small feature with a large classroom payoff. Teachers may place materials in different directions, especially when working from beside a board. Rotating the image quickly prevents students from trying to read sideways text.
Annotation tools can be helpful when the visualizer runs through a computer or interactive display. The teacher can circle a sentence, label a diagram, or save a marked-up image for later review. However, these tools are only valuable if they are easy to access. A straightforward visualizer with clear images is often a better purchase than an advanced model with features no one uses.
Plan for real classroom conditions
Classrooms are busy environments. The right unit needs a stable base, a durable arm, and controls that can handle frequent use. A lightweight foldable model is excellent for mobility, but it may not be the best choice for a fixed science lab or high-use shared classroom.
Consider the working area beneath the camera. Large textbooks, A3 artwork, and hands-on demonstrations require more coverage than a single worksheet. Check the maximum capture area and arm height before choosing a compact model.
Audio is another consideration for recording lessons or remote learning. Some visualizers include microphones, but built-in audio quality varies. If video lessons are a priority, test whether the microphone captures the teacher clearly from the intended teaching position. In many cases, a separate microphone will deliver better sound.
IT teams should also ask about software compatibility, updates, account requirements, and security policies. A device that depends on a cloud login or a specific app may create extra work across multiple classrooms. For school-wide purchasing, standardizing on a familiar connection method can reduce support requests and make teacher training faster.
A practical buying checklist
When comparing a wireless visualizer for teachers, focus on the specifications that affect the lesson rather than the longest feature list:
- Full HD resolution for readable text and detailed demonstrations
- Fast autofocus and useful close-up zoom
- Wireless sharing that works with the school's existing devices
- HDMI or USB backup for reliable wired operation
- A stable base, adjustable arm, and appropriate capture area
- Simple controls for freeze frame, rotate, light, and zoom
- Compatibility with the classroom projector, screen, or interactive display
For a single classroom, it can be worth testing one unit with the actual projector and network before committing to multiple devices. For a school rollout, request a quote that covers visualizers, projectors or smartboards, mounting hardware, cables, wireless display accessories, and installation needs as one complete solution.
ProjectorDisplay.com can help schools and training centers compare classroom display equipment based on room size, connectivity, and teaching requirements. The goal is not to add more technology to the teacher's desk. It is to make every demonstration easier for every student to see.