Classroom projectors have come a long way with schools investing in smarter tech every year. But did you know that a projector needs at least 3000 lumens just to be clear in a typical bright classroom? That number might sound big, but the real challenge lies far beyond brightness. The trick is that choosing and setting up the right projector means facing hidden hurdles, from perfecting sound clarity to ensuring hassle-free daily use. The details you overlook will turn your setup into either a teaching powerhouse or a daily headache.
Table of Contents
- Choosing The Right Projector For Your Classroom
- Step-By-Step Guide To Classroom Projector Setup
- Optimizing Picture Quality And Audio
- Troubleshooting Common Classroom Projector Issues
Quick Summary
| Takeaway | Explanation |
|---|---|
| Choose the right projector brightness. | Look for at least 3000 lumens to ensure clarity in bright classrooms. |
| Consider interactive projectors for engagement. | These allow direct manipulation of projected content, enhancing collaborative learning. |
| Ensure proper setup and maintenance. | Follow step-by-step installation guidelines and regular maintenance to maximize performance. |
| Employ advanced audio solutions for clarity. | Use external speakers for even sound distribution rather than relying solely on projector speakers. |
| Develop a troubleshooting protocol. | Train staff on basic diagnostics to handle common projector issues swiftly. |
Choosing the Right Projector for Your Classroom
Selecting the ideal projector for a classroom environment requires careful consideration of multiple factors that directly impact educational effectiveness and student engagement. The right projection technology can transform learning experiences, making complex concepts more accessible and interactive.
Understanding Classroom Projection Requirements
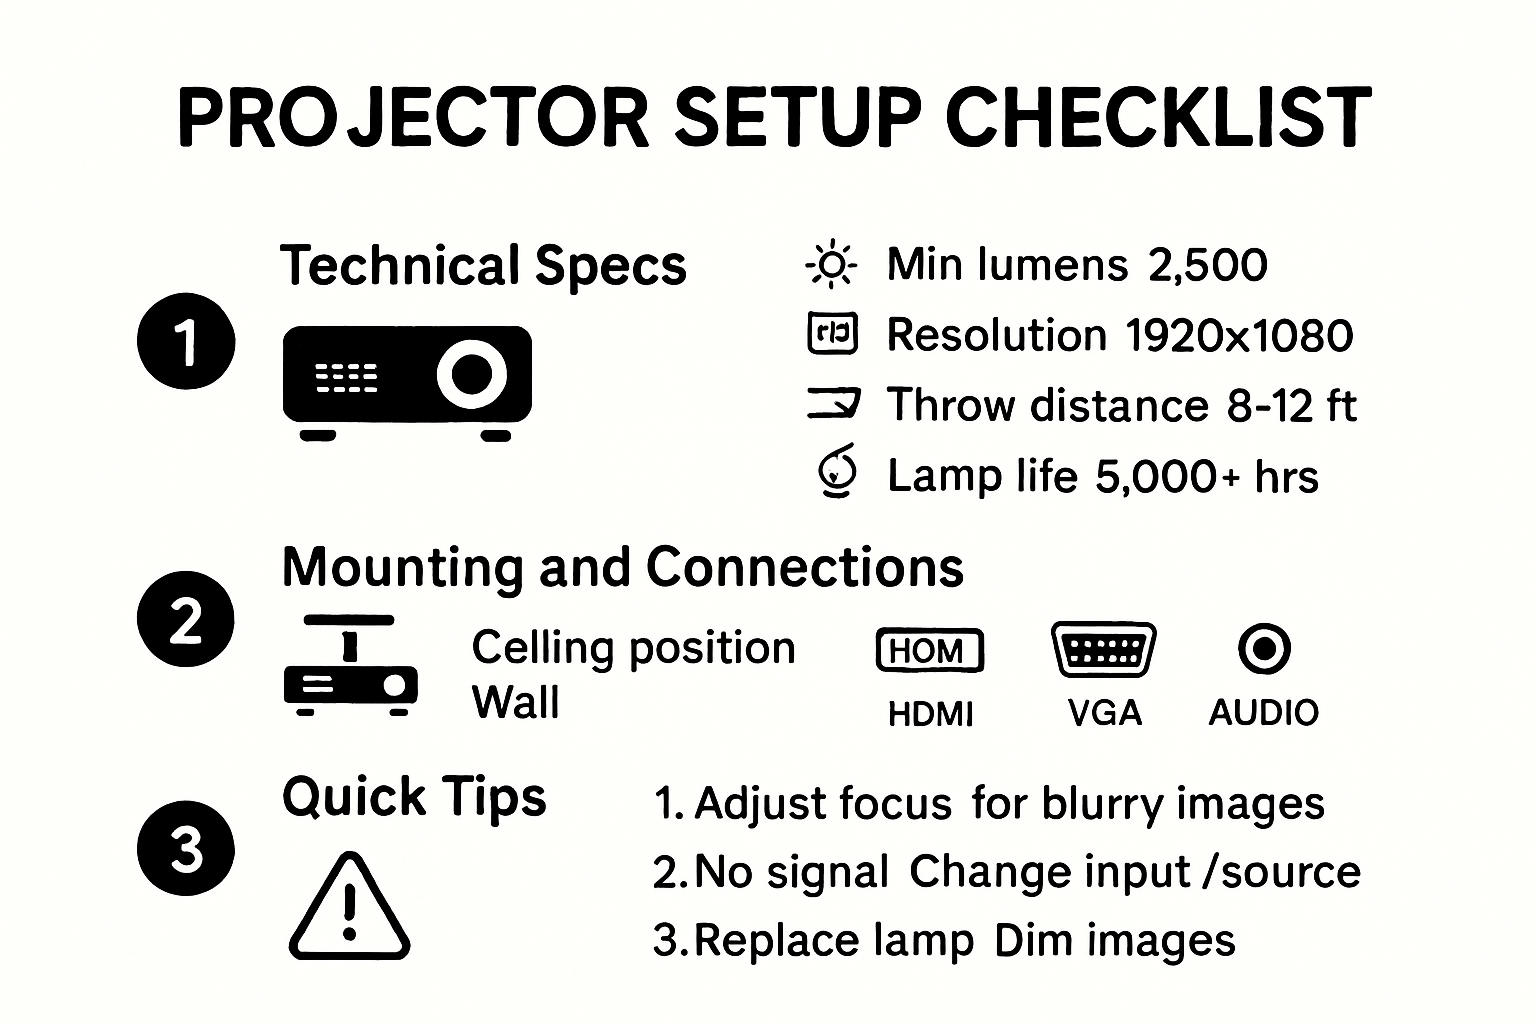
Classroom projector setup demands specific technical capabilities beyond standard home entertainment systems. Brightness becomes a critical factor in educational settings where ambient light is often challenging. Research from Educational Technology Solutions recommends a minimum of 3000 lumens for typical classroom environments to ensure clear visibility across different lighting conditions.
Key considerations for classroom projectors include resolution, connectivity options, and durability. Full HD (1920×1080) resolution provides crisp text and graphics, essential for presenting educational content. Wireless connectivity enables seamless integration with teacher devices, allowing quick content sharing and reducing setup time.
Matching Projector Features to Educational Needs
Different classroom scenarios require specialized projection solutions. Short-throw projectors work exceptionally well in smaller classrooms, minimizing shadows and allowing closer placement to the screen. Projection Technology Institute suggests that short-throw models reduce glare and provide more flexible mounting options compared to traditional long-throw projectors.
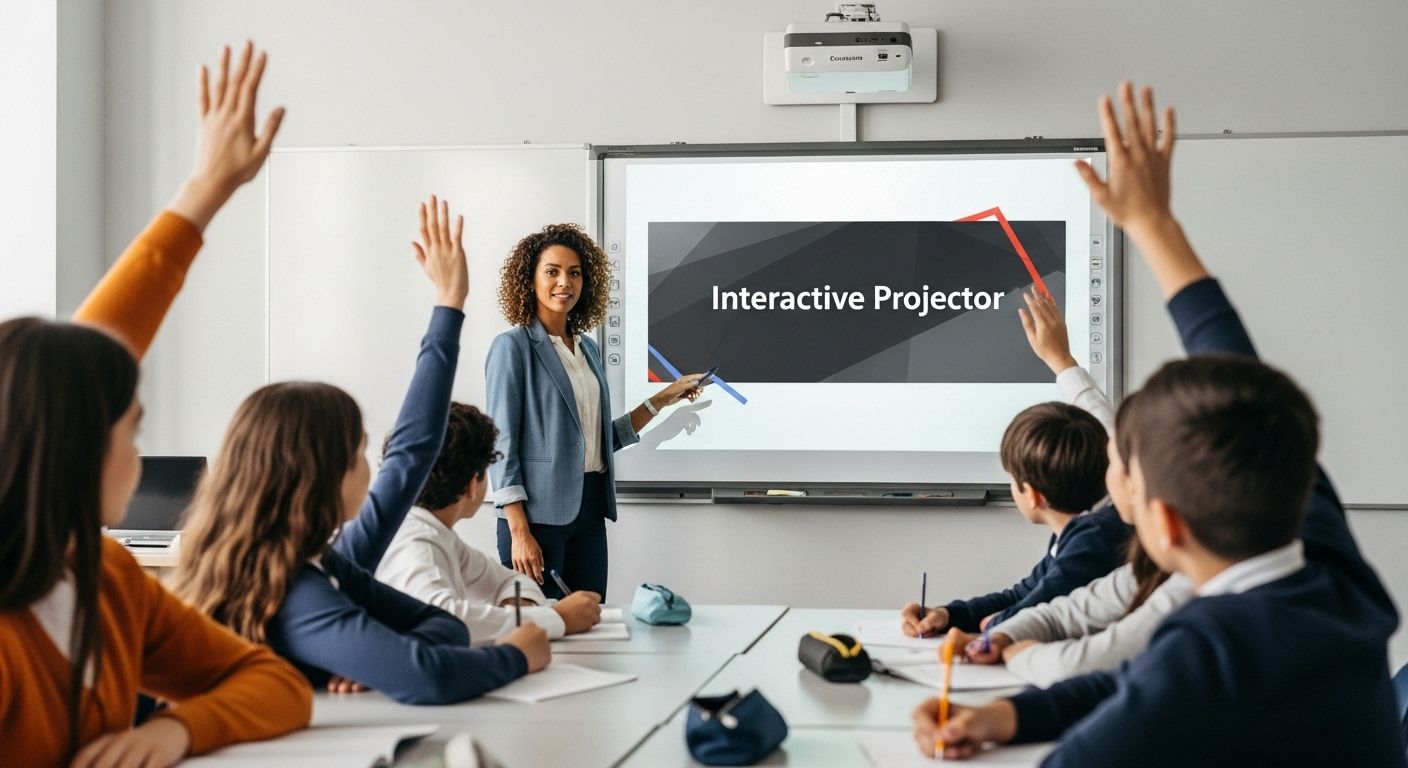
Interactive projectors represent another advanced option for modern classrooms. These systems transform standard projection surfaces into interactive whiteboards, enabling direct screen manipulation and collaborative learning experiences. Teachers can annotate, draw, and engage students through touch-sensitive projection technologies.
To help you select the most suitable projector for your classroom, the table below compares common classroom projector types mentioned in the article, outlining their key features, advantages, and best-fit classroom scenarios.
| Projector Type | Key Features | Advantages | Best Suited For |
|---|---|---|---|
| Standard Projector | 3000+ lumens, Full HD, basic connectivity | Affordable, suitable for basic needs | General classrooms |
| Short-Throw Projector | Can be placed close to screen, reduces shadows | Minimizes glare, flexible mounting | Small classrooms |
| Interactive Projector | Touch/pen input, wireless connectivity | Enables annotation, collaborative learning | Interactive/modern classrooms |
| LED/Laser Projector | Energy-efficient, long lamp life | Lower maintenance, longer lifespan | High-use & long-term setups |
Budget and Long-Term Classroom Technology Investment
While initial cost matters, educators should consider total cost of ownership. Projectors with longer lamp life and energy-efficient designs provide better long-term value. LED and laser projection technologies offer extended operational lifespans and reduced maintenance requirements compared to traditional lamp-based systems.
Consider exploring our comprehensive guide on selecting the best projector for teachers to make an informed decision tailored to specific educational environments. Investing in the right classroom projector means creating more engaging, interactive, and effective learning experiences that support modern educational goals.
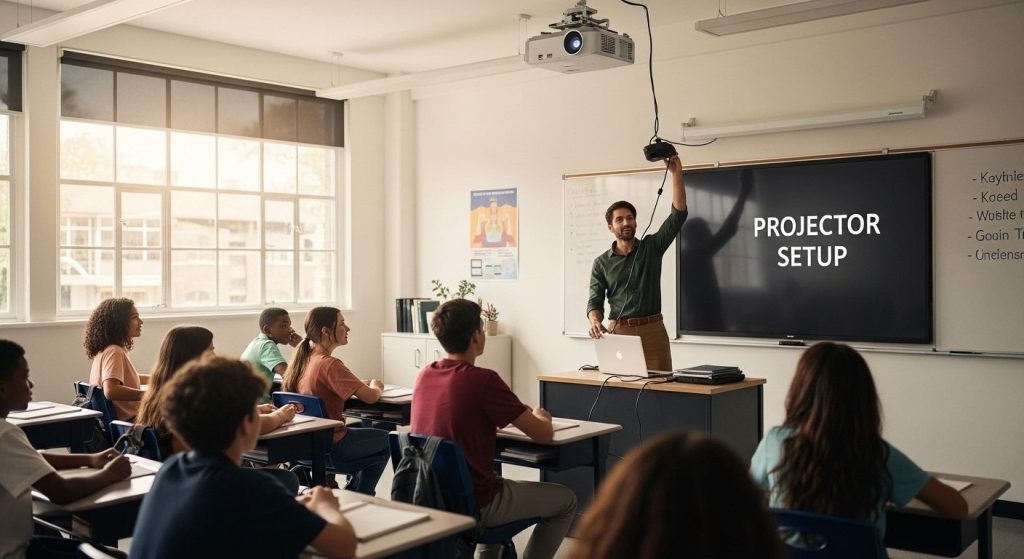
Step-by-Step Guide to Classroom Projector Setup
Successful classroom projector setup requires methodical planning and precise execution to ensure optimal performance and minimal technical disruptions during educational sessions. A structured approach helps educators create a reliable visual learning environment that enhances student engagement and teaching effectiveness.
Preparing the Physical Installation Space
Before mounting or positioning the projector, carefully assess the classroom layout and potential projection surfaces. Classroom Technology Experts recommend measuring the distance between the projector and screen, ensuring adequate clearance for cable management and ventilation. Clear obstructions that might block the projection path or create unwanted shadows.
Select a mounting location that provides stable support and minimizes potential interference. Wall mounts or ceiling installations offer the most consistent projection angles. Mounting height plays a critical role in image quality and classroom visibility. Position the projector at a height that allows students in all seating areas to view the screen comfortably without straining.
Technical Setup and Connectivity Configurations
Connectivity represents a crucial aspect of classroom projector setup. Begin by identifying compatible input sources such as laptops, document cameras, or tablets. Technical Education Resources suggest having multiple connection options including HDMI, VGA, and wireless interfaces to accommodate diverse device ecosystems.
Configure projector settings to match classroom requirements. Adjust brightness, contrast, and color settings to compensate for ambient lighting conditions. Enable features like keystone correction to compensate for non-perfect mounting angles. Test multiple input sources to verify seamless switching and compatibility. Learn more about professional projector mounting techniques to optimize your classroom technology integration.
Maintaining Projector Performance and Troubleshooting
Regular maintenance ensures consistent projector performance. Implement a routine cleaning schedule for lens and air filters to prevent dust accumulation that might degrade image quality. Check cable connections periodically and replace worn components proactively. Keep firmware updated to access latest features and security improvements.
Develop a basic troubleshooting protocol for common issues like connection problems, image distortion, or unexpected shutdowns. Train classroom staff on basic diagnostic steps to minimize technical interruptions during teaching sessions. Consider keeping spare cables, remote controls, and adapters as backup to ensure uninterrupted educational experiences.
By following these systematic setup guidelines, educators can create a robust projection environment that supports dynamic and interactive learning experiences. Careful planning, precise installation, and ongoing maintenance are key to maximizing the educational potential of classroom projection technologies.
Optimizing Picture Quality and Audio
Achieving exceptional visual and audio performance is crucial for creating an immersive and effective classroom learning environment. Proper calibration and understanding of projection technology can significantly enhance the educational experience by ensuring clear, crisp images and sound that engage students and support comprehensive learning.
Fine-Tuning Visual Performance
Picture quality goes beyond basic projection settings. Display Technology Research Center emphasizes the importance of precise color calibration and contrast adjustment. Begin by setting the projector to the appropriate color mode for your environment. Educational modes typically provide balanced settings that prioritize text clarity and natural color reproduction.
Keystone correction plays a critical role in maintaining image quality. Slight mounting angle discrepancies can cause trapezoidal distortion, which impacts visual clarity. Most modern projectors offer digital keystone adjustment, allowing educators to square off projected images even when the projector cannot be perfectly positioned. However, excessive keystone correction can reduce overall image resolution, so physical alignment remains the preferred approach.
Advanced Audio Integration Strategies
Sound quality is often an overlooked aspect of classroom projection systems. Educational Acoustics Journal recommends a multi-speaker approach to ensure even sound distribution. Built-in projector speakers typically provide insufficient volume and clarity for classroom environments. Consider external audio solutions like ceiling-mounted speakers or portable sound systems that can be strategically positioned to maximize audio coverage.
Ensure audio connectivity matches your primary teaching devices. Multiple input options including 3.5mm audio jack, HDMI with audio pass-through, and Bluetooth connectivity provide flexibility for different presentation scenarios. Explore our comprehensive guide to classroom audio setup to understand advanced audio integration techniques.
Maintaining Optimal Projection Performance
Regular maintenance is key to sustaining high-quality visual and audio performance. Dust and ambient conditions can gradually degrade projector components. Implement a routine cleaning schedule for projection lenses, focusing on gentle cleaning techniques that prevent surface damage. Check air filters monthly to ensure proper ventilation and prevent overheating.
Calibrate color and brightness settings periodically, as projector performance can shift over time. Some advanced models offer built-in calibration tools or smartphone apps that simplify this process. Consider professional calibration annually, especially for high-use classroom environments where consistent visual quality is critical.
By approaching projection setup as a holistic system of visual and audio technologies, educators can create powerful learning environments that capture student attention and support comprehensive educational experiences. Thoughtful configuration, regular maintenance, and a willingness to fine-tune technical settings are the cornerstones of successful classroom projection strategies.
Troubleshooting Common Classroom Projector Issues
Technical challenges are inevitable in classroom technology environments, and projector systems are no exception. Understanding how to diagnose and resolve common issues quickly can minimize instructional disruptions and maintain a smooth learning experience.
Addressing Connection and Display Problems
University of Iowa's Office of Teaching Technology highlights that many projection issues stem from connection failures. Begin troubleshooting by verifying cable connections and input sources. Check HDMI, VGA, and USB connections to ensure they are securely fastened. Loose or damaged cables can interrupt signal transmission and prevent image display.
Input source selection represents another critical troubleshooting area. Most projectors require manual switching between input channels. Use the projector's remote control or control panel to cycle through available inputs. Confirm that the correct input matches the device you intend to use. Some projectors feature automatic source detection, but manual intervention is often necessary.
Managing Image Quality and Display Challenges
Image distortion and poor visual performance can significantly impact classroom instruction. Penn State University's IT Troubleshooting Guide recommends systematic approaches to resolving projection problems. For out-of-focus or skewed images, utilize the projector's built-in focus and keystone correction features. Adjust zoom settings and projection angle to achieve optimal image clarity.
Color inconsistencies and dim projections require careful calibration. Check brightness settings and ensure the projector lamp is functioning correctly. Some projectors display warning indicators when lamp life is nearing its end. Learn more about advanced projection troubleshooting techniques to understand comprehensive diagnostic strategies.
Preventive Maintenance and Professional Support
Proactive maintenance can prevent many common projector issues. Implement a regular cleaning routine for projector lenses and air filters. Dust accumulation can cause overheating and reduce projection quality. Create a maintenance checklist that includes periodic equipment inspection, cable testing, and firmware updates.
Develop a clear protocol for handling persistent technical issues. Establish communication channels with technical support teams or designated IT personnel. Document recurring problems to identify potential systemic challenges. Some issues may require professional intervention, particularly those involving internal hardware components.
Effective troubleshooting requires a combination of technical knowledge, systematic problem-solving, and preventive maintenance. By developing a comprehensive understanding of projection system challenges, educators can quickly resolve technical obstacles and maintain an uninterrupted learning environment. Remember that patience and methodical diagnostic approaches are key to successfully managing classroom projection technologies.
For quick troubleshooting and smooth operation, here is a summary table of common classroom projector issues, their likely causes, and recommended solutions as explained in the article.
| Issue | Potential Cause | Suggested Solution |
|---|---|---|
| No image/display | Loose/damaged cable, wrong input | Check cable connections, select correct input |
| Image distortion/skew | Improper mounting, angle error | Adjust keystone, reposition projector |
| Dull/dim image | Old lamp, low brightness setting | Replace lamp, increase brightness |
| Color inconsistency | Poor calibration, dirty lens/filter | Calibrate settings, clean lens/filter |
| Insufficient audio | Reliance on built-in speakers | Add external/portable speakers |
| Overheating/shutdown | Dust build-up, blocked ventilation | Clean air filters, ensure clear vents |
Frequently Asked Questions
What should I consider when choosing a projector for my classroom?
When selecting a classroom projector, consider brightness (at least 3000 lumens for clear visibility), resolution (Full HD is ideal), connectivity options (HDMI, VGA, wireless), and durability to accommodate the learning environment effectively.
How do I set up my classroom projector for optimal performance?
To set up your projector, measure the distance from the projector to the screen for the correct placement, connect your devices using the appropriate cables or wireless options, and adjust brightness and contrast settings to suit the ambient lighting in the classroom.
What maintenance is required to keep a classroom projector performing well?
Regular maintenance includes cleaning the projector lens and air filters to prevent dust accumulation, checking cable connections, replacing worn components, and updating firmware to ensure optimal performance and longevity of the projector.
How can I troubleshoot common projector issues in the classroom?
To troubleshoot, check the cable connections and input settings if there is no image. For distorted images, adjust the keystone correction and focus settings. Regular maintenance can help prevent issues, and having spare cables can aid in quick resolutions.
Transform Your Classroom With the Right Projector Setup
Setting up a classroom projector is about more than just choosing a bright device. The article highlights real pain points you probably know all too well: unclear images due to low lumens, distracting sound, and the frustration that comes with unreliable technology. You want crisp visuals, smooth integration with your teaching tools, and dependable audio so your students stay focused on learning—never on fumbling with cables.
Explore our dedicated Projector Screen collection to pair your projector with a screen designed for clear, full HD displays. Give your setup the added boost it needs with premium sound solutions from our Sound Systems section for audio that reaches every corner of the classroom.

Experience the difference a complete setup can make. Visit ProjectorDisplay.com to shop trusted projection equipment and accessories for Malaysia's classrooms. Bring clarity, reliability, and modern technology into your teaching space today.
Recommended
- How to Mount a Projector: Step-by-Step Guide for Malaysia 2025 – Projector Display
- How to Mount a Projector: Step-by-Step Guide for Malaysia 2025 (Repost) – Projector Display
- How to Connect Projector: Step-by-Step Guide for Malaysia 2025 – Projector Display
- Best Projector for Teachers 2025: Top Choices in Malaysia – Projector Display