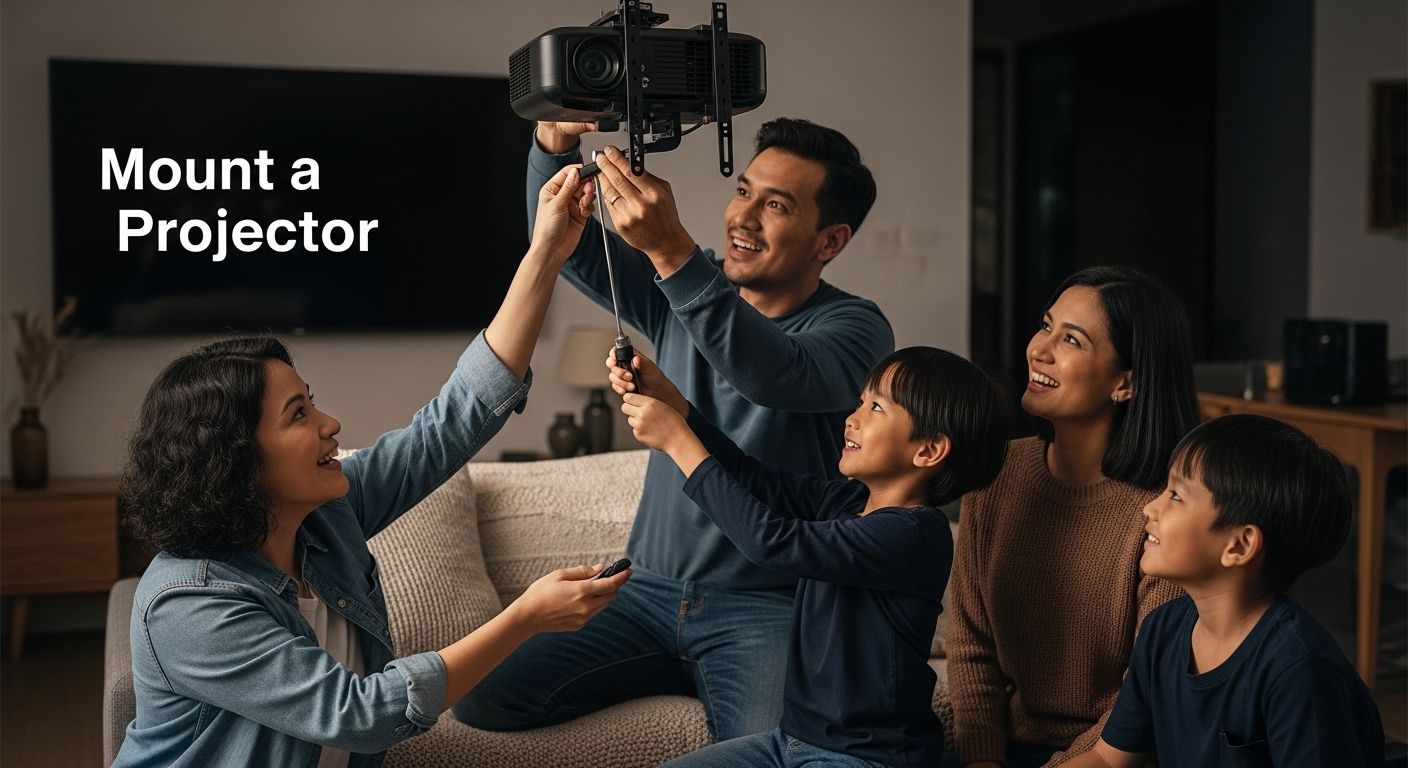
Mounting a projector seems straightforward until you realize that over 60 percent of DIY installations suffer from poor image alignment or loose brackets. Most people think you just screw it to the ceiling and plug it in, right? Wrong. The secret to a stunning projection setup is all in the prep and precision—often the smallest details make the biggest difference.
Table of Contents
- Choosing The Right Projector Mount And Location
- Preparing Your Room And Tools
- Step-By-Step Projector Mounting Process
- Essential Tips For Perfect Alignment And Safety
Quick Summary
| Takeaway | Explanation |
|---|---|
| Choose the right mounting surface. | Select between ceiling or wall mounts based on your room's configuration and projector specifications. |
| Assess your room thoroughly before installation. | Evaluate lighting conditions, dimensions, and nearby power sources to determine the best projector setup. |
| Ensure precise bracket installation for stability. | Use accurate measurements and appropriate tools to secure the mounting bracket, safeguarding projector performance. |
| Prioritize safety during the installation process. | Implement safety protocols, use protective gear, and verify the stability of your mounting surfaces. |
| Invest time in calibration and fine-tuning. | Adjust projector settings for optimal image quality, considering factors like brightness and color balance. |
Choosing the Right Projector Mount and Location
Selecting the appropriate projector mount and location represents a critical decision that directly impacts your visual experience and projection quality. Unlike simply placing a television, mounting a projector requires careful consideration of multiple technical and spatial factors to ensure optimal performance.
Understanding Mounting Surface and Compatibility
The foundation of successful projector installation begins with understanding your specific mounting surface and equipment compatibility. Different surfaces demand unique mounting approaches. Ceiling mounts work best for permanent installations in home theaters or conference rooms, providing stable and centralized positioning. Wall mounts offer flexibility for spaces with limited ceiling access or unconventional room layouts.
Before selecting a mount, verify your projector's mounting points and weight specifications. Not all projectors are identical in their mounting requirements. Check our guide on understanding projector screen placement to gain deeper insights into optimal positioning strategies.
Key compatibility factors include:
- Mounting Pattern: VESA standard measurements must match your projector
- Weight Capacity: Mount must support your projector's total weight
- Adjustability: Ensure mount allows necessary angle and distance modifications
To help compare the key differences between ceiling and wall mounts mentioned above, here is a table summarizing their features and use cases:
A comparison of ceiling mounts and wall mounts can help clarify which is best suited for your space and needs.
| Feature | Ceiling Mount | Wall Mount |
|---|---|---|
| Best For | Permanent installations, centralized positioning | Limited ceiling access, unconventional layouts |
| Stability | High | Moderate to High |
| Flexibility of Placement | Central in room | Dependent on wall space |
| Cable Management | Often easier to conceal | May require external conduits |
| Room Types | Home theaters, conference rooms | Small rooms, offices, multipurpose spaces |
| Ease of Installation | More complex | Generally simpler |
Strategic Location Selection Considerations
Location selection transcends mere physical placement. Professional AV integrators recommend analyzing multiple environmental factors before finalizing your projector's position. Ambient light, room dimensions, screen distance, and potential obstructions significantly influence projection quality.
According to AV installation experts at TechInsight Research, ideal projector placement depends on three primary variables:
- Throw Distance: Calculate the precise distance between projector and screen
- Projection Angle: Ensure minimal keystone correction is required
- Heat Dissipation: Provide adequate ventilation around the projector
Malaysian homes and offices present unique challenges with varied room configurations and lighting conditions. Consider rooms with controlled lighting and minimal direct sunlight to maximize projection clarity. Avoid positioning near air conditioning vents or areas with significant temperature fluctuations that might impact projector performance.
Advanced Mounting Techniques
Modern projector mounts offer sophisticated features beyond basic installation. Motorized mounts with remote-controlled positioning provide exceptional flexibility, allowing users to adjust projection angles without physical intervention. Some advanced mounts incorporate built-in cable management systems, creating a clean, professional appearance.
When selecting a mount, prioritize models that offer:
- Smooth Tilt and Rotation: Enable precise angle adjustments
- Quick-Release Mechanisms: Facilitate easy projector removal and maintenance
- Robust Construction: Ensure long-term stability and durability
While professional installation guarantees optimal results, many tech-savvy users successfully mount projectors through careful planning and attention to detail. Always consult manufacturer guidelines and consider professional assistance if you encounter complex mounting challenges.
Remember that investing time in choosing the right mount and location pays significant dividends in your overall visual experience. A well-mounted projector transforms ordinary spaces into immersive entertainment or presentation environments.
Preparing Your Room and Tools
Successful projector installation requires meticulous preparation of both your physical environment and technical equipment. Proper preparation minimizes potential installation challenges and ensures a smooth, professional setup process.
Room Assessment and Preparation
Before beginning your projector mounting project, conduct a comprehensive room assessment. Our detailed screen placement guide emphasizes the importance of understanding your spatial constraints and environmental conditions.
According to ELCOSH safety guidelines, preparation involves more than just measuring spaces. Critical pre-installation steps include:
- Electrical Considerations: Verify nearby power outlets and potential cable routing paths
- Structural Integrity: Check ceiling or wall mounting points for sufficient strength
- Lighting Control: Assess room's natural and artificial light sources
Malaysian homes and offices often feature unique architectural designs, requiring extra attention to mounting surfaces. Concrete walls, wooden structures, and suspended ceilings demand different mounting approaches and specialized tools.
Essential Tools and Equipment
Gathering the right tools beforehand prevents interruptions during installation. A comprehensive toolkit should include:
- Measuring Tools: Laser distance meter, spirit level, tape measure
- Mounting Hardware: Drill, appropriate drill bits, wall anchors, mounting brackets
- Safety Equipment: Sturdy ladder, safety glasses, work gloves, electrical voltage tester
- Cable Management: Cable ties, cable conduits, wire clips
Here's a summary table to organize the essential tools and equipment required for projector mounting, as described above:
Having the proper tools and supplies organized in advance helps ensure a smooth installation without unnecessary delays.
| Tool/Equipment | Purpose/Description |
|---|---|
| Laser Distance Meter | Accurate measurement of mounting distances |
| Spirit Level | Ensures perfect horizontal/vertical alignment |
| Tape Measure | Basic measuring for placement & distances |
| Drill & Drill Bits | Drilling holes in various surfaces |
| Wall Anchors | Secures mounts to concrete, drywall, or wood |
| Mounting Brackets | Supports the projector on ceiling or wall |
| Sturdy Ladder | Safe access to mounting points |
| Safety Glasses | Protects eyes during installation |
| Work Gloves | Protects hands during handling and drilling |
| Voltage Tester | Ensures electrical safety before installation |
| Cable Ties/Conduits | Organizes and secures projector cabling |
Professional installers recommend investing in high-quality tools. Precision measurements and secure mounting depend on having reliable, accurate equipment. Cheap or worn-out tools can compromise installation quality and potentially damage expensive projection equipment.
Safety and Preparation Protocols
Installation safety extends beyond personal protection. Protect your projector and surrounding environment by implementing systematic preparation protocols. Clear the installation area of furniture, ensure stable footing for ladders, and create a clean workspace free from potential obstructions.
Key safety considerations include:
- Weight Distribution: Verify mounting surface can support projector weight
- Electrical Safety: Turn off circuit breakers when working near electrical connections
- Personal Protection: Use appropriate personal protective equipment
Make certain you have a helper or spotter during installation, especially when working at height or with heavy equipment. Complex installations might require professional assistance to guarantee optimal setup and prevent potential damage.
By dedicating sufficient time to thorough room and tool preparation, you create a solid foundation for a successful projector installation. Patience and methodical planning transform what could be a challenging task into a manageable and rewarding home technology upgrade.
Step-by-Step Projector Mounting Process
Mounting a projector requires precision, patience, and a systematic approach. Each step plays a crucial role in ensuring optimal performance and preventing potential installation errors that could compromise your visual setup.
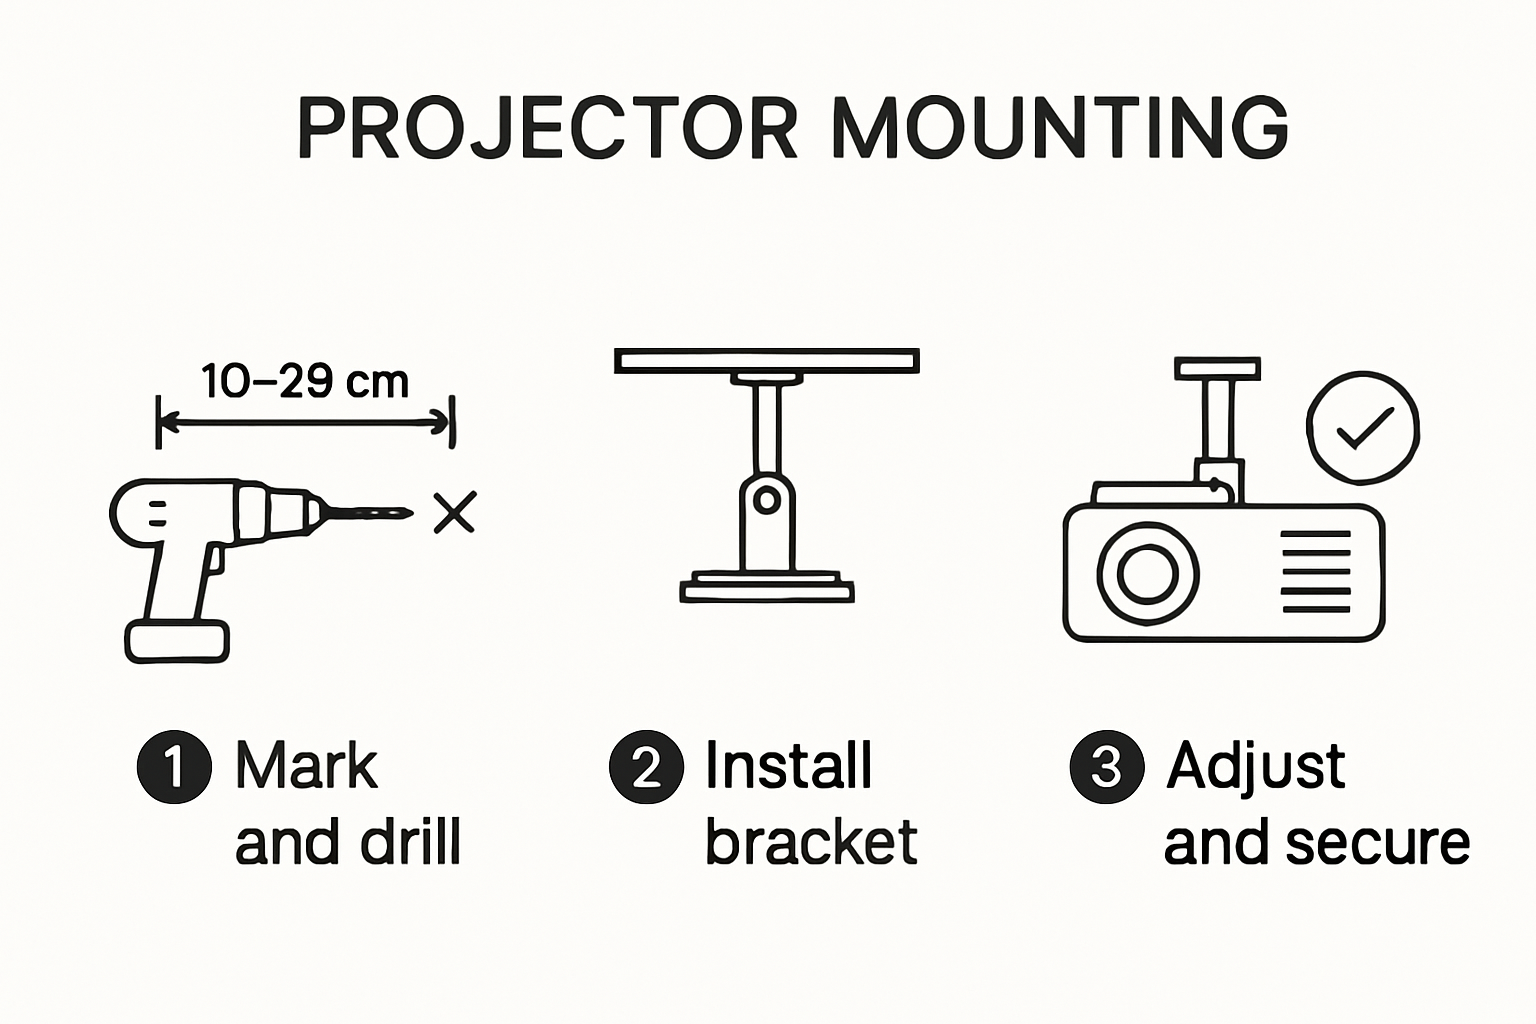
Marking and Drilling Mounting Points
Begin by carefully marking your mounting points. According to University of South Florida's installation guidelines, accurate initial placement is critical for long-term stability. Use a spirit level to ensure horizontal alignment and measure multiple times before drilling.
Critical considerations for marking mounting points include:
- Precise Measurements: Double-check distance from ceiling and screen
- Stud Identification: Use a stud finder to locate secure mounting surfaces
- Marking Technique: Use pencil marks that can be easily erased or covered
When drilling, select drill bits appropriate for your mounting surface. Concrete, wooden, and drywall surfaces require different drilling techniques and anchoring systems. For Malaysian homes with varied construction materials, choose anchors that match your specific wall or ceiling composition.

Mounting Bracket Installation
After marking, install the mounting bracket securely. Learn more about optimal screen placement strategies to complement your mounting approach. Ensure the bracket is level and can support your projector's total weight.
Professional installation steps include:
- Bracket Alignment: Use a laser level for perfect horizontal positioning
- Secure Fastening: Use appropriate screws and wall anchors
- Weight Distribution: Verify mounting point can handle projector load
Consider using toggle bolts or expansion anchors for added stability, especially in spaces with complex ceiling structures common in Malaysian architectural designs.
Final Projector Attachment and Calibration
The final mounting stage requires careful projector attachment and precise calibration. Carefully slide the projector onto the mounted bracket, ensuring all mounting points align correctly. Tighten all connection points without over-torquing, which could damage mounting hardware.
Calibration involves multiple critical adjustments:
- Horizontal Leveling: Use built-in bubble levels or digital leveling tools
- Keystone Correction: Minimize digital keystone adjustment by achieving perfect physical alignment
- Focus and Zoom: Fine-tune image sharpness and screen coverage
Connect power and signal cables carefully, using cable management solutions to create a clean, professional installation. Test the projector from multiple angles to ensure stable mounting and optimal image projection.
Remember that patience during installation prevents future complications. While DIY installation is possible, do not hesitate to seek professional assistance if you encounter complex mounting challenges or feel uncertain about any installation steps.
A meticulously mounted projector transforms your space, providing immersive visual experiences that blend seamlessly with your room's design and functionality.
Essential Tips for Perfect Alignment and Safety
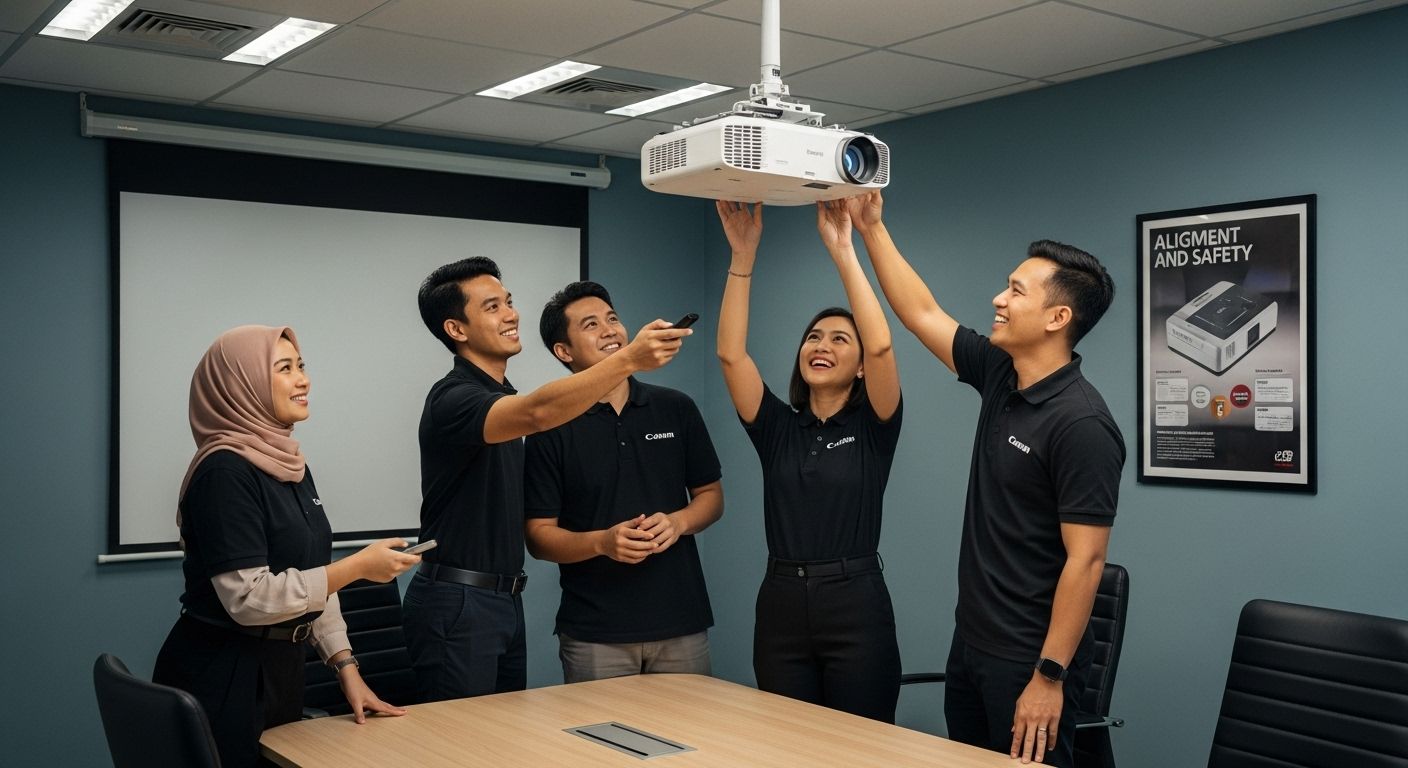
Achieving perfect projector alignment requires more than technical skills it demands a comprehensive approach that balances precision, safety, and optimal performance. Malaysian users must understand the nuanced techniques that transform a standard installation into a professional-grade setup.
Precise Alignment Techniques
Perfect projector alignment begins with understanding geometric principles and leveraging advanced measurement tools. Professional AV integrators recommend using digital inclinometers and laser alignment devices to ensure millimeter-level precision.
Critical alignment considerations include:
- Horizontal Plane: Maintain perfect horizontal positioning within 0.5-degree tolerance
- Vertical Angle: Minimize keystone distortion through exact perpendicular placement
- Screen Distance: Calculate and verify optimal throw distance mathematically
Explore our comprehensive screen placement guide to understand the intricate relationship between projector positioning and image quality. Malaysian installations often require additional considerations due to unique architectural environments and lighting conditions.
Electrical and Installation Safety Protocols
According to OSHA's electrical safety guidelines, proper electrical safety is paramount during projector installation. Before beginning any mounting process, implement comprehensive safety protocols:
- Power Disconnection: Always disconnect electrical sources before installation
- Cable Management: Secure cables to prevent potential tripping hazards
- Equipment Grounding: Ensure proper electrical grounding for all components
Additional safety measures specific to Malaysian residential and commercial spaces include:
- Verifying electrical circuit load capacity
- Using surge protectors designed for local voltage standards
- Implementing heat dissipation strategies in tropical environments
Fine-Tuning and Calibration Strategies
Beyond initial positioning, successful projector installation demands meticulous fine-tuning. Professional calibration involves multiple precise adjustments that go beyond basic mounting techniques.
Advanced calibration strategies include:
- Color Balance: Adjust color temperature and saturation
- Brightness Optimization: Balance lumens output with ambient lighting
- Focus Precision: Use test patterns for pixel-perfect image sharpness
Consider investing in professional calibration tools or consulting AV specialists who understand the unique environmental challenges of Malaysian spaces. Ambient temperature, humidity, and light conditions significantly impact projector performance.
Remember that perfect alignment is an ongoing process. Regular maintenance, periodic recalibration, and careful monitoring ensure your projector continues delivering exceptional visual experiences. While DIY installation is possible, complex setups might require professional expertise to achieve optimal results.
Ultimately, combining technical knowledge, safety consciousness, and precision transforms a simple projector installation into a sophisticated visual solution tailored to your specific environment.

Frequently Asked Questions
What are the key factors to consider when choosing a projector mount?
When selecting a projector mount, consider factors such as the mounting surface type (ceiling or wall), projector compatibility, weight capacity, adjustability, and your specific room layout.
How do I ensure my projector is mounted at the correct angle?
To achieve the correct angle, measure the throw distance carefully, use a spirit level for horizontal alignment, and minimize keystone correction by ensuring the projector is perfectly perpendicular to the screen.
What tools do I need for mounting a projector?
Essential tools include a laser distance meter, measuring tape, drill with appropriate bits, wall anchors, mounting brackets, a sturdy ladder, and safety equipment like gloves and goggles.
How can I safely manage cables during projector installation?
For effective cable management, use cable ties, conduits, or clips to secure and organize cables, ensuring they are not at risk of tripping hazards or damage, while also maintaining a clean look in your installation area.
Elevate Your Projector Setup With the Right Tools and Accessories
Getting your projector perfectly mounted is only half the journey. Many face frustrating alignment issues, unstable brackets, or less vibrant visuals because of missing the right tools or supporting equipment. The article just walked you through precision mounting, careful room assessment, and the need for robust installation materials. Now imagine how much easier and more impressive your setup can become with the proper accessories already in hand.
Explore a full collection of premium projector screens ready to pair with your chosen mount. Give your visuals the clarity and scale they deserve and make the most of your installation efforts. See the difference each upgrade can make in your space.

Make your next step the easiest. Discover trusted solutions for every installation challenge on ProjectorDisplay.com. Order now and experience fast shipping in Peninsular Malaysia and expert support for your perfect projector setup.
