TL;DR:
- Troubleshooting projector connectivity involves a systematic check of cables, input settings, and firmware, which often resolves common issues.
- Ensuring physical connections are secure, inspecting ports for damage, and updating firmware can fix most display problems quickly.
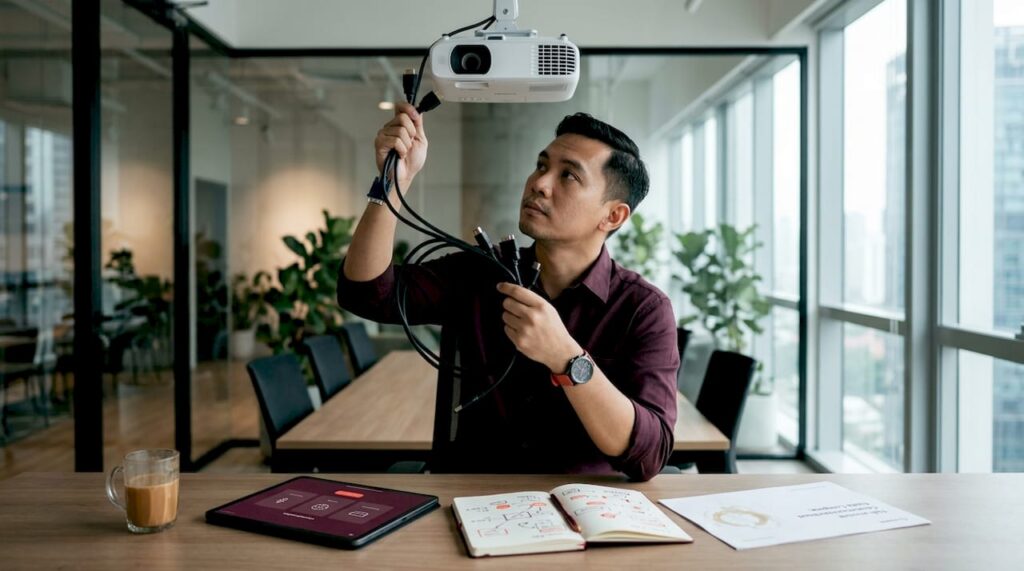
You're 10 minutes from a presentation, your projector is connected, and the screen shows nothing. Or you're setting up a movie night at home and the image keeps flickering, cutting out, or simply refusing to appear. Troubleshooting projector connectivity is one of those tasks that feels technical but is almost always solvable with a systematic approach. Whether you're in a Malaysian classroom, a meeting room in KL, or your living room, the same core issues keep coming up, and the same structured fixes work. This guide covers everything from cables and input settings to wireless Miracast errors.
Table of Contents
- Prepare your projector and workspace for troubleshooting
- Check physical connections and input settings systematically
- Optimize HDMI cable quality and signal integrity
- Troubleshoot HDMI handshake and firmware compatibility issues
- Resolve wireless connection issues including Miracast troubleshooting
- Why common projector connectivity advice misses key practical points
- Find expert help and quality projectors in Malaysia
- Frequently asked questions
Key Takeaways
| Point | Details |
|---|---|
| Start with physical checks | Inspect cables, ports, and input settings before moving to complex solutions. |
| Use quality HDMI cables | Choose certified high-speed or active HDMI cables for longer connections. |
| Power cycle devices correctly | Follow ordered power off and on steps to fix HDMI handshake failures. |
| Verify wireless settings | Ensure Wi-Fi bands, drivers, and firewall allow Miracast connectivity. |
| Keep firmware updated | Update projector and source device software to maintain compatibility and fix bugs. |
Prepare your projector and workspace for troubleshooting
Before you touch a single cable, get organized. A rushed approach to troubleshooting display problems almost always leads to missing the obvious. Start by gathering what you need: the projector manual, all relevant cables (HDMI, VGA, USB-C), a flashlight, and a clean microfiber cloth. If your manual is lost, most manufacturers post them online as downloadable PDFs.
Before you begin, confirm you have:
- All cables currently in use (HDMI, VGA, DisplayPort, or USB-C)
- A working power outlet or UPS (uninterruptible power supply) with stable voltage
- Access to your source device (laptop, PC, Blu-ray player, streaming stick)
- A flashlight to inspect ports closely
- The projector's remote control for navigating input menus
One step most users skip: a proper hard reset. Draining static electricity by holding the power button for 15 to 20 seconds after unplugging resolves up to 80% of basic power and connectivity glitches. Static buildup is real, especially in air-conditioned Malaysian offices where humidity swings can affect electronics.
Understanding your projector connectivity options before diving into fixes also saves time. Knowing whether your setup uses HDMI 1.4, HDMI 2.0, or wireless will tell you what to check first.
| Preparation step | Why it matters |
|---|---|
| Gather all cables | Lets you swap and test without interruption |
| Check power source | Voltage fluctuations cause intermittent signal loss |
| Have manual ready | Confirms correct input port labels for your model |
| Hard reset projector | Clears static and resets internal connection registers |
| Inspect workspace lighting | Good lighting helps you spot bent pins and port damage |
Pro Tip: Take a photo of all your cable connections before unplugging anything. It takes five seconds and eliminates the "wait, which port was this in?" problem entirely.
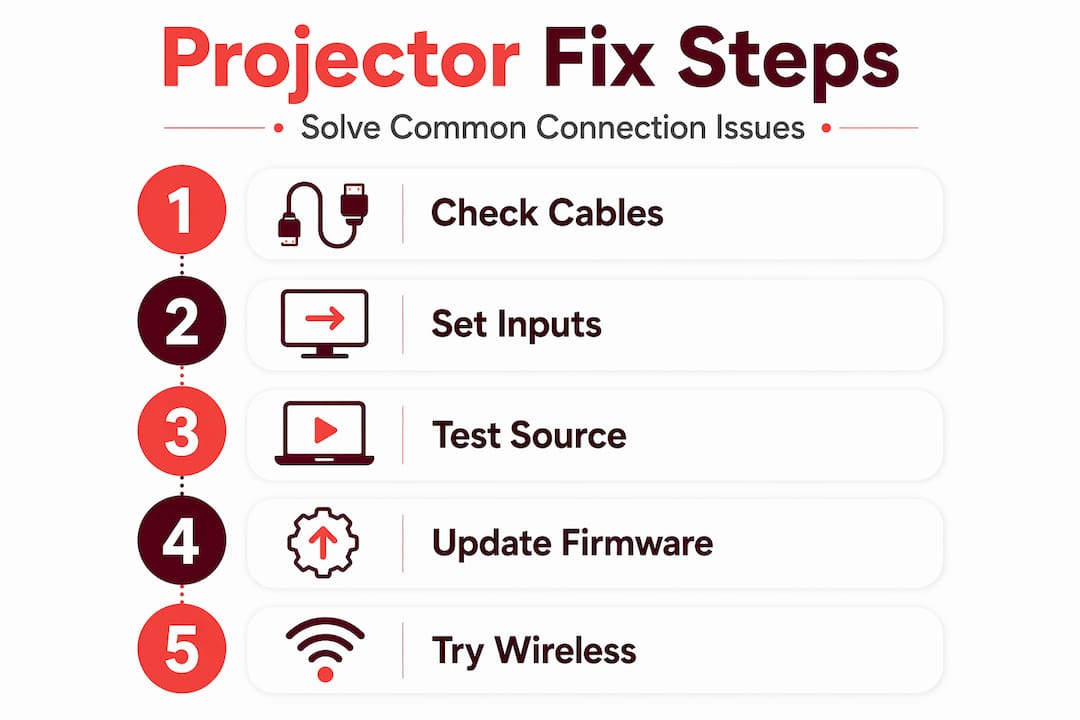
Check physical connections and input settings systematically
With your workspace ready, let's carefully examine and confirm all physical connections and settings to fix common issues.
Physical connection failures are the single most common cause of projector connection issues. The fix is nearly always free and takes under five minutes. Here's the process:
- Power off everything. Turn off the projector, laptop, or source device before disconnecting any cables. This prevents electrical surges and protects your ports.
- Remove and inspect all cables. Hold each cable up to your flashlight. Look for frayed insulation, bent pins at the connector ends, or any visible damage along the cable body.
- Inspect the ports on both devices. Use the flashlight to look inside the HDMI or VGA port on your projector and your source device. Even one bent pin can kill the signal entirely.
- Reconnect cables firmly. Push each connector in until it clicks or seats fully. A cable that looks connected but is slightly loose is one of the most common projector setup and connectivity mistakes.
- Select the correct input source on the projector. This is where many users lose significant time. If your cable is in HDMI 1, the projector input must be set to HDMI 1, not HDMI 2 or VGA.
- Test each HDMI port individually. If your projector has two HDMI ports, try both. Port failures happen, especially on older units or those in dusty school environments.
- Check your source device output settings. A laptop outputting at 4K or 120 Hz to an older projector that maxes out at 1080p and 60 Hz will cause a blank screen or common projector connection errors.
Poor video connections from loose or damaged cables cause most display issues, and you should always verify source settings match the cable type before moving to advanced fixes. For a full walkthrough on connecting a laptop to a projector, including display output settings on Windows and macOS, that guide covers the full process.
Quick physical connection checklist:
- Cable fully seated in both ports with no wobble
- No bent, broken, or missing pins visible
- Input source on projector matches the connected port
- Source device resolution set to 1080p or lower if projector doesn't support higher
- Refresh rate set to 60 Hz for maximum compatibility
When choosing HDMI cables for your projector setup, always check the HDMI version rating. HDMI 1.4 is sufficient for 1080p. HDMI 2.0 is required for 4K at 60 Hz. Using a mismatched cable is a silent cause of compatibility failures that looks exactly like a hardware fault.
Pro Tip: Always test with a different known-good cable before concluding that a port is broken. Cables fail far more often than ports do, and a replacement cable costs a fraction of a service call.
Optimize HDMI cable quality and signal integrity
Having secured all physical connections, now let's ensure your HDMI cable choice supports reliable signal transmission.
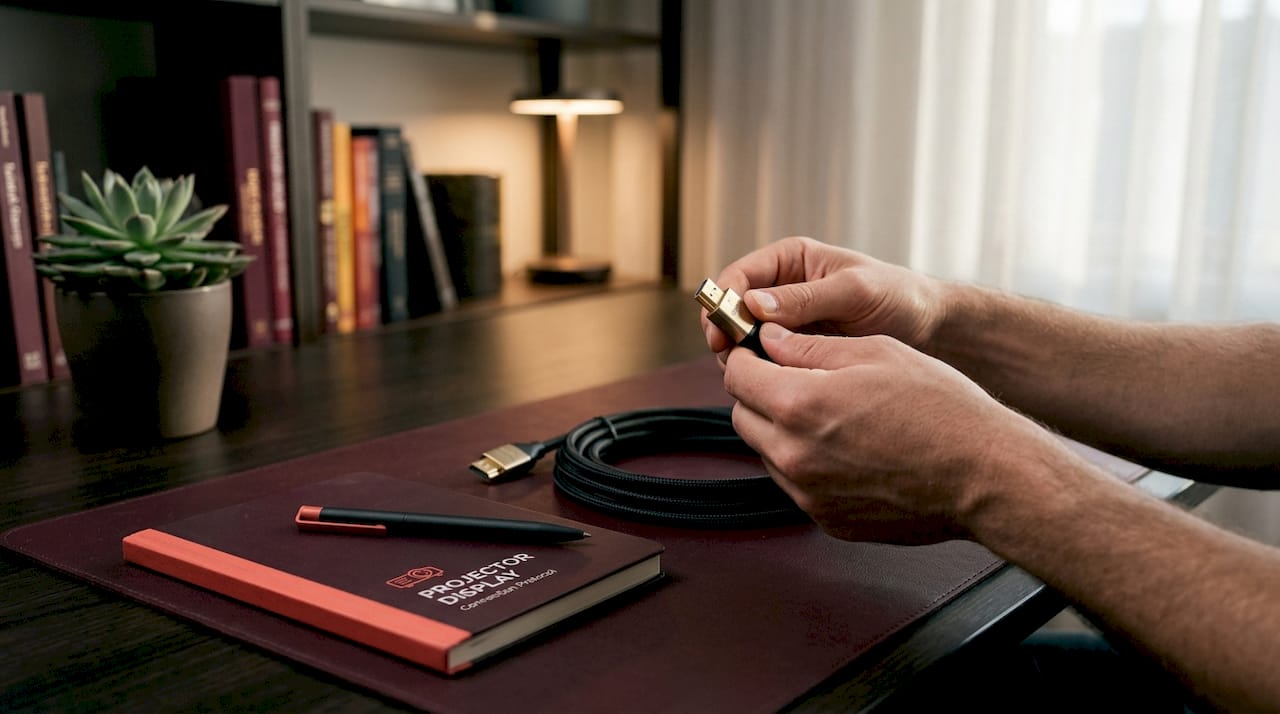
HDMI cables are not all equal, and cable length is a factor most users don't consider until they're already experiencing blackouts or flickering. Standard HDMI cables over 25 feet (7.6 meters) lead to signal degradation. For longer runs, you need active HDMI cables (which have a built-in signal booster) or an external HDMI amplifier.
This matters a lot in Malaysian meeting rooms, school halls, and home theater setups where the projector is ceiling-mounted and the source device is at a desk.
| Feature | Standard HDMI cable | Active HDMI cable |
|---|---|---|
| Max reliable length | Up to 7.6 meters (25 feet) | Up to 30+ meters |
| Signal booster | None | Built-in amplifier chip |
| Typical cost (Malaysia) | RM 15 to RM 60 | RM 80 to RM 250 |
| Directional | No | Yes (labeled source/display end) |
| Best use case | Short desktop connections | Ceiling-mounted or long-run setups |
When purchasing HDMI cables, prioritize these factors:
- Certified spec rating: Look for "High Speed" or "Ultra High Speed" labeling, which indicates tested performance
- Length matched to your room: Buy only what you need. Excess cable coiled tightly can cause its own interference
- Connector build quality: Gold-plated connectors resist corrosion, which matters in Malaysia's humid climate
- Shielding: Cables with foil and braid shielding are more resistant to electromagnetic interference from nearby power cables
The best HDMI cables for your setup depend on your room layout. Our guide to best HDMI cables covers bandwidth ratings and 48Gbps options for future-proofing.
Pro Tip: Never run HDMI cables parallel to power cables. Electromagnetic interference from power lines causes subtle but persistent signal noise that produces flickering or intermittent blackouts, which are extremely hard to diagnose without knowing this rule.
Troubleshoot HDMI handshake and firmware compatibility issues
With physical and cable integrity confirmed, it's time to address digital handshake and firmware compatibility that often block connections.
The HDMI handshake is the authentication process that happens when two devices first connect via HDMI. It includes HDCP (High-bandwidth Digital Content Protection), a copy-protection protocol. HDMI handshake failures cause black screens even when the cable is correctly plugged in and the input is selected. It's one of the most misdiagnosed projector connection issues because everything looks right physically.
Common symptoms of an HDMI handshake failure:
- Solid black screen with no image or menu
- Audio plays but no video appears
- Screen flickers briefly then goes black
- "No signal" message appears despite correct input selection
- Image appears only briefly after restarting devices
The correct power-on sequence matters more than most guides admit. The proper HDMI handshake sequence is: turn off all devices, connect the HDMI cable, then power on the source device first and the projector within 10 seconds to avoid timeout failures.
- Power off both the projector and the source device completely
- Connect the HDMI cable to both devices while everything is off
- Power on the source device (laptop, PC, media player) first
- Power on the projector within 10 seconds
- Wait 30 seconds for both devices to complete their handshake process
- If still no signal, switch the projector to the correct input manually
HDMI handshake issues cause up to 50% of "no signal" errors in projectors, according to projector technicians.
Firmware updates are the other piece of this puzzle. Outdated firmware on your projector can make it incompatible with newer HDCP versions used by streaming devices like the Amazon Fire Stick or Apple TV. Check your projector manufacturer's website for the latest firmware release and install it before concluding you have a hardware fault.
Our full projector connection guide for Malaysia covers device-specific connection instructions for common source devices used locally.
Pro Tip: Test with non-HDCP content first (a local video file from a laptop instead of Netflix) to isolate HDCP as the cause. If the local file displays but streaming content doesn't, HDCP is the issue and a firmware update or compatible adapter is the fix.
Resolve wireless connection issues including Miracast troubleshooting
If wired connections are perfect but you prefer wireless, let's troubleshoot common Miracast and wireless issues effectively.
Miracast is a wireless display standard that uses Wi-Fi Direct, meaning it creates a direct peer-to-peer connection between your device and projector without needing a shared router. Many smart projectors and Windows laptops support it natively. But Miracast fails when devices are on different Wi-Fi bands. The fix: switch to 2.4 GHz, restart your router, and ensure both devices are within 15 feet of each other.
Common Miracast failure causes:
- Wireless display adapter driver not installed or outdated
- Windows Miracast feature disabled in display settings
- Device does not support Miracast (common in older laptops)
- Firewall blocking the Miracast discovery port (TCP 7236)
- VPN active on the device, which reroutes wireless traffic and breaks Wi-Fi Direct
Step-by-step wireless fix process:
- On Windows, press Win + K to open Cast menu. If no devices appear, Miracast support may be absent or disabled
- Open Device Manager and update the wireless adapter driver to the latest version
- Disable any active VPN connections before attempting to cast
- Check Windows Firewall settings and ensure Wireless Display is not blocked
- On your router, confirm the 2.4 GHz band is active and your projector is not on 5 GHz
- Restart both the projector and your laptop completely, then reconnect
- Stay within 5 meters (15 feet) of the projector during initial pairing
For more options beyond Miracast, including Chromecast-based and app-driven wireless projector connections are worth exploring if Miracast remains unstable on your network.
Pro Tip: Temporarily disable Bluetooth on your laptop before connecting via Miracast. Bluetooth operates on 2.4 GHz and creates direct interference with the same band Miracast uses. Disabling it during the session noticeably improves stability.
Why common projector connectivity advice misses key practical points
Most troubleshooting guides give you a checklist and leave you to figure out the hard parts. Here's what actually gets missed in the field.
The biggest gap in standard advice is physical inspection depth. Most guides say "check your cable." What they don't say is that a single bent pin inside an HDMI port, invisible to casual glance, causes exactly the same symptoms as a failed graphics card. We've seen users replace expensive equipment because they missed a bent pin that a jeweler's loupe and a steady hand could have fixed in two minutes.
The second overlooked issue is source device output mismatch. Poor video connections get a lot of attention, but a mismatched resolution or refresh rate from the laptop side is equally common and just as invisible. A laptop defaulting to 144 Hz for a gaming monitor connected to a projector rated at 60 Hz will show nothing. That's not a cable problem. It's a settings problem.
Firmware updates get skipped because users assume they're only relevant after a hardware change. In reality, streaming platforms regularly update their HDCP version requirements, and projectors without updated firmware get locked out silently. Routine maintenance includes firmware checks, not just dust cleaning.
Speaking of cleaning: dust accumulation inside projector vents directly affects thermal performance, which in turn causes the processor to throttle, which produces connection instability. Our guide on cleaning projectors covers how to do this safely at home without voiding your warranty.
The broader point is this: unable to connect projector problems are almost never mysterious. They're almost always caused by one skipped step that felt too simple to bother with. Systematic, slow, methodical checking beats fast, intuition-based troubleshooting every single time.
Find expert help and quality projectors in Malaysia
If you've worked through this guide and still can't resolve your projector connection issues, or if you're ready to upgrade to a projector built for reliable connectivity from day one, ProjectorDisplay.com is Malaysia's trusted source.

As the top projector seller in Malaysia, we carry a wide range of brands including Epson, Acer, BenQ, and more, with models suited for home theater, classrooms, boardrooms, and portable use. Pair your projector with the right projector screens for a complete setup, or browse our projector accessories guide to find cables, mounts, and signal boosters suited to your room layout. We offer fast shipping within Peninsular Malaysia, WhatsApp support, and expert advice to help you buy right the first time.
Frequently asked questions
What is the first thing I should check if my projector is not displaying an image?
Start by confirming the projector and source device are powered on, the input source is manually set to match the connected port, and all cables are fully seated without visible damage. Checking video cables and setting the input to the correct source like HDMI 1 fixes most display failures immediately.
Why does my projector show a black screen despite being connected via HDMI?
A black screen on a physically connected projector almost always points to an HDMI handshake failure or HDCP version mismatch. HDCP failures cause black screens even when the cable is correctly plugged in, so try restarting in the correct power sequence, testing with local non-protected content, and updating your projector's firmware.
How can I improve wireless projector connectivity using Miracast?
Confirm both devices support Miracast, place them within 15 feet of each other, use the 2.4 GHz Wi-Fi band, and disable any active VPN or firewall rules blocking wireless display traffic. Miracast drops connections when devices are on different bands, which is a non-obvious cause since your phone may still work fine while the projector disconnects.
Can I use a long HDMI cable with my projector for a home theater setup?
Yes, but keep standard passive HDMI cables under 7.6 meters (25 feet) to avoid signal loss. Signal degradation beyond 25 feet is consistent with standard cables, so use active HDMI cables or an inline signal amplifier for ceiling-mounted or long-run installations.
How often should I update my projector's firmware to prevent connectivity issues?
Check for firmware updates every three to six months, or immediately when a new streaming device or source is added to your setup. Firmware updates improve HDMI handshake stability by enhancing HDMI compatibility, which directly prevents the black screen and no-signal errors that look like hardware failures.
Recommended
- How to Connect Projector: Step-by-Step Guide for Malaysia 2025 – Projector Display
- How to Connect Projector: Step-by-Step Guide for Malaysia 2025 – Projector Display
- Projector connectivity options Malaysia: best setup 2026 – Projector Display
- Easy Projector WiFi Setup: Step-by-Step Guide for Malaysia – Projector Display