
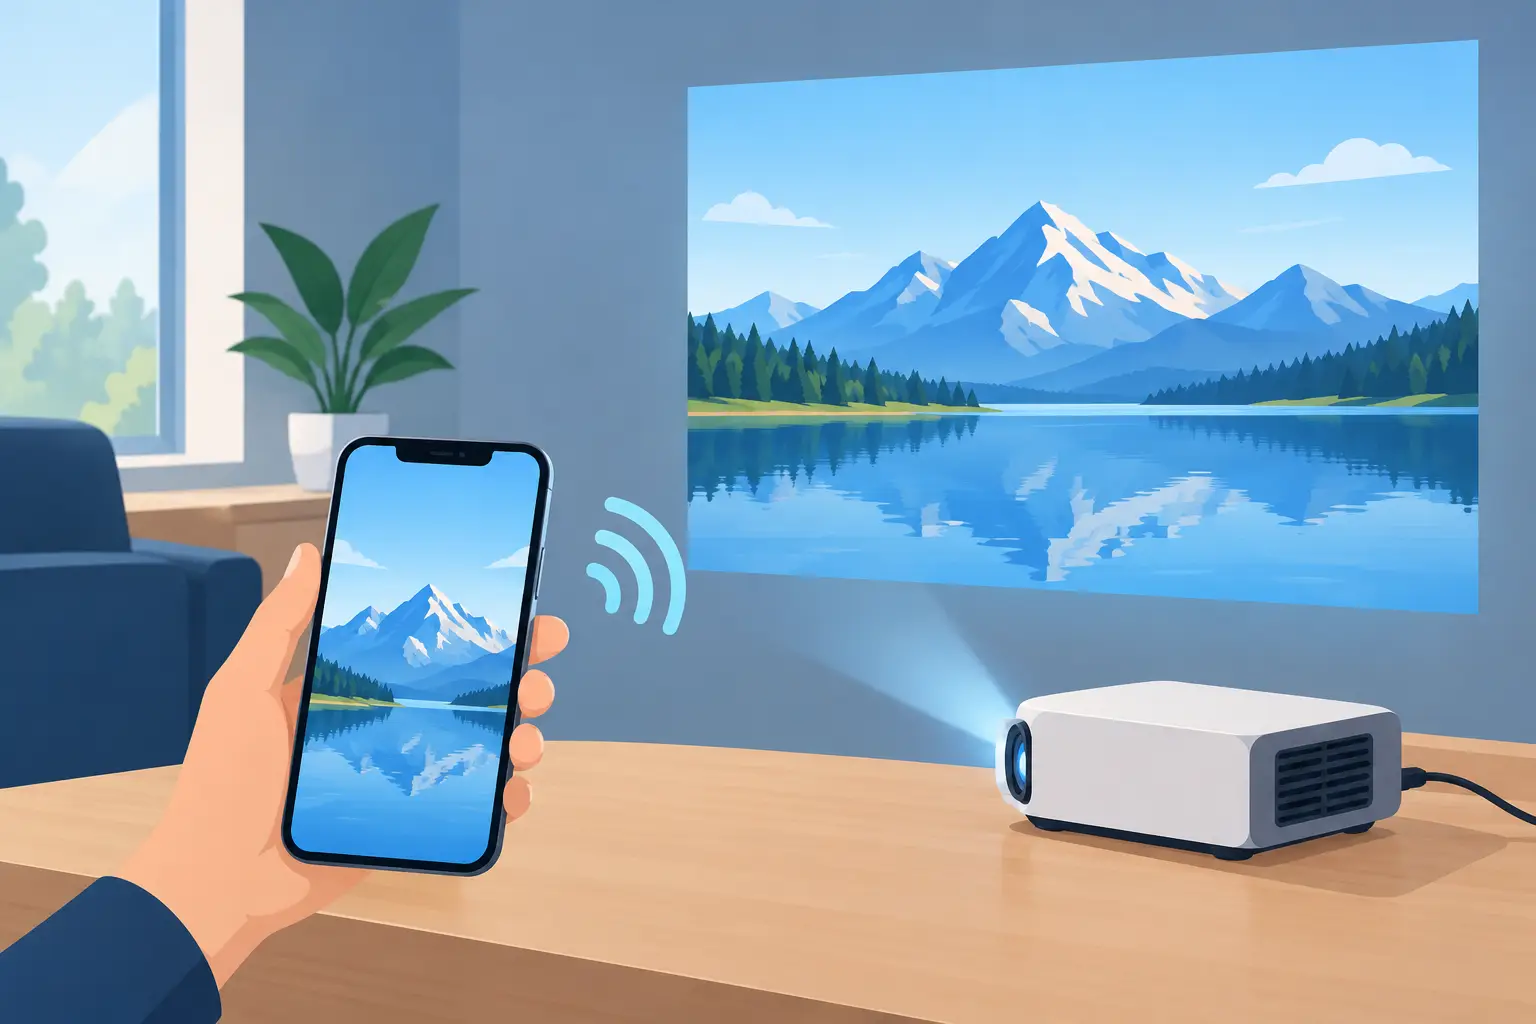
Your iPhone already holds the presentation, lesson plan, family photos, streaming app, or product video you want to show. The missing piece is getting that small screen onto a bright, large projection display. Knowing how to mirror iPhone projector content properly helps you avoid the familiar frustration of a blank screen, no sound, or a video that refuses to fill the image.
The best connection method depends on your projector, the room, and what you are showing. AirPlay is convenient for home viewing and flexible meeting spaces. HDMI gives the most dependable result for training, gaming, and video. A wireless display dongle can add screen mirroring to a projector that does not include it natively.
How to Mirror an iPhone to a Projector
Before connecting anything, check three things: your iPhone model, your projector inputs, and whether you need a wired or wireless setup. Recent iPhones use a USB-C port, while many earlier models use Lightning. Most projectors accept HDMI, and some smart or business models also support AirPlay, Wi-Fi display, or an optional wireless dongle.
For the strongest image, set the projector to its native resolution where possible. A Full HD projector will display movies, presentations, and photos with more detail than an XGA model, while a brighter ANSI-lumen rating matters more if the room has lights on. Connection quality still matters, though. A premium projector cannot correct a weak wireless signal or the wrong input selection.
Method 1: Mirror Wirelessly With AirPlay
AirPlay is the simplest option when your projector supports AirPlay directly or is connected to an AirPlay-compatible receiver. It is especially useful when you want to move around a classroom, meeting room, or living room without an HDMI cable running across the floor.
Start by turning on the projector and selecting its wireless display or AirPlay mode. Connect the iPhone and projector or receiver to the same Wi-Fi network. On your iPhone, open Control Center by swiping down from the upper-right corner, then tap Screen Mirroring. Select the name of the projector or AirPlay receiver from the list. If a code appears on the projected image, enter that code on the iPhone.
Once connected, your entire iPhone screen appears on the projector. Rotate the phone sideways for widescreen video, slides, and photo albums. If the picture is upright with black bars on both sides, the app or content may be designed for portrait orientation rather than landscape.
AirPlay is excellent for presentations, browsing, and casual streaming, but it has trade-offs. Wi-Fi congestion can cause a slight delay, which makes it less suitable for competitive gaming or timing-sensitive demonstrations. Some streaming services also restrict screen mirroring because of content protection. In that case, use the app built into a smart projector, a compatible streaming device, or a wired HDMI connection.
Method 2: Use a Wired HDMI Adapter
For important presentations and video playback, HDMI remains the most reliable way to mirror an iPhone to a projector. It avoids most Wi-Fi dropouts, reduces lag, and works in locations without a usable wireless network. It is a practical choice for boardrooms, classrooms, training centers, and outdoor movie nights.
If your iPhone has a Lightning port, use a Lightning-to-HDMI digital AV adapter. For a USB-C iPhone, use a USB-C-to-HDMI adapter that supports video output. Connect the adapter to the iPhone, connect an HDMI cable between the adapter and projector, and then choose the correct HDMI input on the projector using its remote or control panel.
The image should appear automatically after a few seconds. If it does not, unplug and reconnect the adapter, confirm that the projector is set to the correct HDMI source, and test the HDMI cable with another device. A low-quality or damaged cable is a common cause of intermittent images, sparkles, or no signal messages.
Wired mirroring also makes audio easier to manage. HDMI carries both video and audio, so sound can play through the projector’s internal speaker. For a larger room, connect an external sound system to the projector’s audio output or use a separate Bluetooth speaker if your setup supports it. For movies and events, external audio usually delivers a much better experience than the small speaker built into a portable projector.
Method 3: Add a Wireless Display Dongle
If your projector has HDMI but no AirPlay feature, a wireless display dongle can be a practical upgrade. Plug the dongle into an HDMI input, power it through USB or its supplied adapter, then follow the on-screen setup instructions. Many dongles create a direct connection with the iPhone or connect through the venue’s Wi-Fi network.
This approach is useful for older office projectors and classroom models that still deliver a good image but lack modern wireless features. It can also be a cleaner installation for a ceiling-mounted projector, where repeatedly connecting an HDMI cable is inconvenient.
Compatibility matters here. Not every wireless dongle supports Apple screen mirroring, and some support video playback but not full-screen iPhone mirroring. Check specifically for AirPlay or iPhone screen-mirroring support before purchasing. For organizations, choose a dependable unit that staff and guests can operate without installing an app or sharing sensitive network credentials.
Set Up the Projector for a Better iPhone Image
A successful connection is only part of the experience. Place the projector at the correct throw distance for your screen size, adjust focus carefully, and use keystone correction sparingly. Heavy keystone correction can reduce visible detail, particularly with spreadsheets, text, and teaching materials.
For home entertainment, a Full HD or 4K-capable projector paired with a proper projector screen gives iPhone video far more impact than projecting directly onto a painted wall. A white or ambient-light-rejecting screen can improve contrast depending on the room. In brighter spaces, prioritize higher ANSI lumens over compact size alone.
For office and education use, consider the viewing distance of the audience. Small text from an iPhone presentation needs enough screen size and brightness to remain readable from the back of the room. A short-throw projector can be a strong choice for classrooms and meeting rooms because it creates a large image from a shorter distance while reducing shadows cast by the presenter.
If you plan to mirror often, keep the essential accessories together: the correct iPhone adapter, a tested HDMI cable, a spare power cable, and the projector remote. This small preparation prevents last-minute setup delays before a client presentation or lesson.
Common iPhone Projector Mirroring Problems
When Screen Mirroring cannot find the projector, first verify that both devices are on the same Wi-Fi network. Guest networks sometimes block device-to-device communication, even when both devices appear connected. Restarting the iPhone, projector, and wireless receiver can also clear a stalled connection.
If AirPlay connects but the image freezes or lags, move closer to the Wi-Fi router, reduce network traffic, or switch to HDMI for the session. A wired connection is often the better answer for a full-day seminar or a high-stakes presentation.
If there is video but no sound, check the projector volume and make sure the iPhone has not routed audio to Bluetooth earbuds or another speaker. Open Control Center, tap the audio output control, and select the projector or HDMI device. For a no-signal message, confirm the selected input and inspect every cable connection before changing settings.
Black bars are not always a fault. They often reflect the original video shape, the iPhone app’s orientation, or the projector’s aspect-ratio setting. Try setting the projector to Auto, 16:9, or Native rather than forcing a stretched image.
For buyers building a dependable setup, ProjectorDisplay.com can help match a projector, screen, HDMI cable, mount, and wireless display option to the room rather than selling a standalone unit that leaves gaps in the installation.
A large projected image turns everyday iPhone content into something people can actually share. Choose AirPlay when convenience matters, HDMI when reliability matters most, and a compatible wireless dongle when you need to modernize an existing projector without replacing it.