
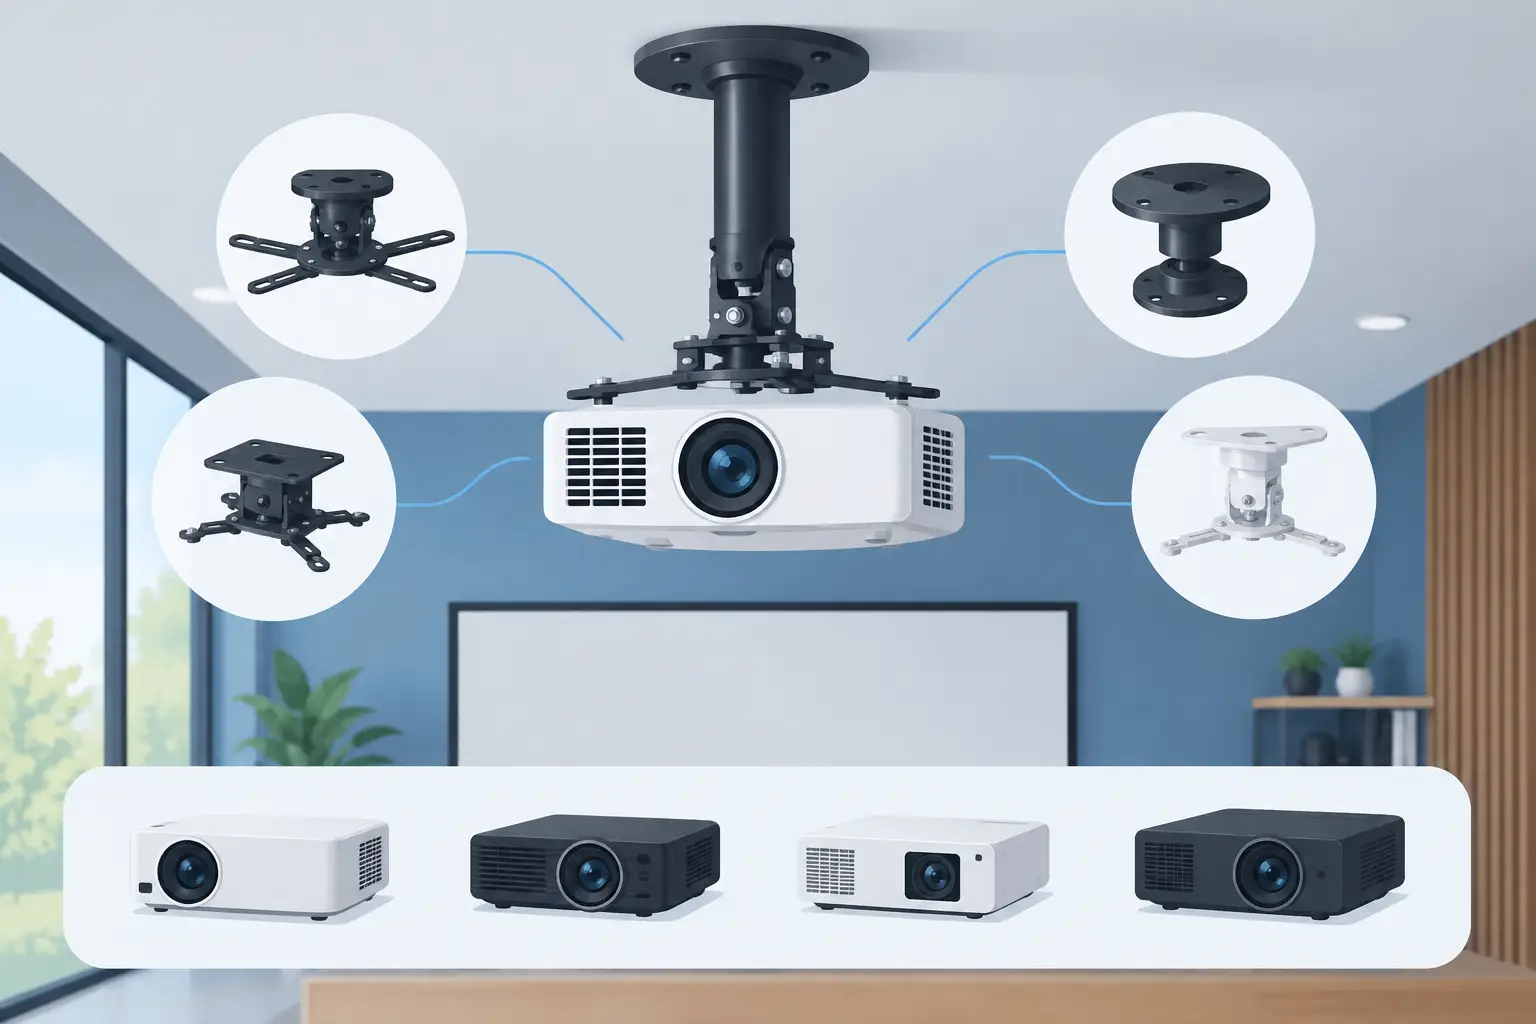
A projector can have the right brightness, resolution, and throw ratio yet still disappoint after installation if the mount places it a few inches off target. Projector ceiling mount compatibility is not simply a question of whether a mount is labeled "universal." It comes down to the projector's mounting points, weight, lens position, ventilation, room geometry, and the structure above the ceiling.
For a home theater, classroom, training room, or meeting space, getting these details right prevents tilted images, blocked air vents, difficult maintenance, and unsafe installations. Check compatibility before ordering the mount, not after the projector is already unpacked.
What Projector Ceiling Mount Compatibility Really Means
A compatible mount must physically attach to the projector, safely support it, and position the lens where the projector's throw-distance calculation expects it to be. All three conditions matter. A mount that fits the mounting screws but hangs too low or shifts the projector forward can change the projected image size and alignment.
Most ceiling mounts use adjustable arms that connect to threaded holes on the underside of the projector. These are often called mounting points or mounting inserts. Universal mounts are designed to cover a wide range of hole patterns, but "universal" does not mean every projector model will fit without checking.
Some compact portable projectors have no threaded mounting points at all. Others use a single tripod-style threaded socket, which may require a dedicated adapter rather than a traditional four-arm ceiling mount. Certain ultra-short-throw models need a purpose-built wall or ceiling mount because even minor position changes can noticeably affect image geometry.
Start With the Projector's Mounting Pattern
Turn the projector upside down or review its specifications and look for the threaded mounting holes. Measure the distance between the holes from center to center, both side to side and front to back. Then compare those dimensions with the mount's supported range.
Also confirm the screw size and required screw depth. M3, M4, M5, and M6 screws are common, but they are not interchangeable. A screw that is too short may not hold securely. One that is too long can damage internal components. Use the screws supplied with the projector or mount only when they match the manufacturer's requirements.
Pay attention to where the holes sit relative to the projector's center of gravity. A large home-theater laser projector may be heavier at the lens end, while a compact business projector may carry more weight near the rear connections. Adjustable mount arms should distribute support evenly without covering vents, speakers, control buttons, or access panels.
Check Weight Capacity With a Safety Margin
Weight capacity is a non-negotiable part of projector ceiling mount compatibility. Find the projector's actual weight in its product specifications, then choose a mount rated well above that figure. The rating should account for the projector, mounting hardware, and any adapter plate or extension pole.
Avoid treating a mount's maximum load as the ideal operating load. A projector weighing 20 pounds should not be paired with a mount rated for exactly 20 pounds. A higher-capacity mount provides a more confident installation, especially in commercial spaces where equipment may stay in place for years.
The ceiling itself must also support the load. A mount can be strong while the ceiling attachment is weak. Secure mounts into solid ceiling joists, concrete, or another approved structural surface using the correct anchors and fasteners. Do not attach a projector mount only to drywall, ceiling tile, or a suspended ceiling grid unless the installation includes suitable structural reinforcement.
For schools, offices, and public-facing spaces, a safety cable is a sensible additional precaution. It is not a substitute for correct mounting, but it provides a secondary level of protection if the primary hardware is disturbed or fails.
Match Mount Height to Throw Distance and Lens Position
The mounting location is where many otherwise compatible setups go wrong. Projectors create a specific image size only within a defined throw-distance range. The throw distance is measured from the projector lens to the screen, not from the back of the projector or the ceiling mount.
Before selecting a fixed mount or extension pole, calculate the required lens-to-screen distance for your preferred screen size. Then account for the distance between the lens and the mount's ceiling plate. Depending on the projector design, the lens may sit near the front edge, center, or rear of the chassis.
Vertical placement matters as much as horizontal placement. Projectors without lens shift rely on optical offset, meaning the lens needs to sit at a particular height relative to the screen. A mount with tilt adjustment can correct a small physical misalignment, but heavy use of keystone correction reduces image precision and can waste available resolution.
A low ceiling may need a slim, low-profile mount. A room with a high ceiling may need an extension pole. Choose the extension length based on the lens height required for the screen, not simply on what looks visually balanced in the room.
Short-Throw and Ultra-Short-Throw Installations Need More Precision
Short-throw projectors produce a large image from a short distance, which makes them excellent for classrooms and compact meeting rooms. It also makes their placement less forgiving. Moving the projector by a small amount can alter the image size, screen coverage, and alignment significantly.
Ultra-short-throw projectors are especially sensitive. They are commonly installed close to the wall or screen, often using a dedicated wall mount. A standard universal ceiling mount may physically attach to the projector but still be the wrong solution for achieving a clean, rectangular image. Follow the projector manufacturer's mounting template and placement measurements exactly.
Confirm Ventilation, Connections, and Service Access
Projectors generate heat, including efficient laser models. Ceiling mounting should never block intake or exhaust vents. Leave the clearance recommended by the manufacturer around all sides of the projector, particularly around the air intake and exhaust path.
Think about cable access before the mount is installed. HDMI, power, network, USB, audio, and wireless-dongle connections may be positioned at the rear or side of the projector. A ceiling plate, mounting arm, or nearby beam should not prevent cables from fitting properly or force them into sharp bends.
Maintenance access is another practical consideration. Lamp-based projectors may need lamp replacement, while all projectors can require filter cleaning or occasional servicing. If the lamp door or filter compartment sits on the bottom panel, confirm that the mount design allows access without removing the entire projector.
For cleaner installations, choose a mount with cable-routing features or plan a separate cable-management path. This is particularly useful in boardrooms, education spaces, and home theaters where visible hanging cables can distract from an otherwise polished display setup.
A Quick Compatibility Check Before You Buy
Use these five checks to compare a projector and ceiling mount with confidence:
- Confirm the projector has compatible threaded mounting holes and verify their spacing.
- Match the screw size and safe thread depth specified for the projector.
- Choose a mount with a weight rating comfortably above the projector's weight.
- Confirm the mount and extension pole place the lens at the required throw distance and height.
- Verify the ceiling structure, ventilation clearance, cable access, and maintenance access.
If one of these points is unclear, do not guess based on product photos. Request the projector's dimensional drawing and mount specifications. For multi-room installations, create a simple schedule showing each room's projector model, screen size, ceiling height, mounting surface, and cable requirements. It saves time during purchasing and avoids costly changes on installation day.
When a Universal Mount Is the Right Choice
A universal mount is usually a practical, value-focused option for standard office, education, and home-theater projectors with multiple underside mounting points. Look for adjustable arms, fine tilt and roll controls, a secure locking system, and a load rating appropriate for the projector.
A model-specific mount may be better for a premium home-cinema projector, an ultra-short-throw display, or an installation where appearance and exact lens placement are critical. Dedicated mounts often cost more, but they can reduce setup time and make cable routing, alignment, and maintenance easier.
ProjectorDisplay.com can help buyers compare projector dimensions, mount capacity, and installation needs before placing a larger order or requesting a quote. The goal is not just to suspend a projector from the ceiling. It is to create a stable, properly aligned visual experience that stays reliable long after the first presentation or movie night.