
Finding the perfect balance between technology and home entertainment can be challenging when you want crisp visuals and immersive sound in a Malaysian residential setup. Setting up a BenQ projector involves more than just plugging in cables—it requires thoughtful preparation, strategic placement, and precise display adjustments. This step-by-step guide reveals key tips for gathering compatible accessories, mastering video connections, and fine-tuning your projector to achieve a truly optimal viewing experience.
Table of Contents
- Step 1: Gather Compatible Cables And Accessories
- Step 2: Position And Power On Your Benq Projector
- Step 3: Connect The Projector To Your Video Source
- Step 4: Adjust Display Settings For Best Image
- Step 5: Test The Connection And Resolve Issues
Quick Summary
| Key Takeaway | Explanation |
|---|---|
| 1. Gather essential cables first | Ensure you have all necessary cables, including HDMI and power cables, before starting the setup process for your BenQ projector. |
| 2. Position the projector correctly | Place your projector on a stable surface, ensuring it is at the optimal distance and alignment from the screen for the best image quality. |
| 3. Connect to the right video source | Identify and securely connect the appropriate video input cable to your projector and source device for a reliable transmission. |
| 4. Adjust display settings | Fine-tune brightness, contrast, and other settings to enhance image quality based on your environment and viewing preferences. |
| 5. Test connections thoroughly | After setup, play a test video and check for audio-visual synchronization and quality to confirm everything is functioning correctly. |
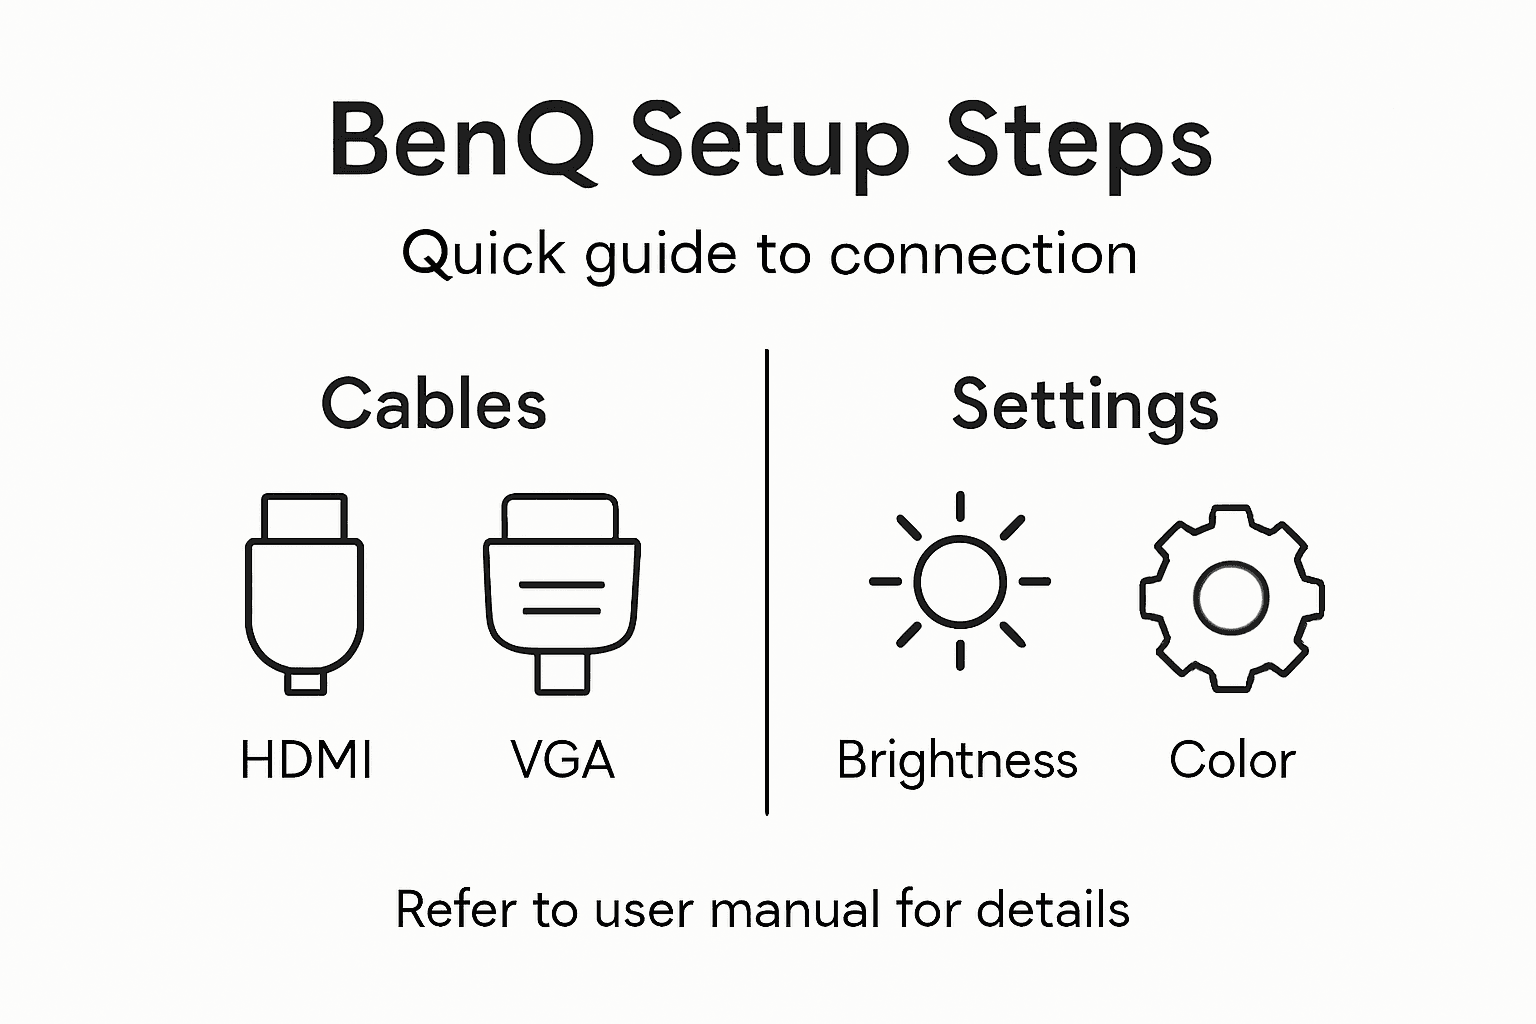
Step 1: Gather Compatible Cables and Accessories
Setting up your BenQ projector requires collecting the right cables and accessories to ensure a smooth connection and optimal viewing experience. Before diving into the setup process, you'll want to have everything ready and within reach.
Start by gathering these essential items for your BenQ projector connection:
- HDMI cable for digital video and audio transmission
- VGA cable (if using older equipment)
- Power cable that matches your regional electrical standards
- Audio cable (optional, depending on your sound setup)
- Adapter dongles for wireless or smartphone connections
Pro tip: Always check your specific BenQ model's manual for exact cable compatibility, as requirements can vary between different projector series.
When selecting cables, pay close attention to length and quality. Shorter cables provide more reliable signal transmission, so measure the distance between your projector and source device carefully. For most home theater setups in Malaysia, a 3-5 meter HDMI cable works perfectly.
Wireless connectivity options are increasingly popular, especially with modern BenQ smart projectors. If your model supports wireless screen mirroring, consider having a compatible smartphone or laptop ready for testing.
Here's a quick guide to common projector connection types and when to use each:
| Connection Type | Best Use Case | Pros | Cons |
|---|---|---|---|
| HDMI | Modern laptops and media players | High quality audio/video | Limited cable length |
| VGA | Older PCs or office devices | Widely compatible | No audio transmission |
| USB | Quick presentations or streaming sticks | Simple plug-and-play | Device support varies |
| Wireless | Smartphones and tablets | No cable clutter | May need extra adapter |
Pro tip: Keep all your cables organized in a dedicated bag or container to prevent tangling and make future setups faster and easier.
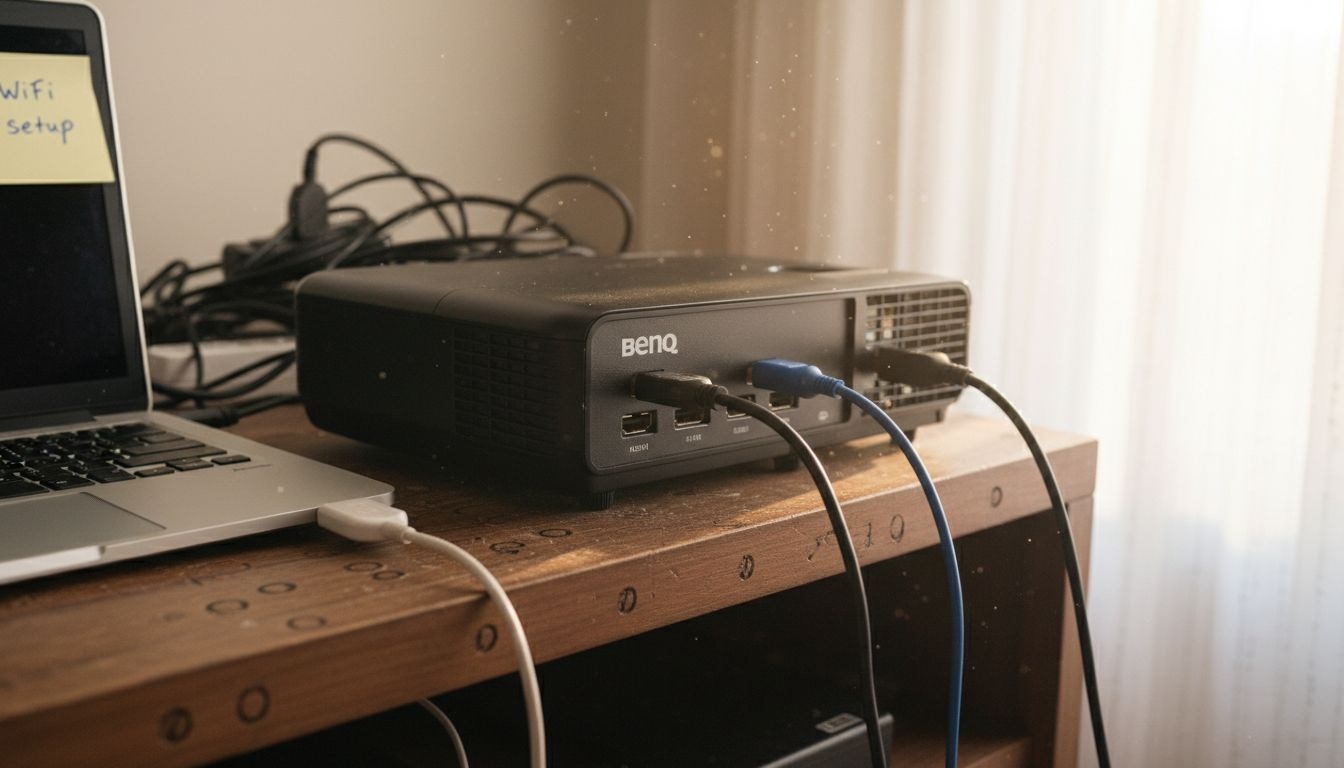
Step 2: Position and Power on Your BenQ Projector
Now that you have your cables ready, it's time to strategically position your BenQ projector for the best possible viewing experience. Proper placement is crucial for achieving clear, crisp image quality and maximizing your home theater setup.
Start by selecting a stable, flat surface or appropriate mounting option. Optimal projector placement involves considering several key factors:
- Choose a location with minimal ambient light
- Ensure a clear line of sight to your projection screen
- Keep the projector at a perpendicular angle to the screen
- Allow sufficient ventilation around the device
- Maintain a consistent distance based on your projector's throw ratio
Pro tip: Measure the distance between your projector and screen to confirm optimal positioning before final setup.
For power connection, follow these steps:
- Place the projector on a level surface
- Locate the power input port on your BenQ model
- Securely connect the power cable
- Plug the power adapter into a stable electrical outlet
- Press the power button to turn on the device
Wireless connectivity options are increasingly popular with modern projectors. Carefully check your specific model's mounting recommendations to ensure proper installation and performance.
Pro tip: Keep a small spirit level nearby to double-check your projector's horizontal alignment during setup, ensuring perfectly straight image projection.
Step 3: Connect the Projector to Your Video Source
With your projector positioned and powered on, the next critical step is establishing a reliable connection between your video source and the BenQ projector. This process involves selecting the right cable and ensuring a stable video transmission for your home theater or presentation setup.
Identifying compatible connection ports is your first task. Most BenQ projectors support multiple input options:
- HDMI port (recommended for digital devices)
- VGA port (for older computers and laptops)
- USB connection
- Wireless display options
- Audio input ports
Pro tip: Always check your specific BenQ model's manual to confirm exact port compatibility and recommended connection types.
Follow these detailed steps to connect your video source:
- Identify the appropriate cable for your device
- Locate matching ports on both the projector and source device
- Securely insert the cable into corresponding ports
- Power on both the video source and projector
- Use the projector's input selection menu to choose the correct input channel
Wireless connectivity offers an increasingly convenient alternative. Modern connection techniques allow seamless screen mirroring from smartphones, laptops, and tablets, reducing cable clutter and simplifying your setup.
Pro tip: Keep a multi-port adapter handy to ensure compatibility with various devices and minimize connection complications.
Step 4: Adjust Display Settings for Best Image
With your projector connected and powered on, the next crucial step is fine-tuning your display settings to achieve the most stunning visual experience possible. Proper calibration can dramatically transform your projection quality, making images crisp, colors vibrant, and the overall viewing experience immersive.
Accessing projector settings requires navigating through multiple key parameters:
- Brightness adjustment for room lighting conditions
- Contrast levels to enhance image depth
- Color temperature settings
- Keystone correction for image alignment
- Focus and zoom optimization
Pro tip: Always start adjustments in the environment where you'll primarily use the projector to get the most accurate settings.
Follow these systematic steps to optimize your display:
- Access the projector's settings menu
- Select display or image settings
- Adjust brightness to match room lighting
- Fine-tune contrast and color balance
- Correct any image distortion using keystone features
Precise image calibration involves understanding your specific viewing environment. Advanced display techniques can help you achieve professional-level projection quality by matching settings to your screen type and room characteristics.
Below is a summary of essential display settings and how they impact your viewing experience:
| Setting | Purpose | Effect on Image |
|---|---|---|
| Brightness | Adjusts light output | Suits different room lighting |
| Contrast | Enhances image depth | Increases visual clarity |
| Color Temperature | Alters overall tone | Warmer or cooler visuals |
| Keystone Correction | Aligns image shape | Fixes slanted projections |
Pro tip: Consider using the projector's preset color modes like Cinema, Sports, or Game to quickly optimize settings for different content types.
Step 5: Test the Connection and Resolve Issues
After setting up your BenQ projector, it's critical to thoroughly test the connection and be prepared to troubleshoot any unexpected technical challenges. A systematic approach will help you quickly identify and resolve potential connectivity or display issues.
Comprehensive connection testing involves several key diagnostic steps:
- Play a test video or media file
- Check audio and video synchronization
- Verify signal transmission quality
- Confirm resolution compatibility
- Test multiple input sources
Pro tip: Always have an alternative cable on hand to quickly eliminate potential hardware connection problems.
Follow these troubleshooting steps if you encounter issues:
- Verify cable connections are secure
- Check input source selection
- Restart both projector and source device
- Adjust resolution settings
- Update projector firmware if necessary
Signal transmission problems can arise from multiple sources. Systematic troubleshooting techniques help diagnose and resolve common projection challenges by methodically eliminating potential causes.
Pro tip: Keep your projector's user manual easily accessible, as specific error codes can often be quickly resolved by referencing the manufacturer's recommended solutions.
Elevate Your Projection Setup with Expert Solutions
Connecting your BenQ projector can be challenging when juggling the right cables, optimal placement, and fine-tuning display settings. If you want to avoid connection issues, image distortion, or frustration during installation, having access to quality equipment and accessories is essential. Whether you need reliable cables or a perfect projection surface, finding trusted products designed for seamless integration is critical for achieving stunning visuals every time.

Discover a wide range of projectors and accessories tailored to your needs at ProjectorDisplay.com. From high-performance projectors to specially designed projection screens and essential sound systems, our collection ensures you have everything to build a flawless home theater or professional presentation setup. Don't settle for less when precise connection and optimized display settings can transform your viewing experience. Visit us now to explore quality solutions and enjoy fast shipping across Malaysia.
Frequently Asked Questions
How do I connect my BenQ projector to a laptop?
First, identify the appropriate cable, such as an HDMI or VGA cable, based on your laptop's available ports. Securely insert the cable into both your projector and laptop, then power on both devices and select the correct input source on the projector to display your laptop screen.
What cables do I need for setting up my BenQ projector?
You typically need an HDMI cable for digital devices, a VGA cable for older equipment, and possibly an audio cable depending on your sound system. Gather these cables beforehand to ensure a smooth setup process.
How can I adjust the display settings on my BenQ projector?
To adjust the display settings, navigate to the projector's settings menu using the remote or control panel. Focus on fine-tuning brightness, contrast, color temperature, and keystone correction to optimize your viewing experience.
What should I do if my projector isn't displaying an image?
If your projector isn't displaying an image, first check that all cable connections are secure and verify you have selected the correct input source. Restart both the projector and the video source device to troubleshoot further.
How do I connect my smartphone to the BenQ projector?
If your BenQ projector supports wireless connectivity, enable the screen mirroring feature on your smartphone and follow the prompts to connect. Make sure your smartphone and projector are on the same Wi-Fi network to facilitate a successful connection.
What is the ideal distance to place my BenQ projector from the screen?
The ideal distance depends on your projector's throw ratio, which you can find in the manual. Measure the distance based on your setup; for many home theater setups, a distance of around 3-5 meters works well for optimal image quality.